
Breeze Agent Deployment for Kubernetes
This article explains how to install a Cloudaware Breeze agent on a Kubernetes cluster running in a private network. As a result, Breeze will be installed on all hosts within the cluster. NOTE: Linux only.
Introduction
Deployment of the Breeze agent on a Kubernetes cluster serves two purposes:
To discover Kubernetes assets (nodes, pods, etc.) within a private Kubernetes cluster by establishing a TunHub connection.
By deploying Breeze on a cluster through a daemon set, you install Breeze on all hosts within the cluster. Alternatively, you can achieve this by installing Breeze on individual EC2 instances.
Breeze Agent Setup
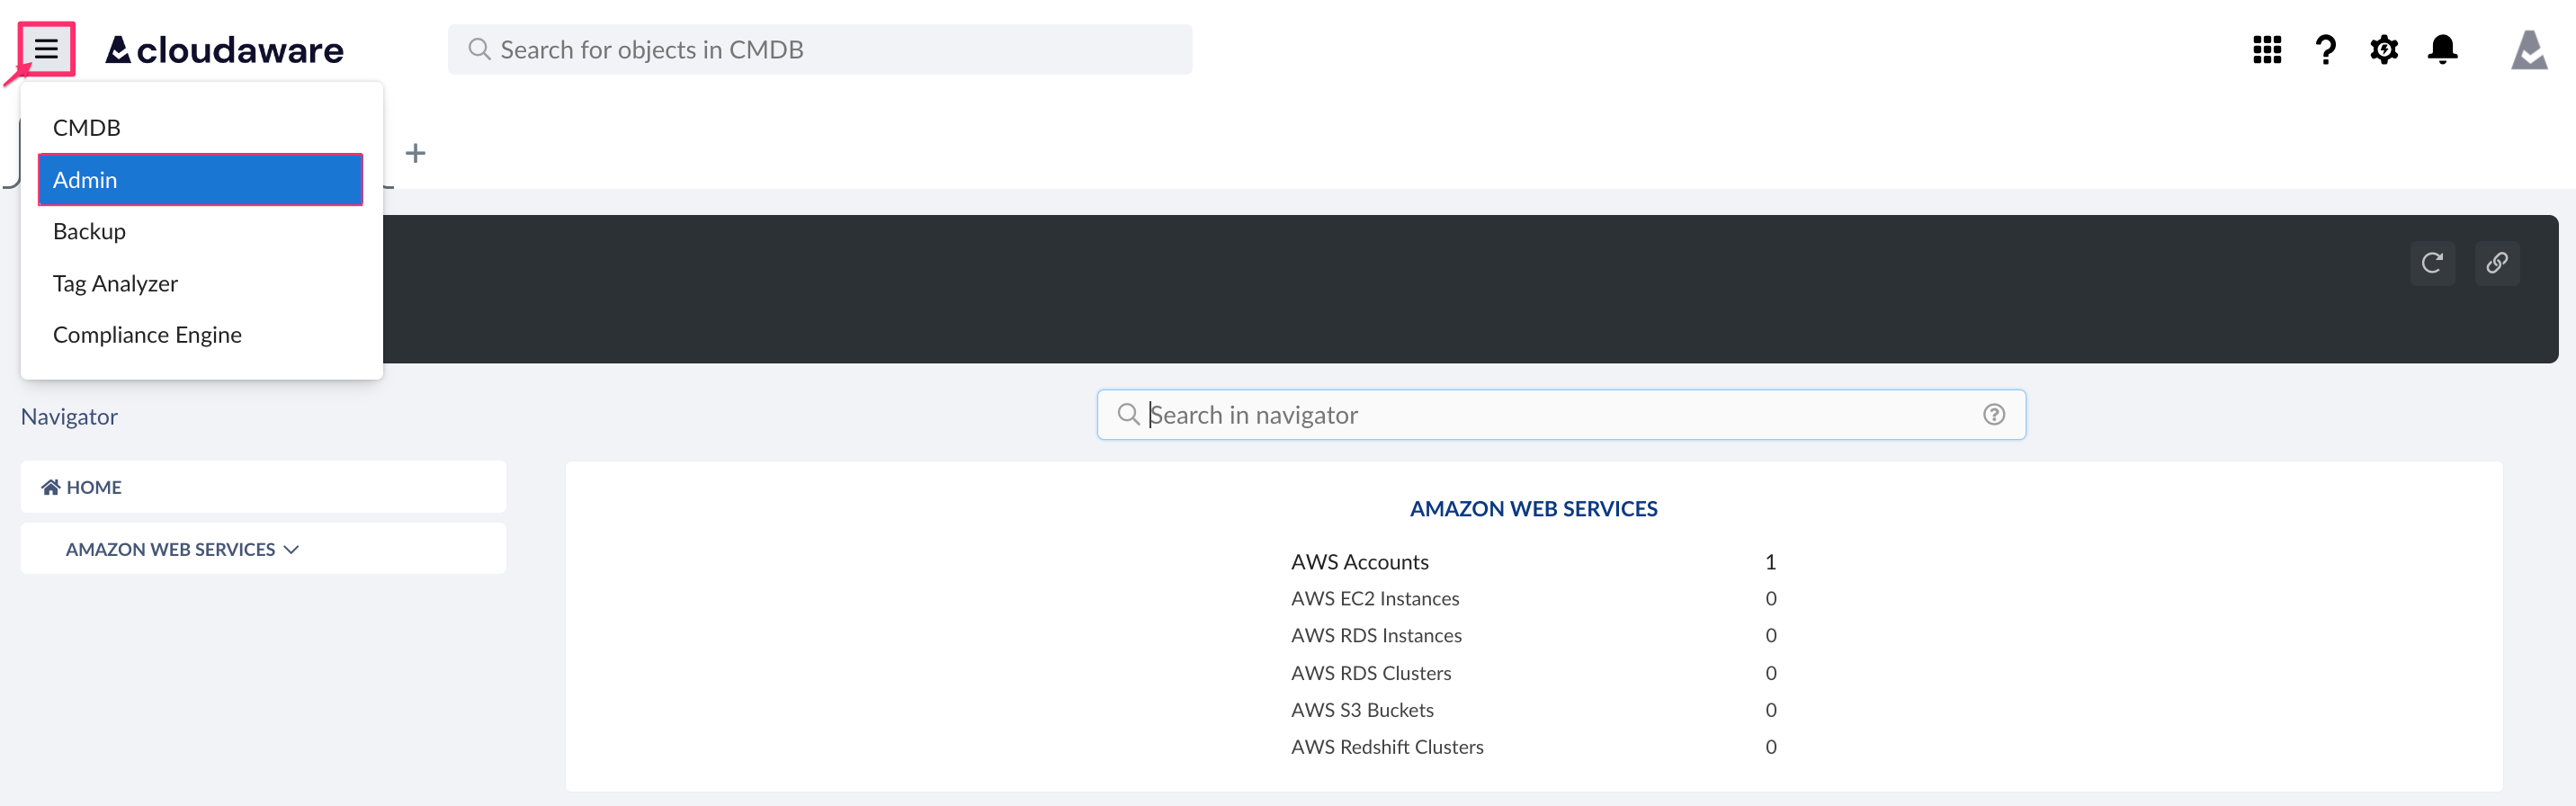
1. Log in to Cloudaware account → Admin.
2. Find Breeze in the list of DevOps Integrations. Click 1 Configured.

3. Select the file for Linux*:
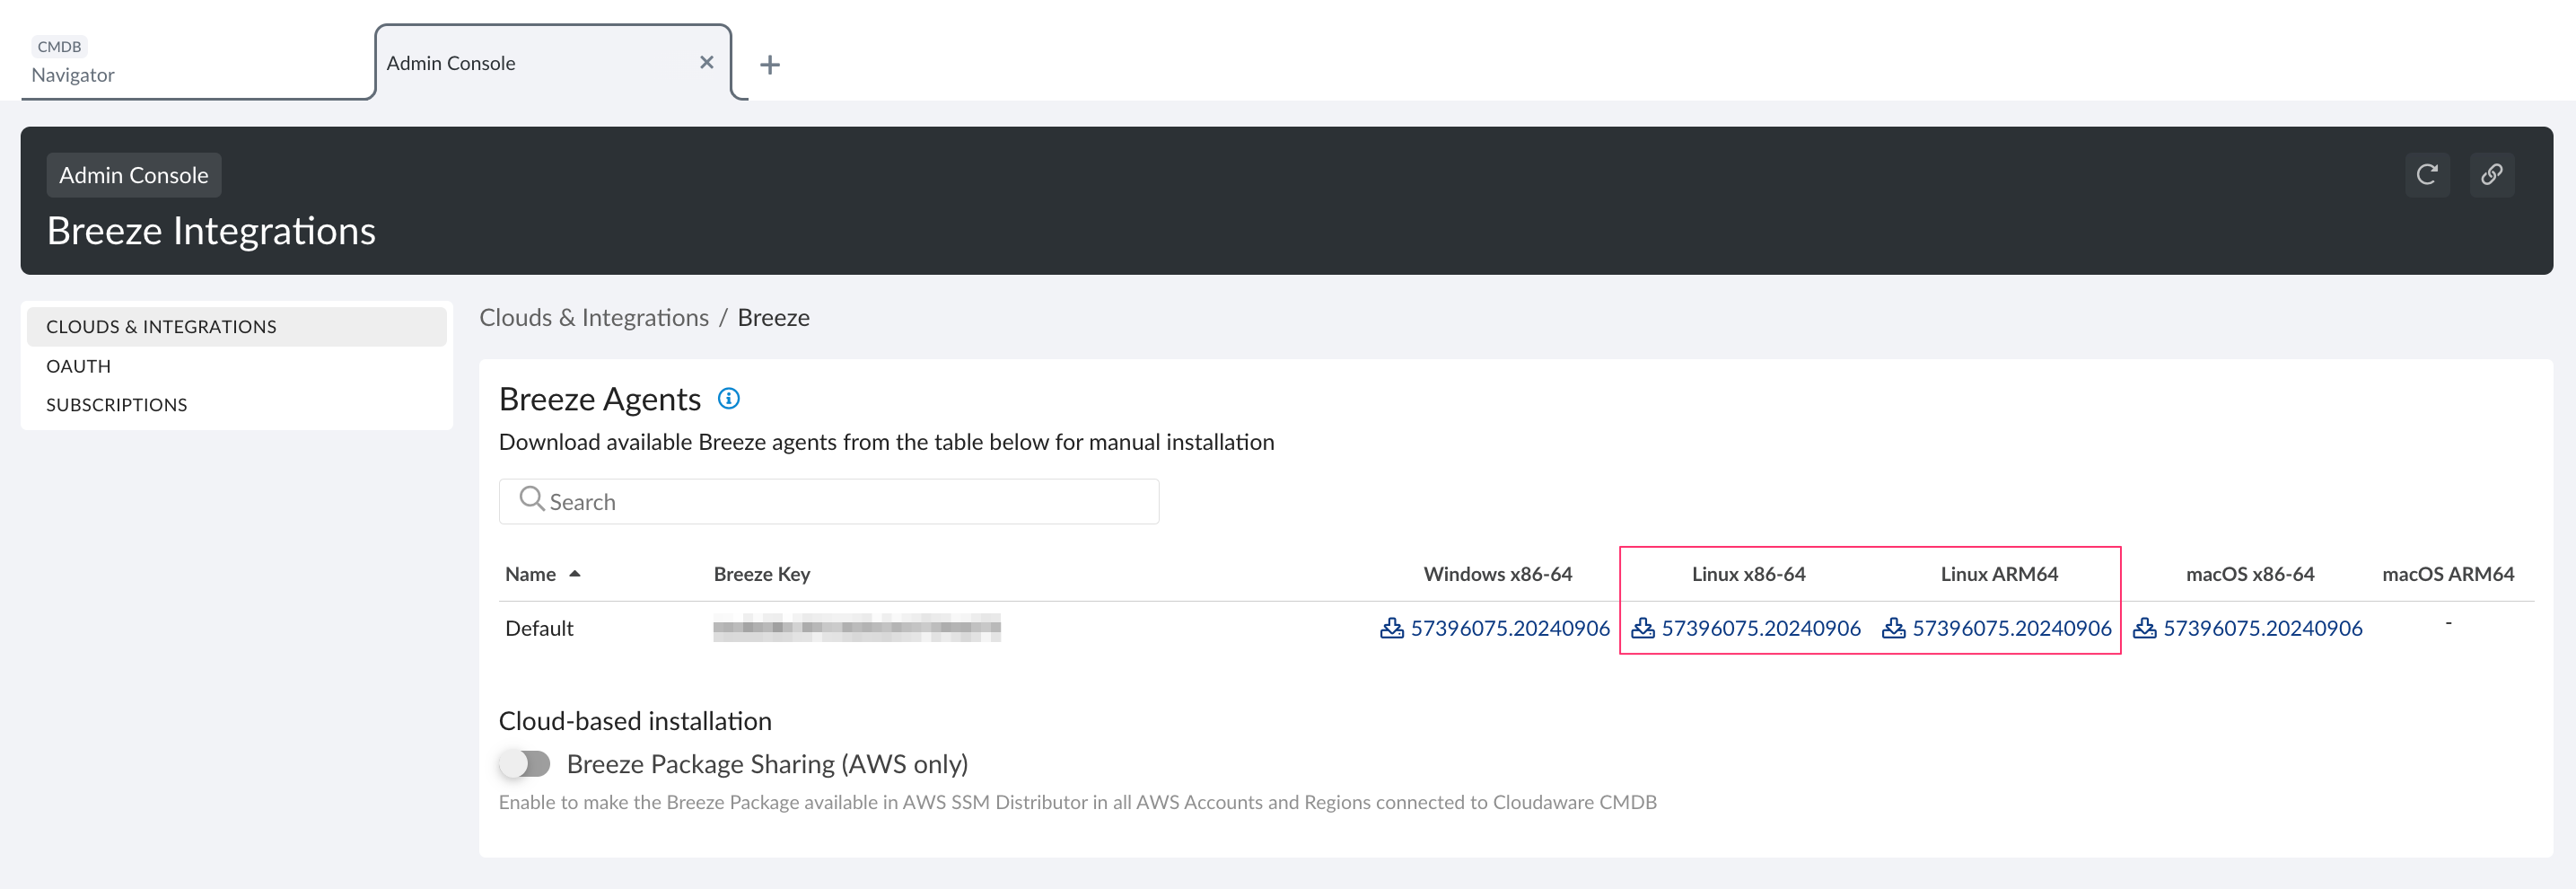
*This integration is for Linux only.
4. Clone or download the breeze-tools repository from Cloudaware GitHub repo:
# git clone https://github.com/cloudaware/breeze-tools.git5. Change the working directory to kubernetes, put the archive with Breeze agent installer and then extract it:
# cd breeze-tools/kubernetes/
# cp /path/to/agent/distro/breeze-agent.x86_64.linux.tgz .
# tar xf breeze-agent.x86_64.linux.tgz
WHERE
breeze-agent.x86_64.linux.tgz should be replaced by the name of the dowloaded installer file (e.g. breeze-agent.1x11xx1xxxx11x11111x1x1x.11111111.0.x86_64.linux.tgz).
6. Build docker images:
# docker build -t breeze-agent-init -f Dockerfile.breeze-agent-init .
# docker build -t breeze-agent -f Dockerfile.breeze-agent .
In order to check if images have been generated, the following command can be used:
# docker images "breeze*"7. Create two repositories named 'breeze-agent' and 'breeze-agent-init' in your private Docker registry.
8. Push the created images to the PRIVATE Docker container registry:
# docker tag breeze-agent-init:latest CONTAINER_REGISTRY_URI/breeze-agent-init:latest
# docker push breeze-agent-init:latest CONTAINER_REGISTRY_URI/breeze-agent-init:latest
# docker tag breeze-agent:latest CONTAINER_REGISTRY_URI/breeze-agent:latest
# docker push breeze-agent:latest CONTAINER_REGISTRY_URI/breeze-agent:latest
WHERE
CONTAINER_REGISTRY_URI should be replaced by your private container registry URI (e.g. 111111111111.dkr.ecr.us-east-1.amazonaws.com/breeze-agent).
9. Open file in the text editor and replace the following placeholders with your actual values:
CONTAINER_REGISTRY_URI – same as in the previous stepIMAGE_PULL_SECRET_NAME – name of the Kubernetes secret containing auth data of the private registry
Files names:
Amazon EKS:
breeze-agent-eks.yamlAzure AKS:
breeze-agent-aks.yamlGoogle GKE:
breeze-agent-gke.yaml
10. Apply the configuration, for example:
# kubectl create -f breeze-agent-eks.yamlCheck Status
Once Breeze is installed, Cloudaware automatically enables TunHub Gateway for a secure connection with Kubernetes which may be running in a private network.
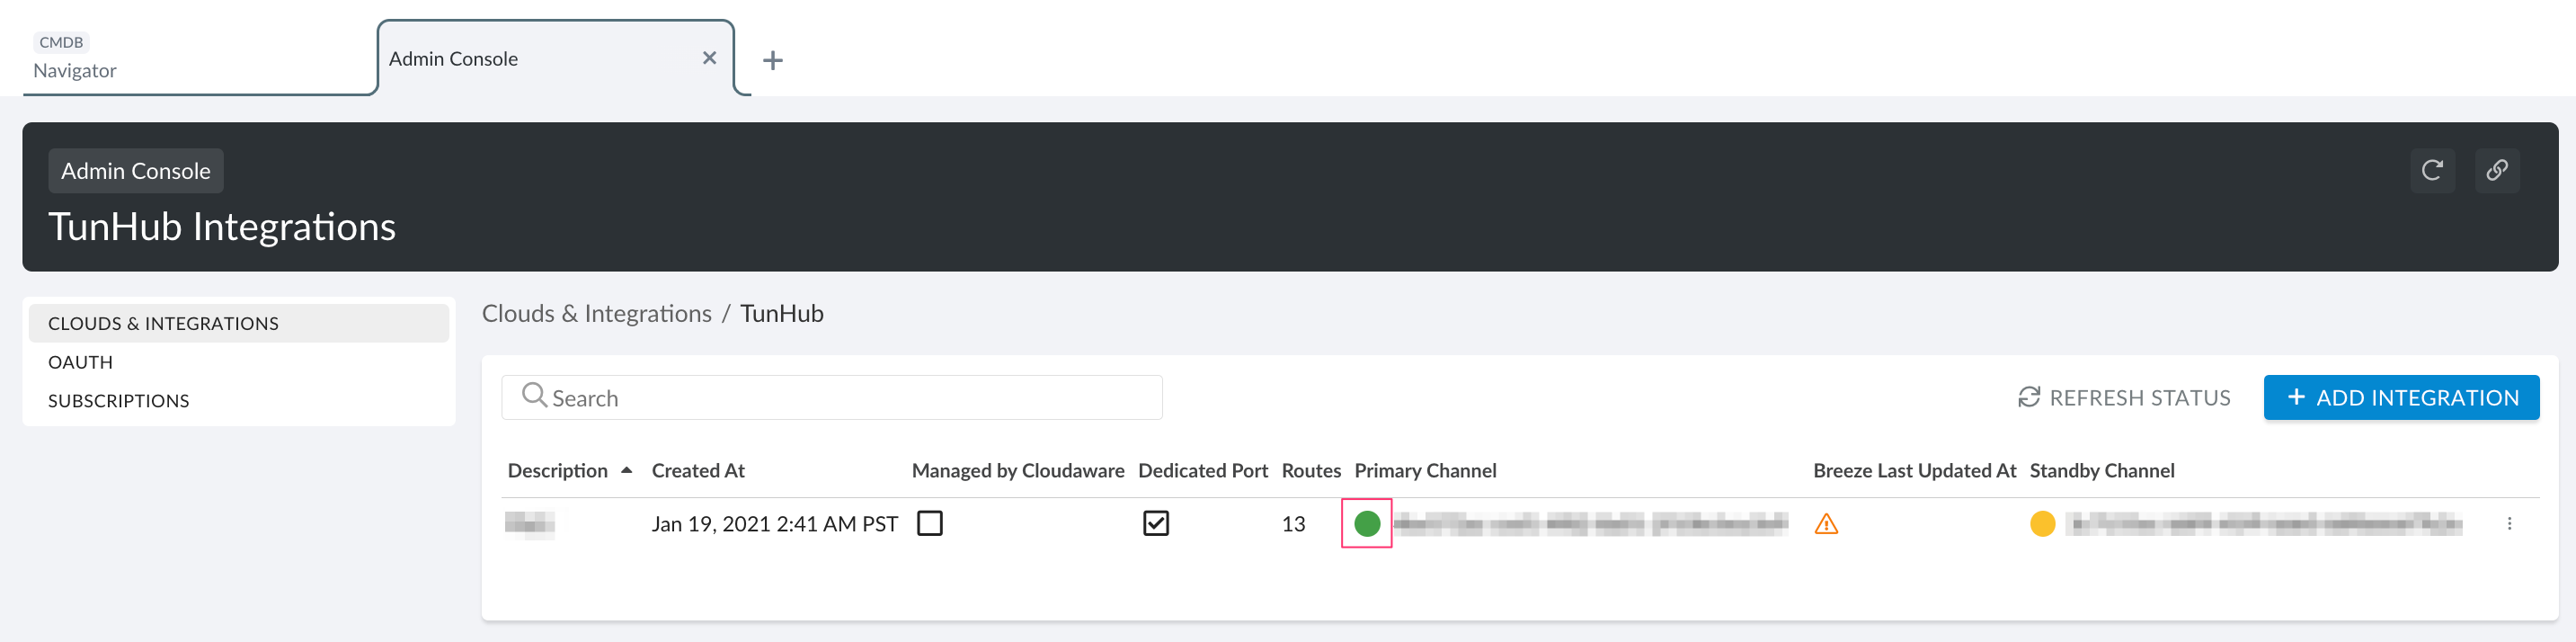
Go back to Cloudaware Admin → Clouds & Integrations → TunHub. Ensure that the TunHub connection has been created and has a green status:
Check Cloudaware Access To EKS/AKS/GKE
Amazon EKS: Ensure that Cloudaware has the required permissions as described in this guide.
Azure AKS: Ensure that Cloudaware has the required permissions as described in this guide.
Google GKE: Ensure that Cloudaware has the required permissions as described in this guide.
Please allow 1 hour for the data to load into Cloudaware.