Utility Classes
Use Utility Class to apply a common logic to custom compliance policies with different types of Input Objects.
Use case: Your company has a tagging policy in place. This policy is used for all object types. If it is necessary to check the presence of three specific tags on objects, you would need to create three different policies in Compliance Engine. Since these policies would have the same logic, you can create and use one Utility Class instead of coping the logic for three individual policies.
1. Log in to Cloudaware account → select Compliance Engine in the main menu under your username.
2. Under 'Setup' on the left select 'Utility Classes'. Click +Create New Class.
3. Give a class a meaningful name. Note that Class name should be a valid Java identifier, e.g. CheckCloudAccountTags:

Click Save.
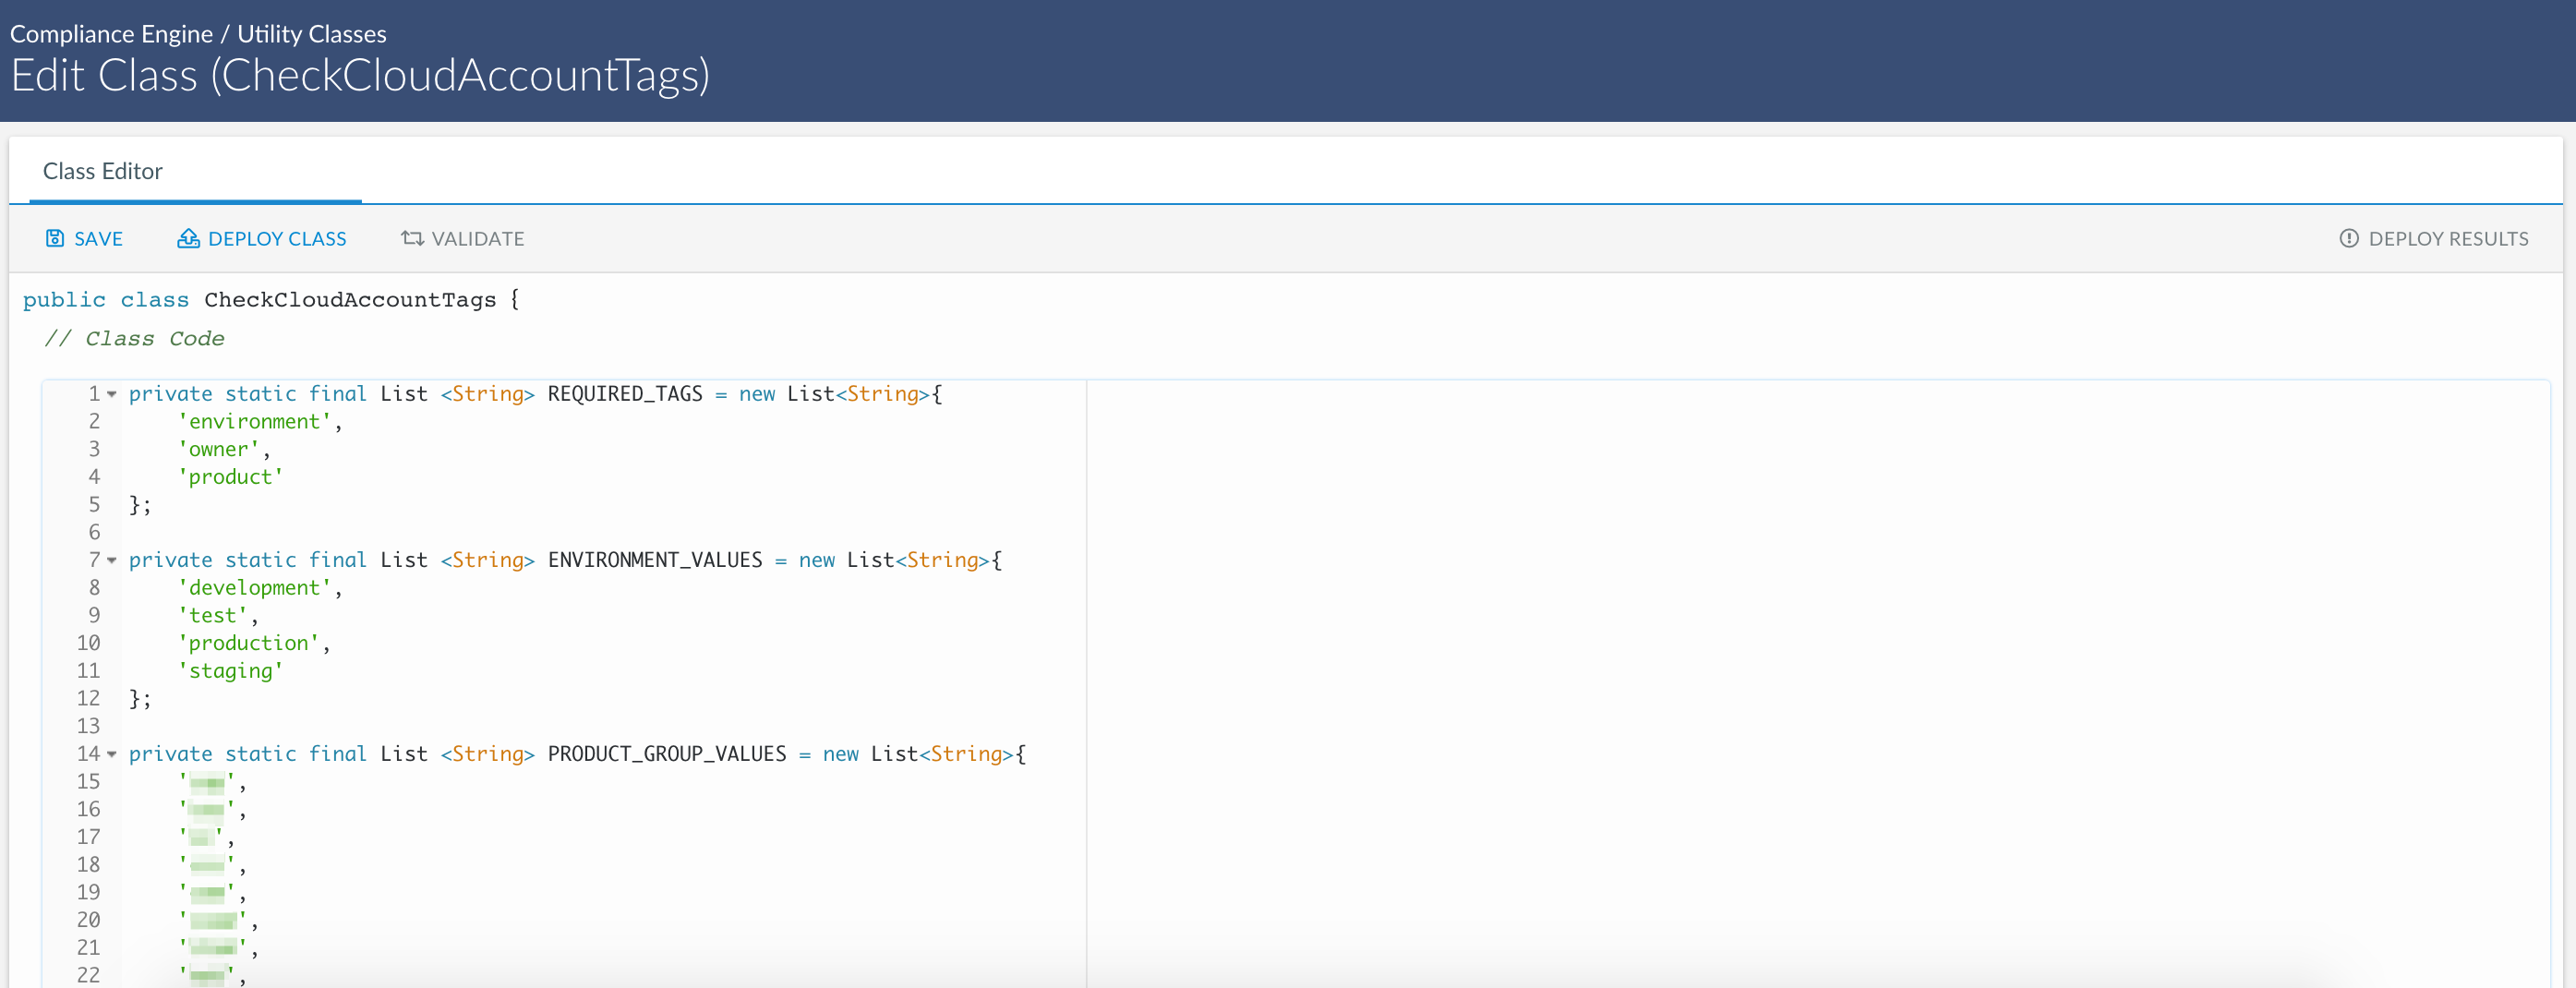
4. Use the Class Editor to edit the class logic:

5. Review the logic → Save.
6. Click Validate → Deploy → Deploy Results.
After the utility class is successfully deployed, you may use its methods in different policies. In this example, we created a sample method TagUtility.checkObjectTags for checking tags on cloud accounts (objects: AWS Account, Azure Subscription, Google Project). We can invoke tag presence validation using this single method.
