
With Access & Secret Keys
Use this guide to connect an AWS account to Cloudaware during trial registration using access keys.
Start in Cloudaware
In the Cloudaware Launcher (Control Hub), fill out the form:
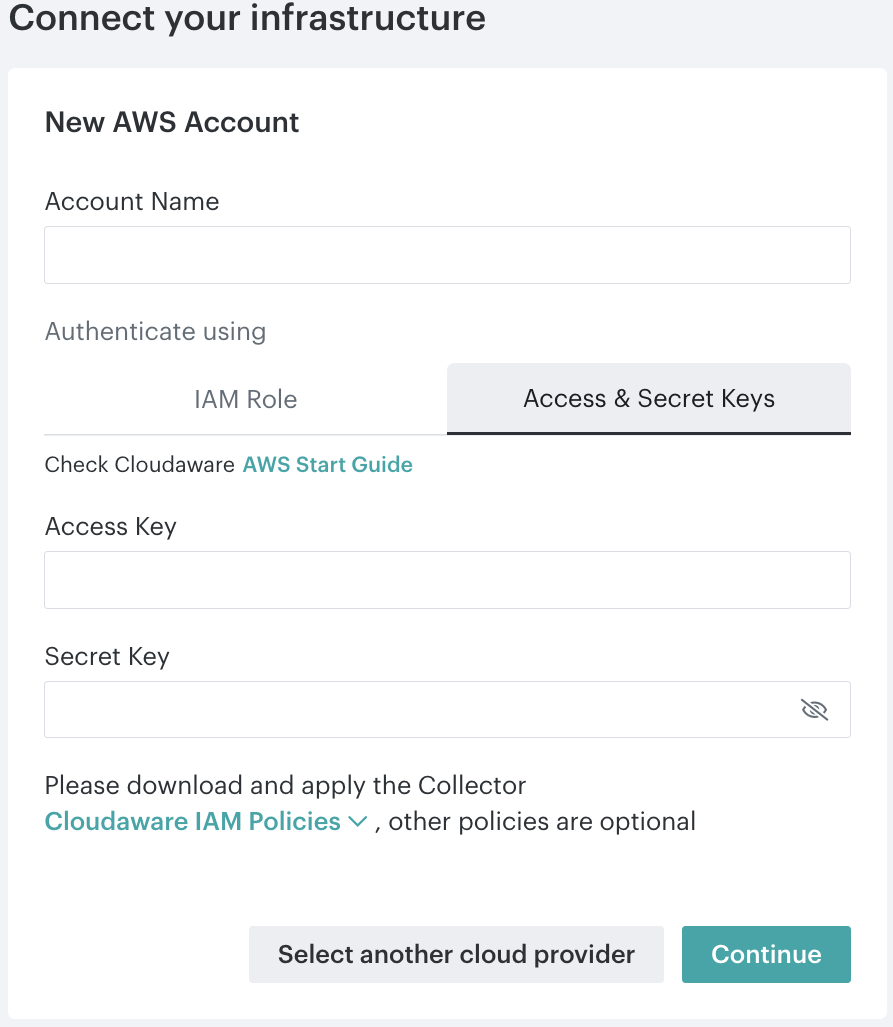
Enter an AWS account name.
Click Cloudaware IAM Policies.
Download Collector policies #1-5 for baseline access.
Configure IAM user policies and keys in AWS
Log in to the AWS Console to continue configuration.
Create custom policies
Go to IAM → Policies.
Click Create Policy.
Switch to the JSON tab.
Paste the collector policy Part #1 JSON from the downloaded file.
Save the policy.
Repeat these steps for each collector policy file, creating a total of 5 policies.
Create an IAM user
Go to IAM → IAM Users.
Create a new user, e.g., Cloudaware.
In Set Permissions, select Attach policies directly.
Filter policies by Customer managed to locate the newly added collector policies.
Attach the collector policies to the user, then click Next.
Review the user settings. Click Create User.
Generate access keys
Open the Security credentials tab for the IAM user.
Create an Access key (select Third-party service).
Copy and save the Secret access key. Note: the Secret access key cannot be retrieved after this step.
Save Access Keys in Cloudaware
Return to the Cloudaware Launcher (Control Hub):
Paste the Access key and the Secret Access key into the form.
Click Continue to check the credentials.
Click Save.
After Cloudaware validates the cloud account, the trial registration is submitted.
Next Steps
Check the inbox for the Registration Complete email.
Registration may take up to 1 hour.