
Breeze - Installation
Navigation
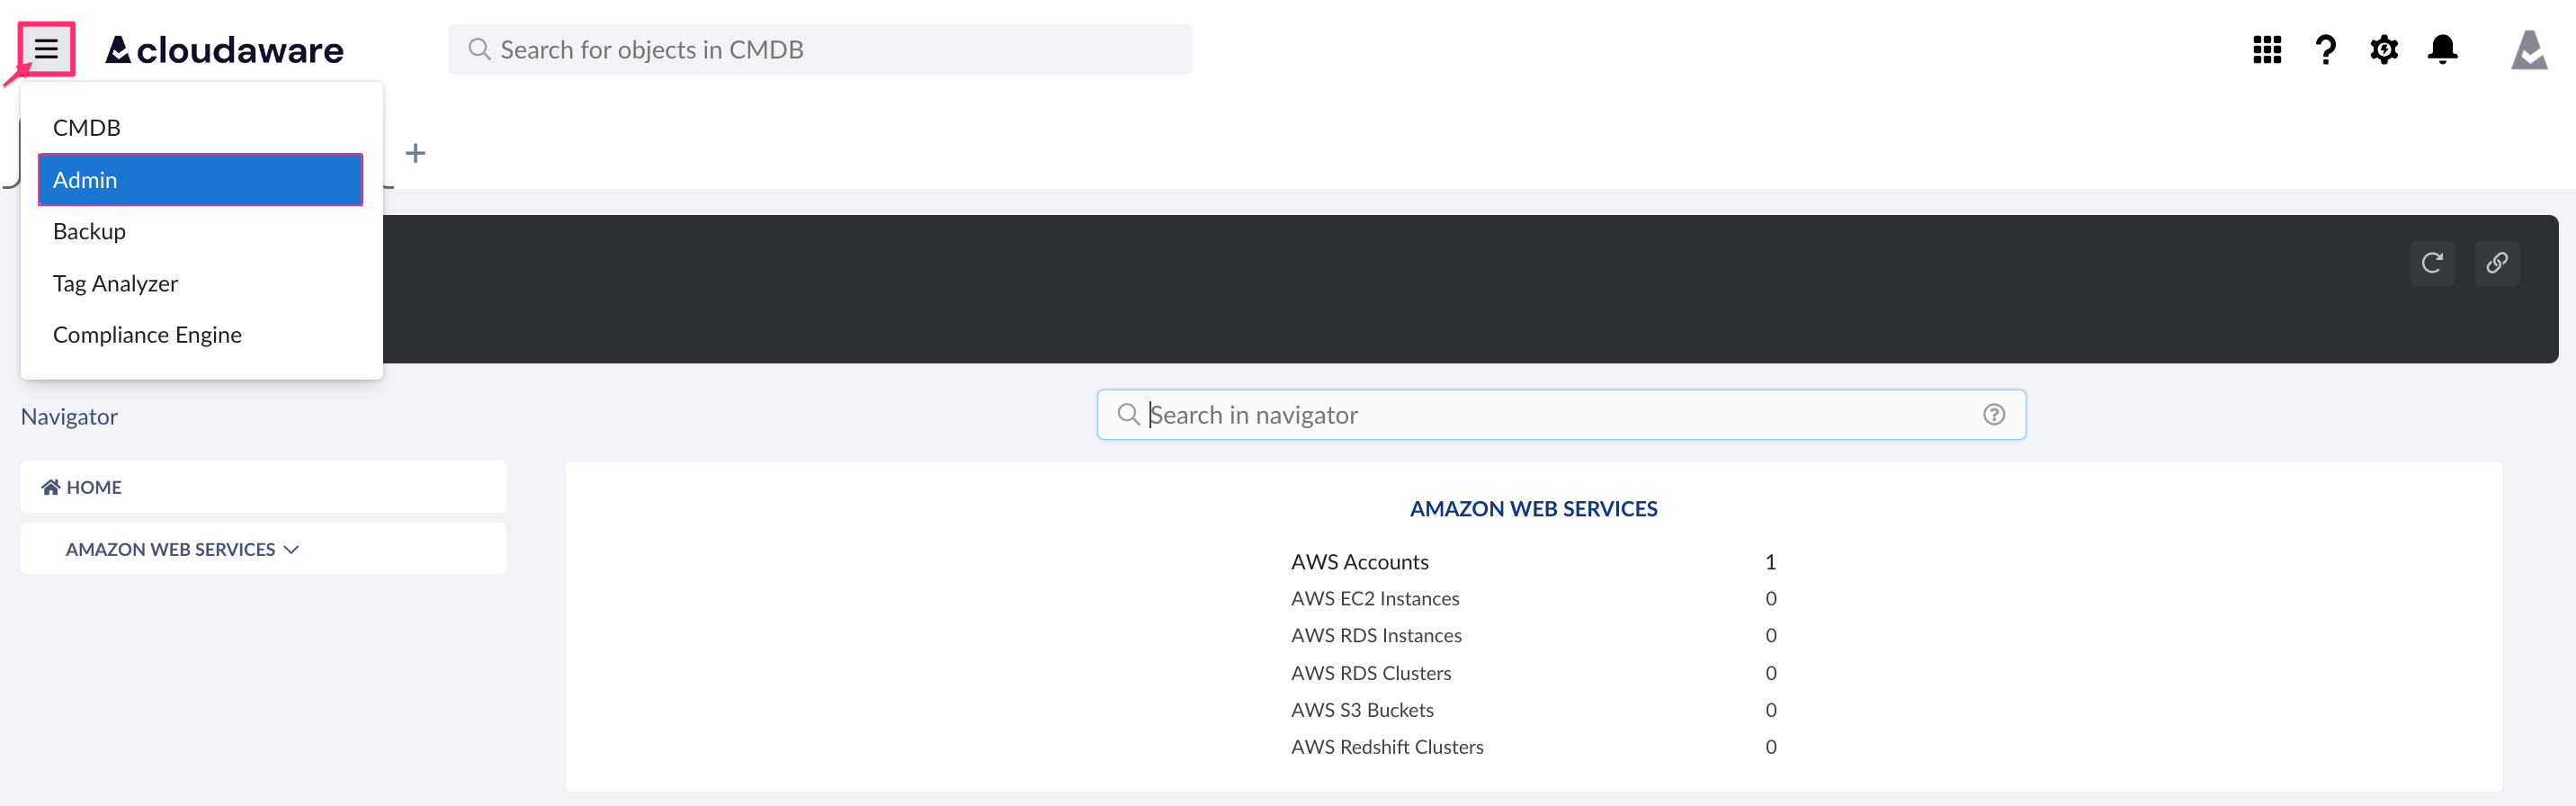
1. Log in to Cloudaware account → Admin.
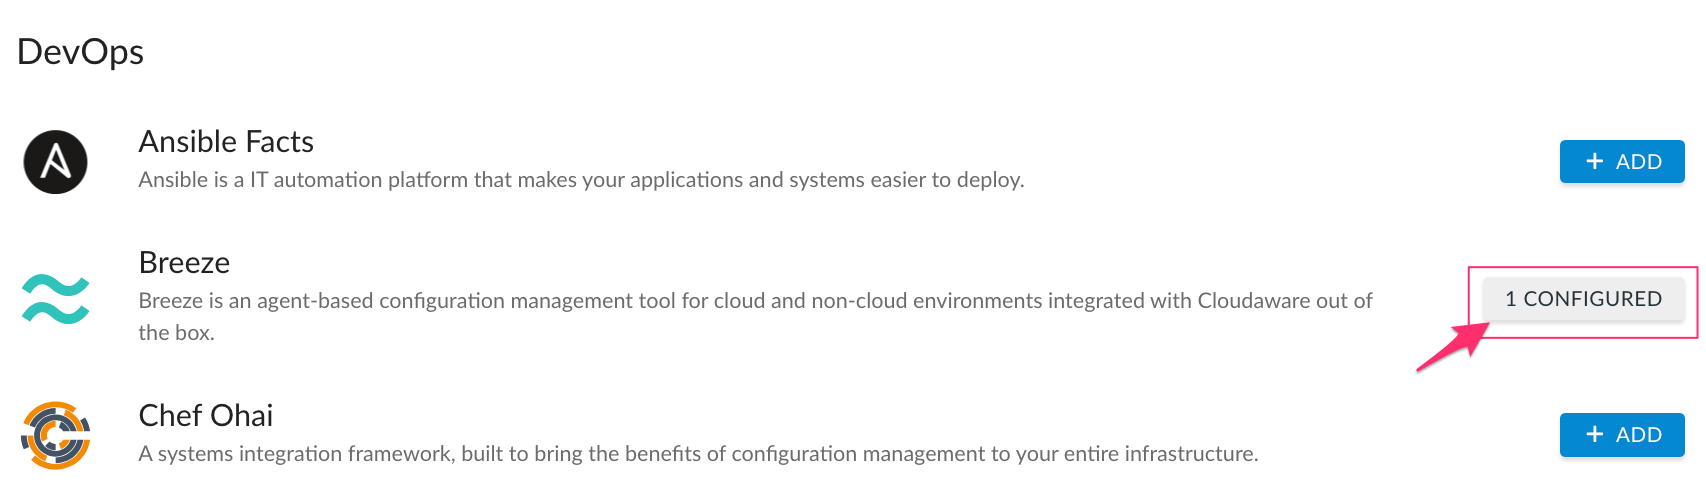
2. Find Breeze in the list of DevOps integrations. Click 1 Configured.
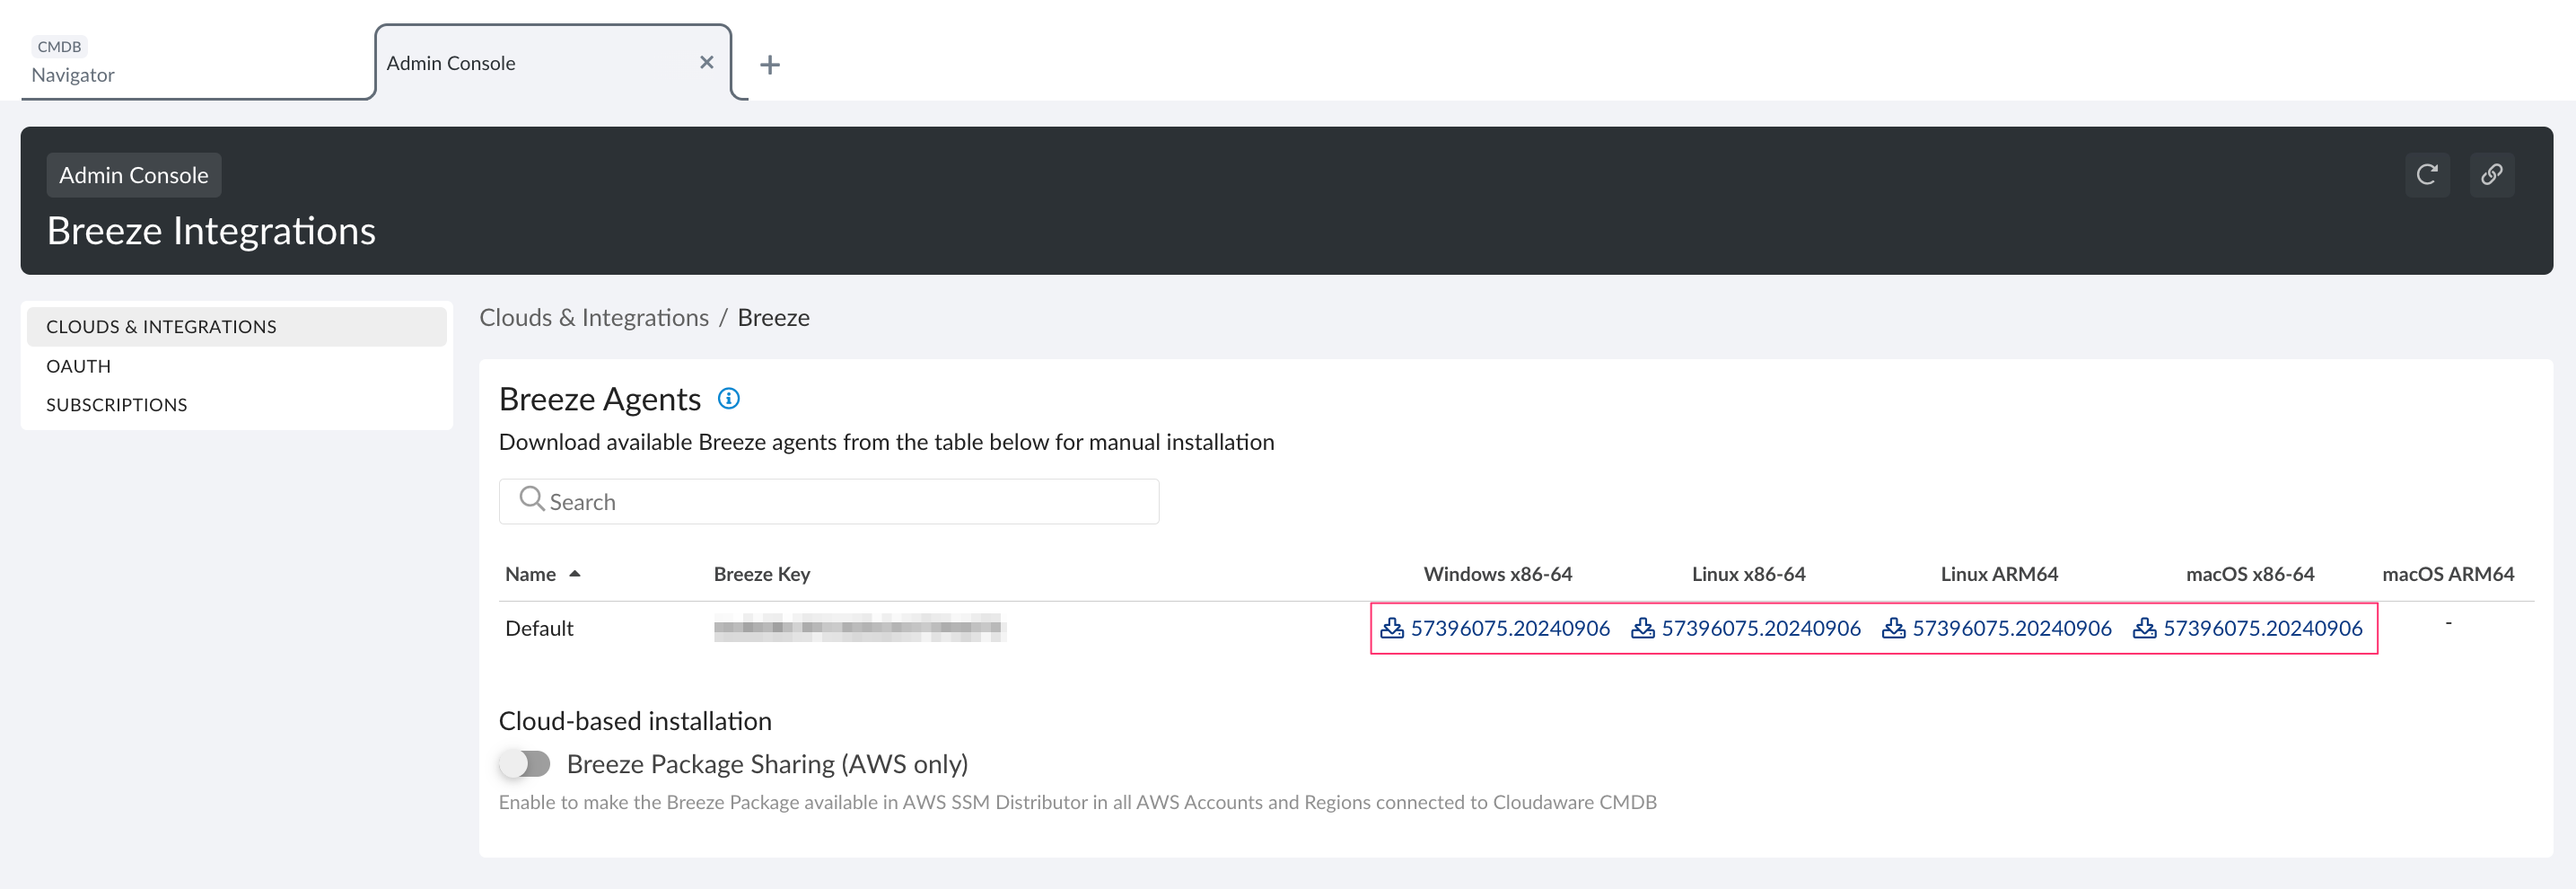
3. Select the installer file based on OS version.
Manual Installation
Check the Navigation section to get the Breeze agent installer file.
Linux
1. Download the agent installer (select Linux Agent version) to the temporary directory.
2. Unpack the archive:
tar xvzf breeze-agent*.tgz3. Enter the unpacked directory:
cd breeze-agent4. Run the installation script:
as root-user:
./install.shor using sudo:
sudo ./install.sh
Linux Installation Verification:
1. Check the cronjob or the systemd timer status:
cat /etc/cron.d/breeze-agentOR
systemctl status breeze-agent.timerRun the agent manually as root-user or using sudo:
cd /opt/breeze-agent
./app.sh
3) Check the log file var/log/breeze-agent.log. It should be used only by the cronjob. When the agent is run manually, the log data will be printed to STDOUT.
Windows
1. Download the agent installer (select Windows Agent version)
2. Run the installer executable file:
(breeze-agent*.exe)Breeze agent will be automatically installed on the system.
Windows Installation Verification:
1. Open the Task Scheduler: Start → Control Panel → Administrative tools → Task Scheduler.
2. Ensure that the scheduled task Breeze Agent has been created.
3. Run the job manually. Check the log file C:\Program Files\Breeze\agent.log.
Automated Installation
Check the Navigation section to get the Breeze agent installer file.
AWS Elastic Beanstalk
Install Breeze agent on AWS Elastic Beanstalk using .ebextension configuration files. In this example, we use EB CLI to deploy a new configuration.
1. Upload the Breeze agent installer file to where it is available for your Elastic Beanstalk environment. We recommend using any S3 bucket with restricted access or the one created by Elastic Beanstalk (used in the example below).
2. Create a configuration file in the .ebextension directory that is located in your project directory.
Windows-based environment:
files:
  "C:\\breeze-agent.exe":
    source: https://elasticbeanstalk-us-east-1-123456789098.s3.amazonaws.com/breeze-agent.exe
    authentication: S3Auth

commands:
  install_breeze:
    command: IF NOT EXIST "C:\Program Files\Breeze\app.bat" (C:\breeze-agent.exe)

Resources:
  AWSEBAutoScalingGroup:
    Metadata:
      AWS::CloudFormation::Authentication:
        S3Auth:
          type: "s3"
          buckets: ["elasticbeanstalk-us-east-1-123456789098"]
          roleName:
            "Fn::GetOptionSetting":
              Namespace: "aws:autoscaling:launchconfiguration"
              OptionName: "IamInstanceProfile"
              DefaultValue: "aws-elasticbeanstalk-ec2-role"
Linux-based environment:
files:
  "/tmp/breeze-agent.tgz":
    source: https://elasticbeanstalk-us-east-1-123456789098.s3.amazonaws.com/breeze-agent.tgz
    authentication: S3Auth

commands:
  "install breeze agent":
    test: test ! -d /opt/breeze-agent
    command: tar -xf /tmp/breeze-agent.tgz -C /tmp && /tmp/breeze-agent/install.sh

Resources:
  AWSEBAutoScalingGroup:
    Metadata:
      AWS::CloudFormation::Authentication:
        S3Auth:
          type: "s3"
          buckets: ["elasticbeanstalk-us-east-1-123456789098"]
          roleName:
            "Fn::GetOptionSetting":
              Namespace: "aws:autoscaling:launchconfiguration"
              OptionName: "IamInstanceProfile"
              DefaultValue: "aws-elasticbeanstalk-ec2-role"
This configuration file contains 3 sections: Files, Commands and Resources (AWS).
The Files section delivers the Breeze agent installer to the instance from S3 bucket.
The Commands section installs the Breeze agent.
The Resources section creates an authentication role that grants access to the bucket with Breeze agent installers to the Elastic Beanstalk.
For more configuration options check AWS documentation.
3. Deploy the application with new .ebextension config.
eb deployAWS EC2 User Data Script
Install Breeze agent on AWS EC2 instances using 'EC2 instance user data' during the initial launch of an instance. The script involves the following steps:
1. Download the agent installer
2. Unpack the installer (for Linux)
3. Run the installer
Since the installer file is customer-related and may contain vulnerable data, it may be challenging to define a secure location where it will be placed and accessible for EC2 instance. Upload the installer file into the location where it will be publicly available for short duration. In the use case below, we will generate a pre-signed AWS S3 object URL for the S3 bucket storing the installer file.
Upload the Breeze installer file(s) to AWS S3 Bucket
1. Download Breeze agent installers from Cloudaware CMDB.
2. Upload them to the S3 Bucket.
Generate a presigned object URL for each installer
AWS CLI tool and preconfigured profile in your AWS account are required. Use this command to generate a presigned object URL:
~$ aws s3 presign s3://breeze-agents/breeze-agent.linux.tgzSample output:
Default lifetime for this URL is 1 hour (or 3600 seconds). You can manually define the URL lifetime by adding --expires-in <time in seconds>:
~$ aws s3 presign s3://breeze-agents/breeze-agent.linux.tgz --expires-in 300Prepare the user data script and launch the instance
Once agent installers are ready, add the script to EC2 instance user data to install Breeze agent.
Replace the pre-signed URL in the script samples below by the one you generated and insert it into the User data section when launching the instance.
Linux:
#!/bin/bash

URL='<presigned URL to agent installer in your S3 bucket>'

# download agent installer
curl $URL -o /tmp/breeze-agent.tgz

# unpack agent installer
sudo tar -xf /tmp/breeze-agent.tgz -C /tmp

# install agent
sudo /tmp/breeze-agent/install.sh
Windows:
<powershell>
function New-TemporaryDirectory {
  $parent = [System.IO.Path]::GetTempPath()
  [string]$name = [System.Guid]::NewGuid()
  New-Item -ItemType Directory -Path (Join-Path $parent $name)
}

$url = "<presigned URL to agent installer in your S3 bucket>"
$tmp_dir = New-TemporaryDirectory
$agent_sfx = "$tmp_dir\breeze-agent.exe"

# download agent installer
(New-Object System.Net.WebClient).DownloadFile($url, $agent_sfx)

# install agent
Start-Process $agent_sfx -ArgumentList '-gm2' -NoNewWindow -Wait

# clean up
Remove-Item "$tmp_dir" -recurse
</powershell>
Windows must have PowerShell preinstalled. This script will work for all Windows Server versions starting 2012 R2 and newer.
AWS Systems Manager Distributor
Install Breeze agent on AWS EC2 instances using AWS Systems Manager Distributor.
Description
Create a package with Breeze agent. The distributor will publish this package to System Manager managed instances. Then the agent can be installed or uninstalled:
one time by using AWS Systems Manager Run Command
on a schedule by using AWS Systems Manager State Manager
Prerequisites
The distributor package consists of a manifest and two .zip archive files for Windows and Linux platforms. Each archive contains install and uninstall scripts, as well as Breeze agent distro respectively to the platform. The manifest template and scripts can be obtained from Github repository.
In the file manifest.json find the field "version" and change its value to a meaningful one. This is also the value of Version name that should be specified when the package is added to the Distributor (it becomes part of the AWS Systems Manager document). A version value can contain letters, numbers, underscores, hyphens, and periods, and be from 3 to 128 characters in length. It is recommended to use a human-readable value.
Preparing package files
A Linux archive named breeze-agent-linux.zip should contain the following files: install.sh, uninstall.sh and agent.XXX.YY.Z.x86_64.linux.tgz (the Linux Breeze agent distro as it was downloaded from Cloudaware CMDB).
A Windows archive named breeze-agent-windows.zip should contain the following files: install.ps1, uninstall.ps1 and agent.XXX.YY.Z.windows.signed.exe (the Windows Breeze agent distro as it was downloaded from Cloudaware CMDB).
Ensure that the script files have correct line breaks, namely LF (\n == 0x0A) on Linux and CRLF (\r\n == 0x0D 0x0A) on Windows.
A sha256 checksum should be specified for each archive file mentioned in the manifest. In order to calculate it, use the following commands:
Linux:
shasum -a 256 file-name.zipor
openssl dgst -sha256 file-name.zipWindows (use PowerShell):
Get-FileHash -Path file-name.zipIn the manifest.json find the section files and replace ARCHIVE_CHECKSUM placeholders with the calculated checksums.
Distributor package
Create an Advanced package in AWS Systems Manager as described in AWS documentation.
SCCM
To install Breeze agent via SCCM, use a PowerShell script that will download the agent installer to a target machine and install it.
Download the Breeze agent installer to any location where it can be downloaded by the target machine. In our example, we will use a shared folder with permission for account that set as Client Push Installation account for SCCM Site.
1. Create a new script in Software Library using the sample below.
2. Change the $url variable to your Breeze agent installer location.
3. Make sure that target systems have access to the installer's location.
4. Run the script on system or group to install Breeze agent.
Script sample:
function New-TemporaryDirectory {
  $parent = [System.IO.Path]::GetTempPath()
  [string]$name = [System.Guid]::NewGuid()
  New-Item -ItemType Directory -Path (Join-Path $parent $name)
}

$url = "\\10.0.0.69\d\breeze-agent.exe"
$tmp_dir = New-TemporaryDirectory
$agent_sfx = "$tmp_dir\breeze-agent.exe"

# download agent installer
(New-Object System.Net.WebClient).DownloadFile($url, $agent_sfx)

# install agent
Start-Process $agent_sfx -ArgumentList '-gm2' -NoNewWindow -Wait

# clean up
Remove-Item "$tmp_dir" -recurse
Chef
1. Clone the public-utilities repo to your server:
git clone https://github.com/cloudaware/public-utilities.git2. Put your Breeze agent installer files to the public-utilities/chef-modules/breeze-agent/files directory. Ensure the files are named breeze-agent-linux.tgz and breeze-agent-windows.exe.
3. Copy Breeze agent cookbook to your cookbook directory and upload it to the server:
cp -r public-utilities/chef-modules/breeze-agent ~/cookbooks/
knife cookbook upload breeze-agent
4. Create the breeze-agent role:
export EDITOR=vim
knife role create breeze-agent
Note that any other editor can be selected, e.g. nano.
Replace everything with the following in the editor, and save:
{
  "name": "breeze-agent",
  "description": "",
  "json_class": "Chef::Role",
  "default_attributes": {},
  "override_attributes": {},
  "chef_type": "role",
  "run_list": [ "recipe[breeze-agent]" ],
  "env_run_lists": {}
}
5. Add the role to the nodes in question or to all nodes using your web interface or the following command:
knife node run_list add $NODE_NAME 'role[breeze-agent]'WHERE $NODE_NAME is a placeholder for the name of the actual node
To add the role to all nodes, run:
for node in `knife node list`;do knife node run_list add $node 'role[breeze-agent]';done;Please allow some time for the next chef-client to apply changes on the nodes.
Puppet
1. Put the Puppet module folder to the /etc/puppetlabs/code/environments/production/modules/.
2. Put Breeze agent installer files to the /etc/puppetlabs/code/environments/production/modules/breeze_agent/files directory.
3. Attach breeze_agent class to the necessary group in the Puppet Dashboard.
4. Add the required variables breeze_package_linux and breeze_package_windows.
Ansible
1. Put Breeze agent installer files to the files directory.
2. Specify the installer file name and hosts in breeze_agent_linux.yml and breeze_agent_windows.yml
- hosts: linux
  vars:
    linux_agent: linux-breeze-agent.tgz
Installation via Azure VM extension (Run Command)
Check Navigation to get the agent installer file. Right click the file to select 'Save Link As'. Save the link*.
*The saved link should be in the following format: breeze-agent.XXXXXXXXXXXXXXXXXXXXXXX.cloudaware.20200922.0.x86_64.linux.tgz (for Linux) or breeze-agent.XXXXXXXXXXXXXXXXXXXXXXX.cloudaware.20210707.0.windows.signed.exe (for Windows). Please note that the copied installer link is valid for one hour only.
Save the installer file in a secure location. Ensure the VM can route to that endpoint via HTTP protocol (for example, Azure Storage or an internal file server).
Linux:
1. Create URL for accessing the agent (in case of Azure Storage, the URL has the following format: https://breezedeploy.blob.core.windows.net/agent/breeze-agent.XXXXXXXXXXXXXXXXXXXXXXX.cloudaware.20200922.0.x86_64.linux.tgz)
2. Replace AGENT_DISTRO_URL placeholder in AGENT_URL= in the script below with the resulting URL:
#!/bin/bash
AGENT_URL="AGENT_DISTRO_URL"
function echo_error {
  echo $@
  exit 1
}
BIN_CURL=$(which curl 2>/dev/null | grep -v 'not found')
BIN_WGET=$(which wget 2>/dev/null | grep -v 'not found')
if [ -n "${BIN_CURL}" ]; then
  CMD_DL="$BIN_CURL -o agent.tgz $AGENT_URL 2>/dev/null || echo_error \"download failed (curl)\""
elif [ -n "${BIN_WGET}" ]; then
  CMD_DL="$BIN_WGET -O agent.tgz $AGENT_URL 2>/dev/null || echo_error \"download failed (wget)\""
else
  echo_error "neither curl nor wget was found"
fi
echo "Downloading..."
DIR_TMP=`mktemp -d`
cd $DIR_TMP
eval "$CMD_DL"
echo "Installing..."
tar xf agent.tgz
cd breeze-agent
sudo ./install.sh > /dev/null
rm -fR $DIR_TMP
echo "Done"
3. Log in to Microsoft Azure Portal and select the VM in question. Select Operations → 'Run command' on the left.
4. Select RunShellScript, paste the resulting script from p.2 in the pop-up window on the right. Click Run.
5. Ensure the response has the following format:
Enable succeeded:
[stdout]
Downloading...
Installing...
Done

[stderr]
Windows:
1. Create URL for accessing the agent (in case of Azure Storage, the URL has the following format: https://breezedeploy.blob.core.windows.net/agent/breeze-agent.XXXXXXXXXXXXXXXXXXXXXXX.cloudaware.20210707.0.windows.signed.exe)
2. Replace AGENT_DISTRO_URL placeholder in $url = in the script below with the resulting URL:
$url = "AGENT_DISTRO_URL"
[Net.ServicePointManager]::SecurityProtocol += [System.Net.SecurityProtocolType]::Tls12
function Exit-WithError($e, $c) { Write-Host "Error:" $(If ($e.Exception.InnerException) {$e.Exception.InnerException.Message} Else {$e.Exception.Message}); Exit $c }
Write-Host "Downloading..."
$dir_tmp = New-Item -ItemType Directory -Path ([IO.Path]::Combine([System.IO.Path]::GetTempPath(), [System.Guid]::NewGuid()))
$agent_distro = "$dir_tmp\agent.exe"
try { (New-Object System.Net.WebClient).DownloadFile($url, $agent_distro) } catch [System.Net.WebException] { Exit-WithError $_ 1 }
Write-Host "Installing..."
try { Start-Process $agent_distro -ArgumentList '-gm2' -NoNewWindow -Wait } catch { Exit-WithError $_ 2 }
Remove-Item $dir_tmp -Recurse -Force
Write-Host "Done"
More about running scripts on Azure VM here.
Installation to Microsoft Intune
1. Install a Breeze agent on a Windows device (as described in Manual Installation - Windows).
2. In the file C:\Program Files\Breeze\etc\tags write preferred.descriptor=intune
This step is also applicable if the Breeze agent has already been installed on the device.
3. When creating a new web interface deployment, Intune requires an uninstall script. The Breeze uninstall script is shipped as a part of Windows Breeze Installer. When prompted for a path to the uninstall script, specify C:\Program Files\Breeze\uninstall.bat
Installation on VM managed by vCenter (deprecated)
Since VM ID cannot be used as a unique identifier across multiple vCenter Servers, you should perform additional configuration when installing Breeze on vCenter VMs. Once the agent is installed:
1. Create a file etc/tags in the Breeze agent's directory:
Linux: /opt/breeze-agent/etc/tags
Windows: C:\Program Files\Breeze\etc\tags
2. Add the following key-value pair lines:
vmware.vmid=vm-123456
vmware.service.uuid=1111-22-33-44-555555
WHERE
vmware.vmid - moRef ID (vm-123456 is a placeholder)
vmware.service.uuid - instanceUuid from the API call described here (1111-22-33-44-555555 is a placeholder)
Breeze reporting on cloned vCenter VMs
If a vCenter virtual machine is backed up and copied, all identifiers — including the BIOS UUID, which must be unique — may be identical. Since the vCenter ID is currently not accessible from within the virtual machine, Cloudaware CMDB cannot determine which clone the data originated from.
To ensure accurate Breeze reporting from cloned vCenter virtual machines, activate vApp Options on a machine:
Log in to the vSphere Client application and select a virtual machine from the inventory.
On the Configure tab, expand Settings and select vApp options.
Click EDIT on the top-left corner. The Edit vApp Options dialog box opens.
If vApp options are deactivated, check the box Enable vApp options.
Select the OVF Details tab. In the OVF environment transport section, check the VMware Tools checkbox.
Reboot the virtual machine.
These steps must be completed only once on the machine that will be cloned or used to create a template for new VMs.
Proxy support
To add the proxy support to Breeze agent, edit the startup script:
Linux:
Open the file /opt/breeze-agent/app.sh
Add the next line before the string ruby ./app.rb:
export http_proxy="http://1.2.3.4:3128"

ruby ./app.rb # this line already exist in fileWindows:
Open the file C:\Program Files\Breeze\app.bat
Add the next line before the string ruby app.rb:
set http_proxy=http://1.2.3.4:3128

ruby app.rb >> agent.log 2>&1