
Snowflake
Snowflake is cloud-based data storage and analytics service. This guide explains how to add Snowflake integration to Cloudaware.
![]() To see how Cloudaware seamlessly integrates with Snowflake in action, request a demo.
To see how Cloudaware seamlessly integrates with Snowflake in action, request a demo.
Prerequsites
Create a custom role, e.g. READ_ONLY.
Create a user, e.g. CLOUDAWARE, and assign the role READ_ONLY.
CODEcreate user CLOUDAWARE default_role=READ_ONLYGrant the role access to a warehouse*:
CODEgrant usage on warehouse <warehouse_name> to role READ_ONLY
*Cloudaware collects metadata only for objects that the role has access to. Assign the permissions below depending on the required access level.
Basic Access
GRANT IMPORTED PRIVILEGES ON DATABASE SNOWFLAKE TO ROLE READ_ONLY
Detailed Access
Snowflake Integration: GRANT USAGE ON INTEGRATION <integration_name> TO READ_ONLY
Snowflake Database: GRANT USAGE ON DATABASE <database_name> TO READ_ONLY
Snowflake Schema:
GRANT USAGE ON ALL SCHEMAS IN DATABASE <database_name> TO READ_ONLY
GRANT USAGE ON FUTURE SCHEMAS IN DATABASE <database_name> TO READ_ONLY
Snowflake Stage:
GRANT USAGE ON ALL STAGES IN DATABASE <database_name> TO READ_ONLY
GRANT USAGE ON FUTURE STAGES IN DATABASE <database_name> TO READ_ONLY
Snowflake Table:
GRANT REFERENCES ON ALL EXTERNAL TABLES IN DATABASE <database_name> TO READ_ONLY
GRANT REFERENCES ON FUTURE EXTERNAL TABLES IN DATABASE <database_name> TO READ_ONLY
Snowflake Pipe:
GRANT MONITOR ON PIPE <database_name>.<schema_name>.<pipe_name> TO READ_ONLY
GRANT MONITOR ON FUTURE PIPES IN DATABASE <database_name> TO READ_ONLY
Add a Snowflake account
Log in to Cloudaware → Admin.

Find Snowflake in integrations. Click +ADD.

Fill out the form:

WHERE
1 Account ID – the Snowflake account identifier. Use either Account Name in the formatmyorg-account123or Account Locator in the formatxy12345orxy12345.cloud_region_id
Username – the name of the user created for this integration, e.g., CLOUDAWARE. Note: This field is case-sensitive. Enter the username exactly as it appears in the Snowflake account. If the parameterQUOTED_IDENTIFIERS_IGNORE_CASEis set toTrueat the account/user or ACCOUNTADMIN/SECURITYADMIN level, Snowflake automatically uppercases the username, which may cause authorization errors. Read more
2 Select Certificate – click +CREATE NEW, enter a meaningful name, then click +GENERATE to add a new key pair
3 Next Step – copy the command, run it in Snowflake to update the user’s rsa_public_key
4 Warehouse – click GET WAREHOUSES and select a warehouse-down list
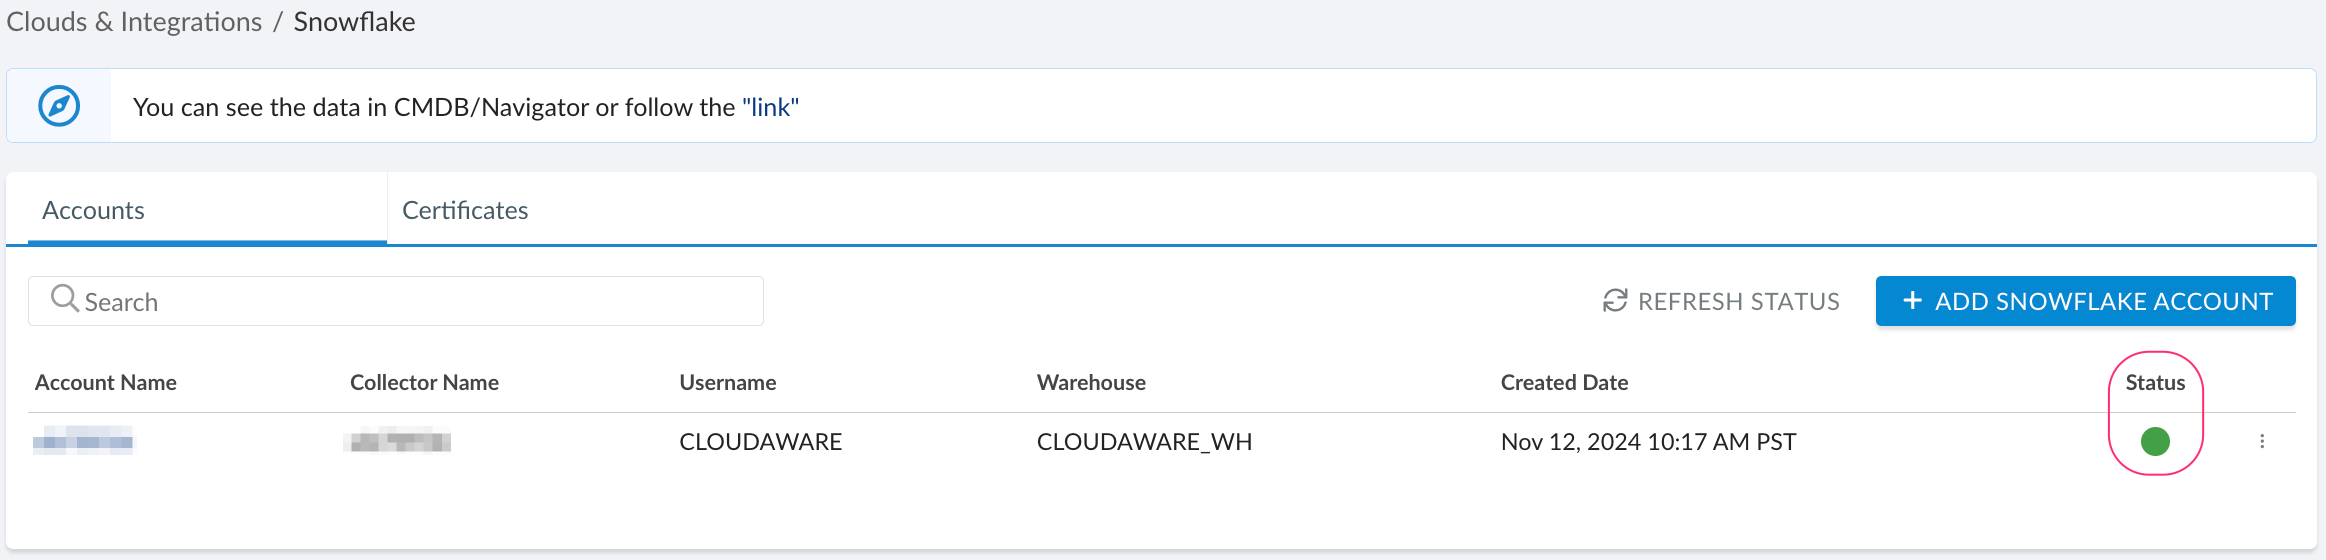
Click SAVE.A green light in the ‘Status’ column indicates successful configuration. If the light is red, contact support@cloudaware.com.
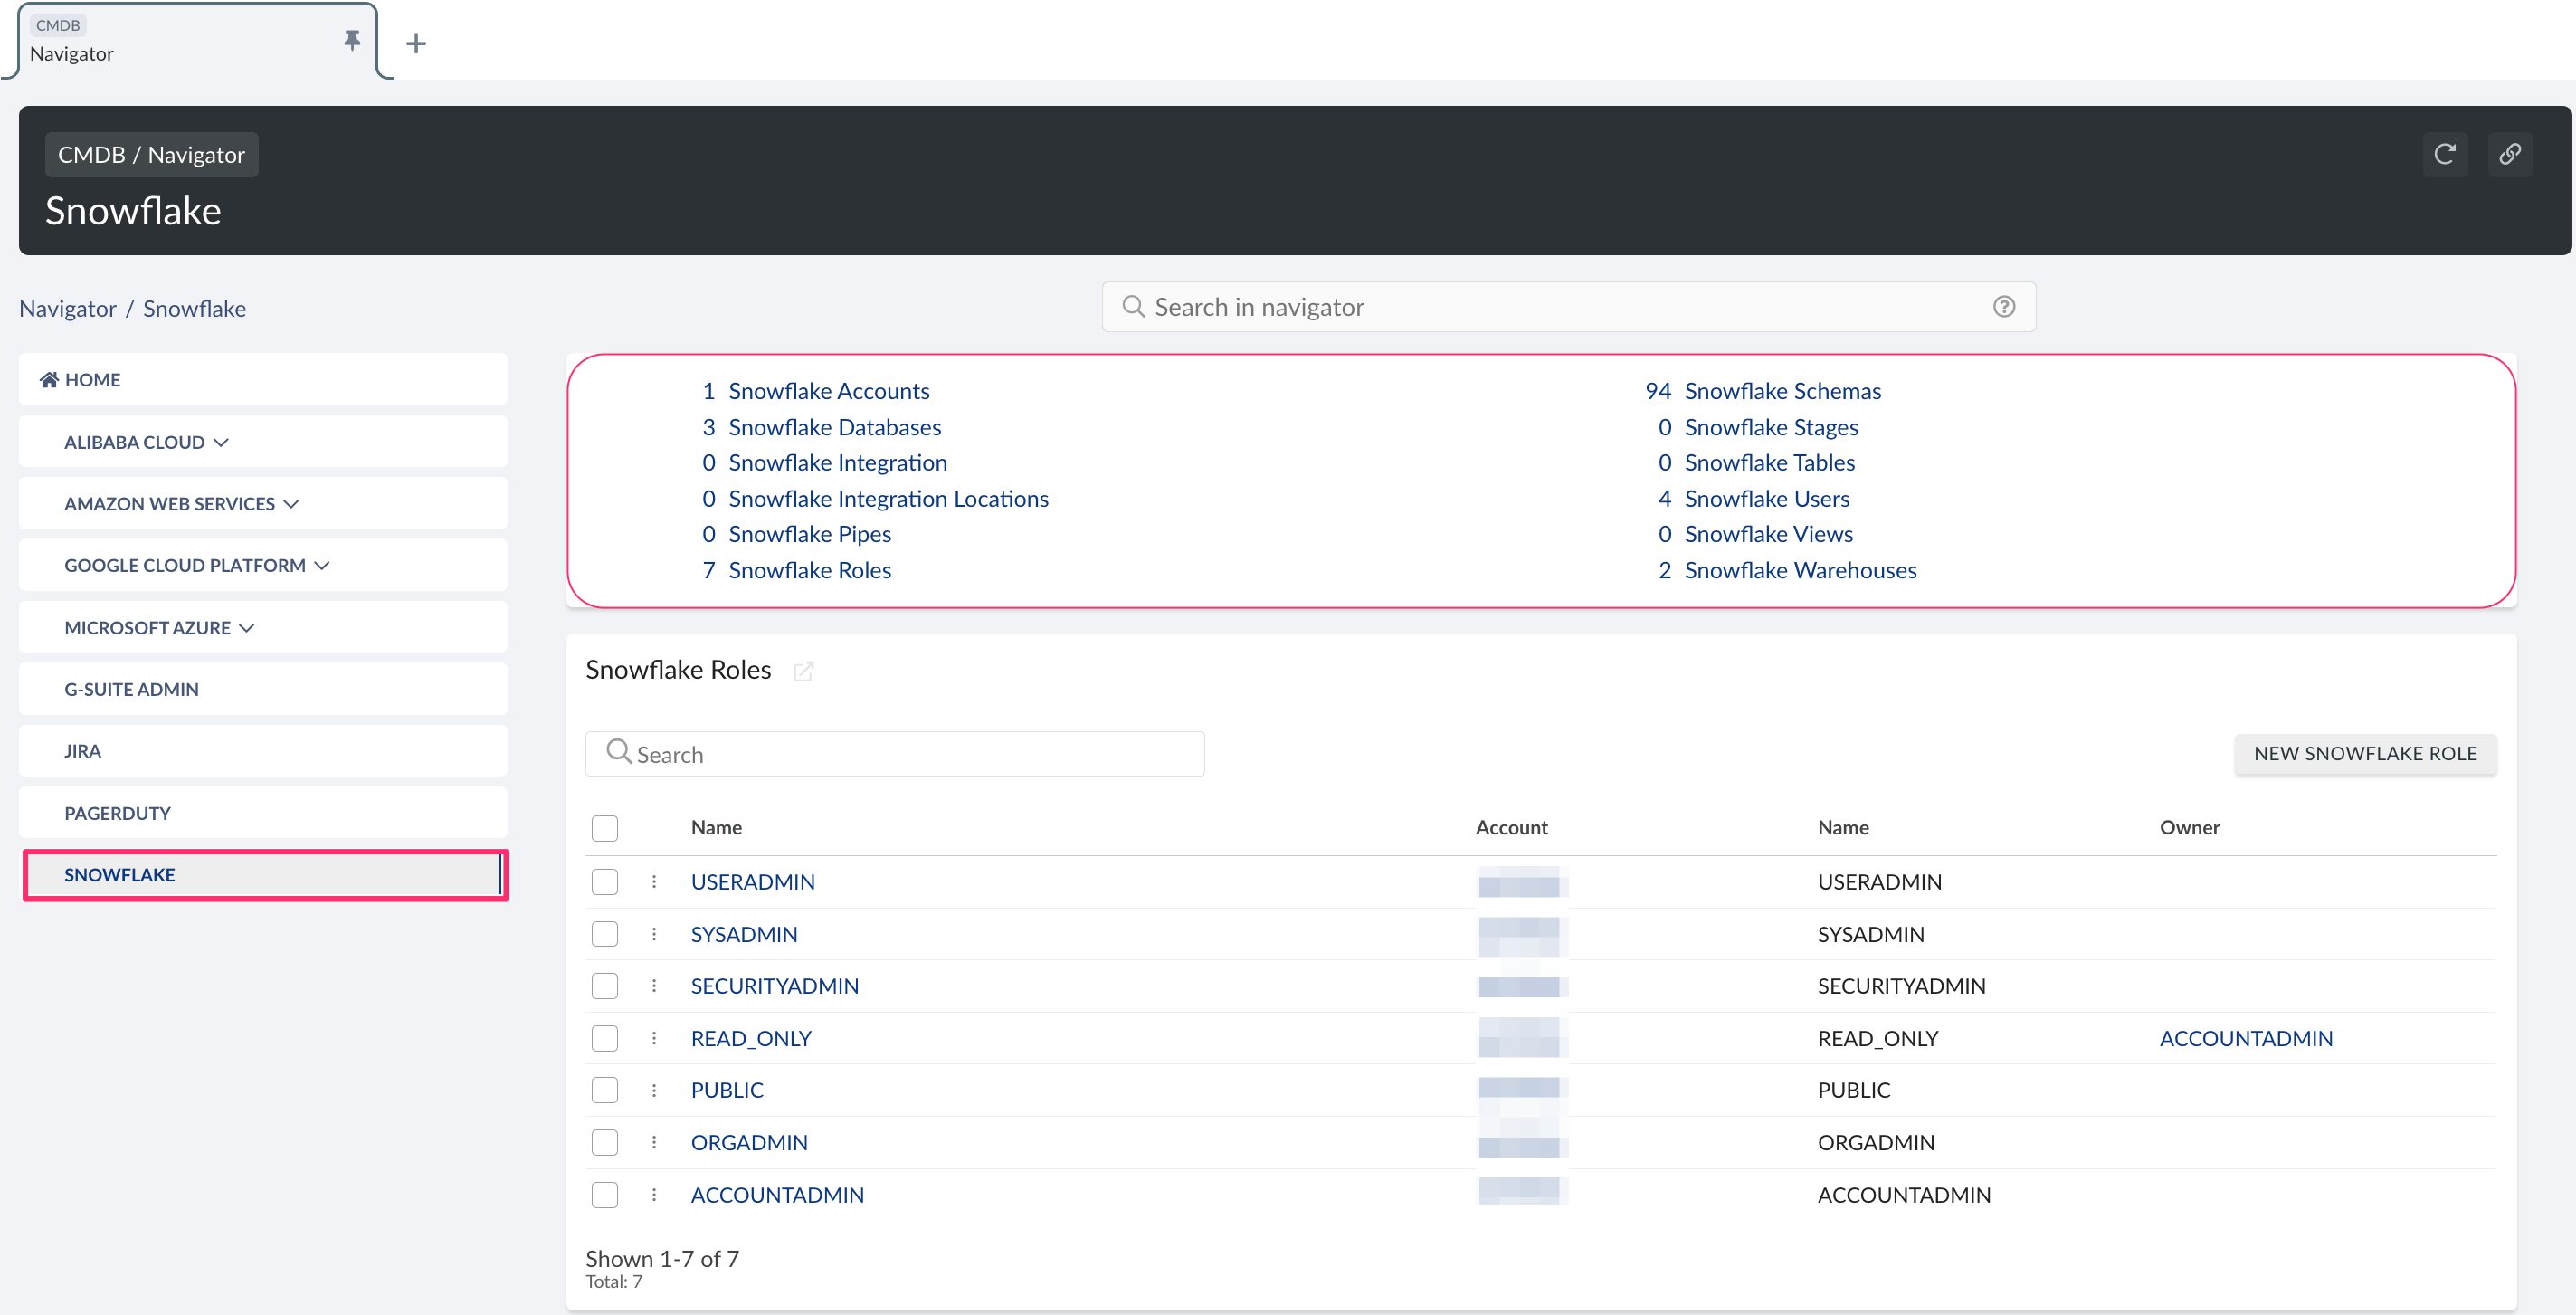
To view Snowflake-related data, go to Cloudaware CMDB Navigator. Select SNOWFLAKE in the left-hand menu.
List of Snowflake objects
Cloudaware supports the following Snowflake objects:
Snowflake Account
CA10SN2__CaSnowflakeAccount__cSnowflake Database
CA10SN2__CaSnowflakeDatabase__cSnowflake Identity
CA10SN2__CaSnowflakeIdentity__cSnowflake Pipe
CA10SN2__CaSnowflakePipe__cSnowflake Role
CA10SN2__CaSnowflakeRole__cSnowflake Schema
CA10SN2__CaSnowflakeSchema__cSnowflake Stage
CA10SN2__CaSnowflakeStage__cSnowflake Table
CA10SN2__CaSnowflakeTable__cSnowflake User
CA10SN2__CaSnowflakeUser__cSnowflake User Role Link
CA10SN2__CaSnowflakeUserRoleLink__cSnowflake View
CA10SN2__CaSnowflakeView__c