
Connected App with OAuth 2.0 Client Credentials Flow (legacy)

This guide explains how to configure a connected app using OAuth 2.0 Client Credentials Flow for Cloudaware CMDB API access. Connected Apps are a legacy feature. It is recommended to use External Client Apps.
Prerequisites
Contact your dedicated technical account manager or tam@cloudaware.com to enable the App Manager feature for your Cloudaware account. Once the feature is enabled, proceed with the setup.
Set up the app
Log in to Cloudaware → Setup.

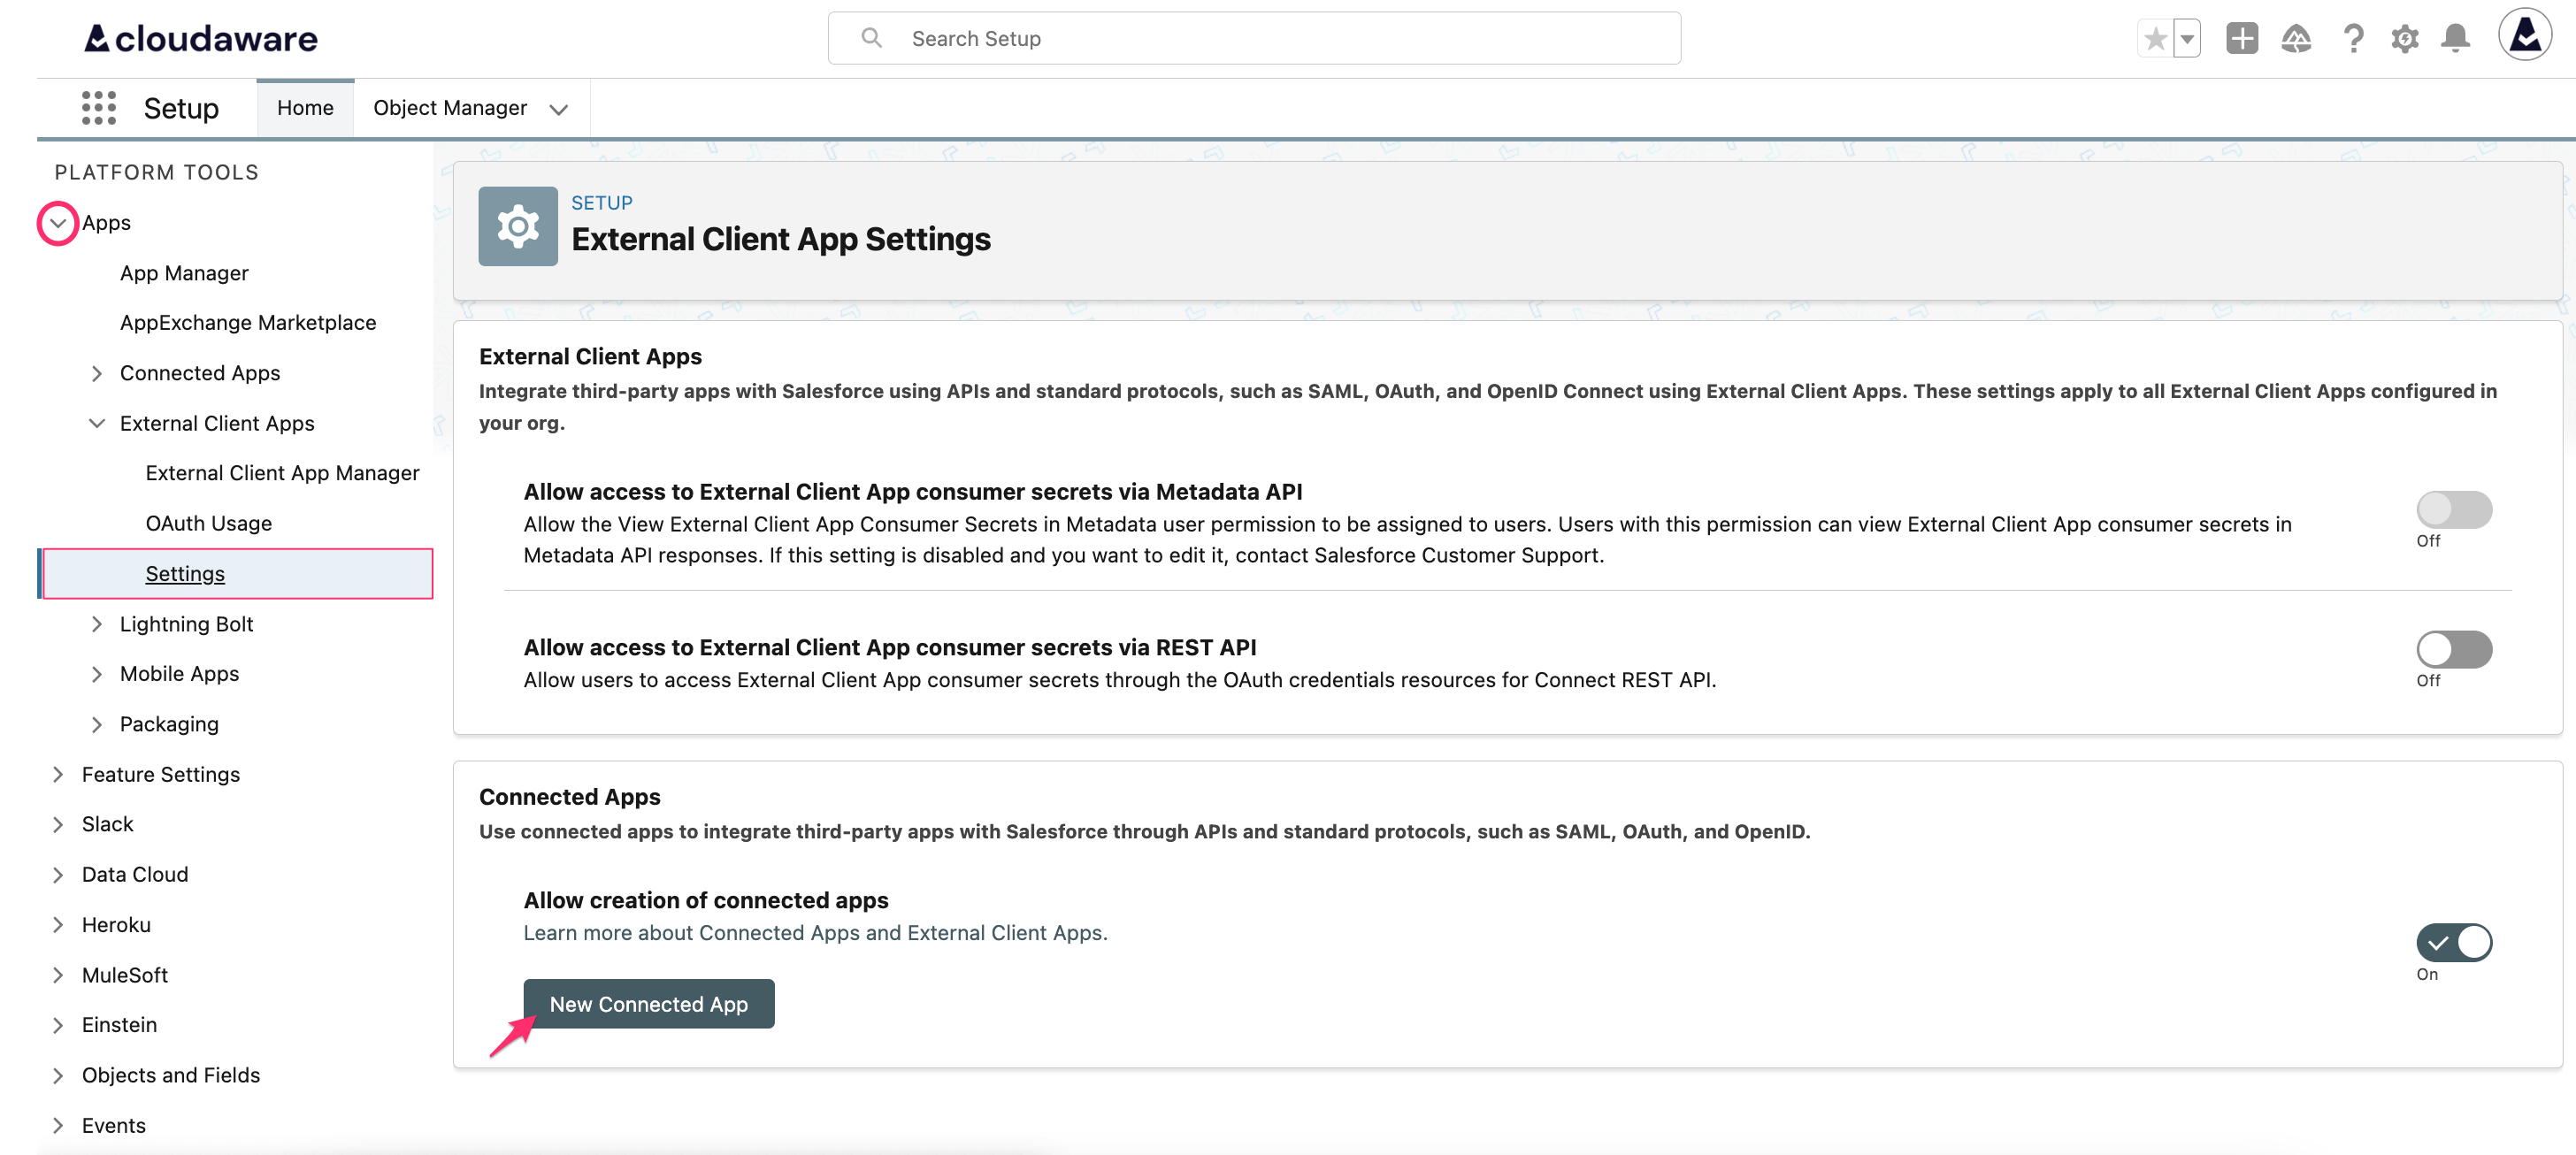
Search for Apps in the Quick Find bar. Under External Client Apps, select the Settings tab → New Connected App.
Set a name and a contact email for the connected app. The API name will be auto-populated.
Under API (Enable OAuth Settings), check the box 'Enable OAuth Settings'. Use
http://localhost:1717/OauthRedirectin the Callback URL field.
Select the following OAuth scopes:
Manage user data via APIs (api)
Perform requests at any time (refresh_token, offline_access)
Uncheck the 'Require Proof Key for Code Exchange (PKCE) Extension for Supported Authorization Flows' box if it is not required.
Check the box 'Enable Client Credentials Flow'. Click OK in the popup window. Scroll down and click Save.
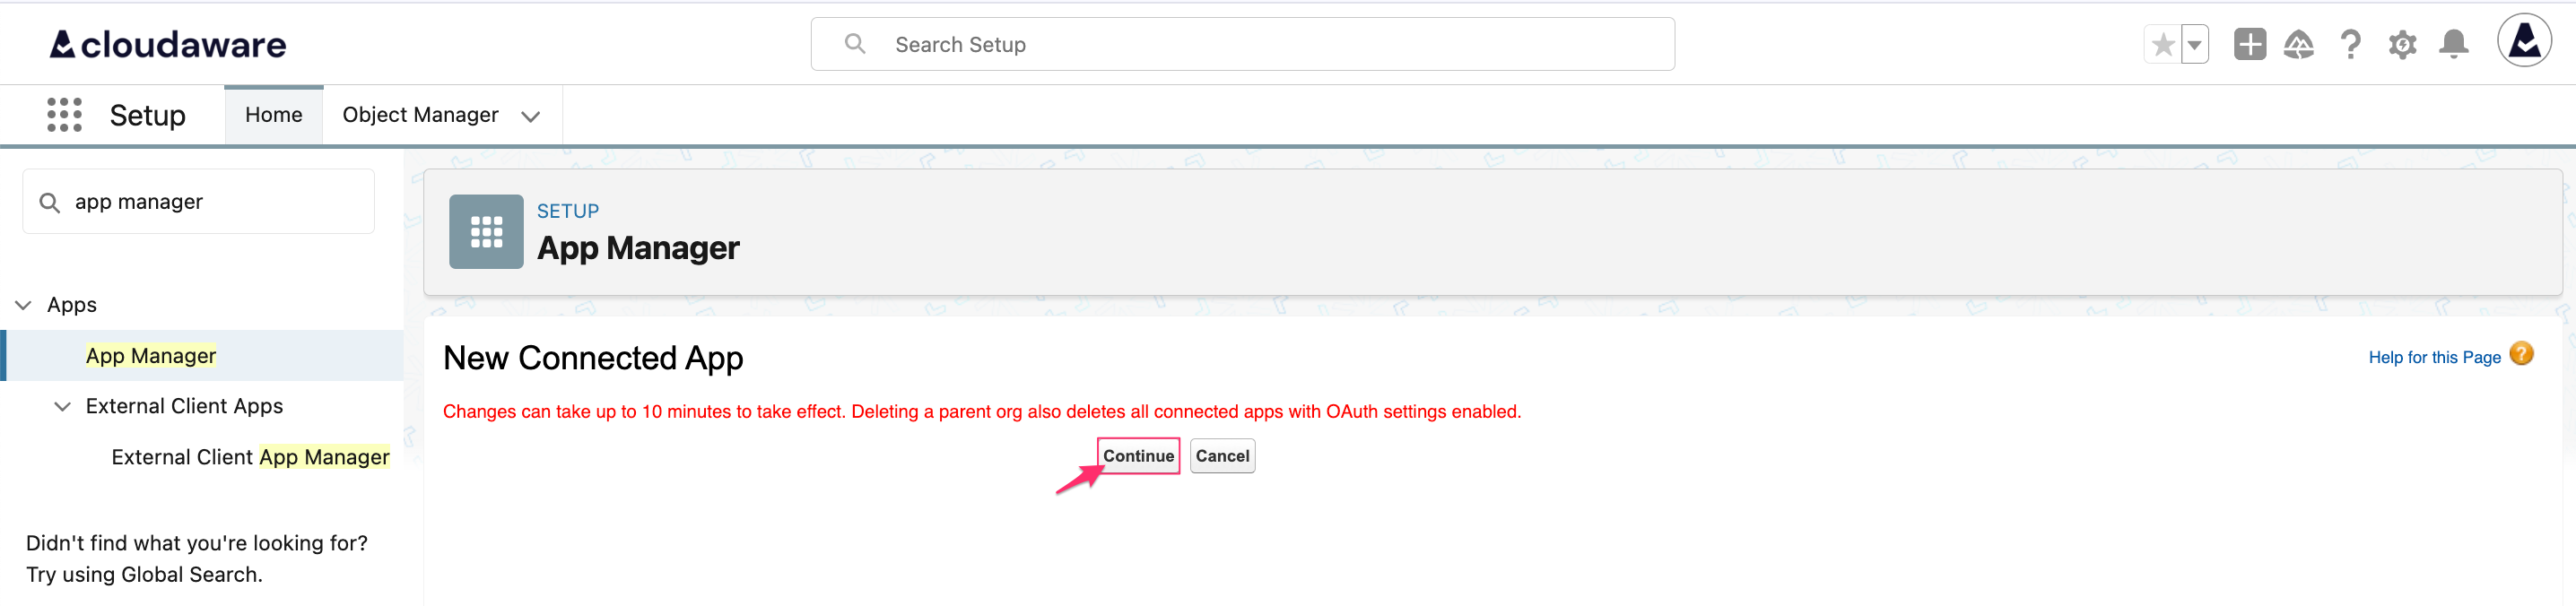
A message will appear informing that the changes may take some time to be applied. Click Continue to be redirected to the New Connected App page.
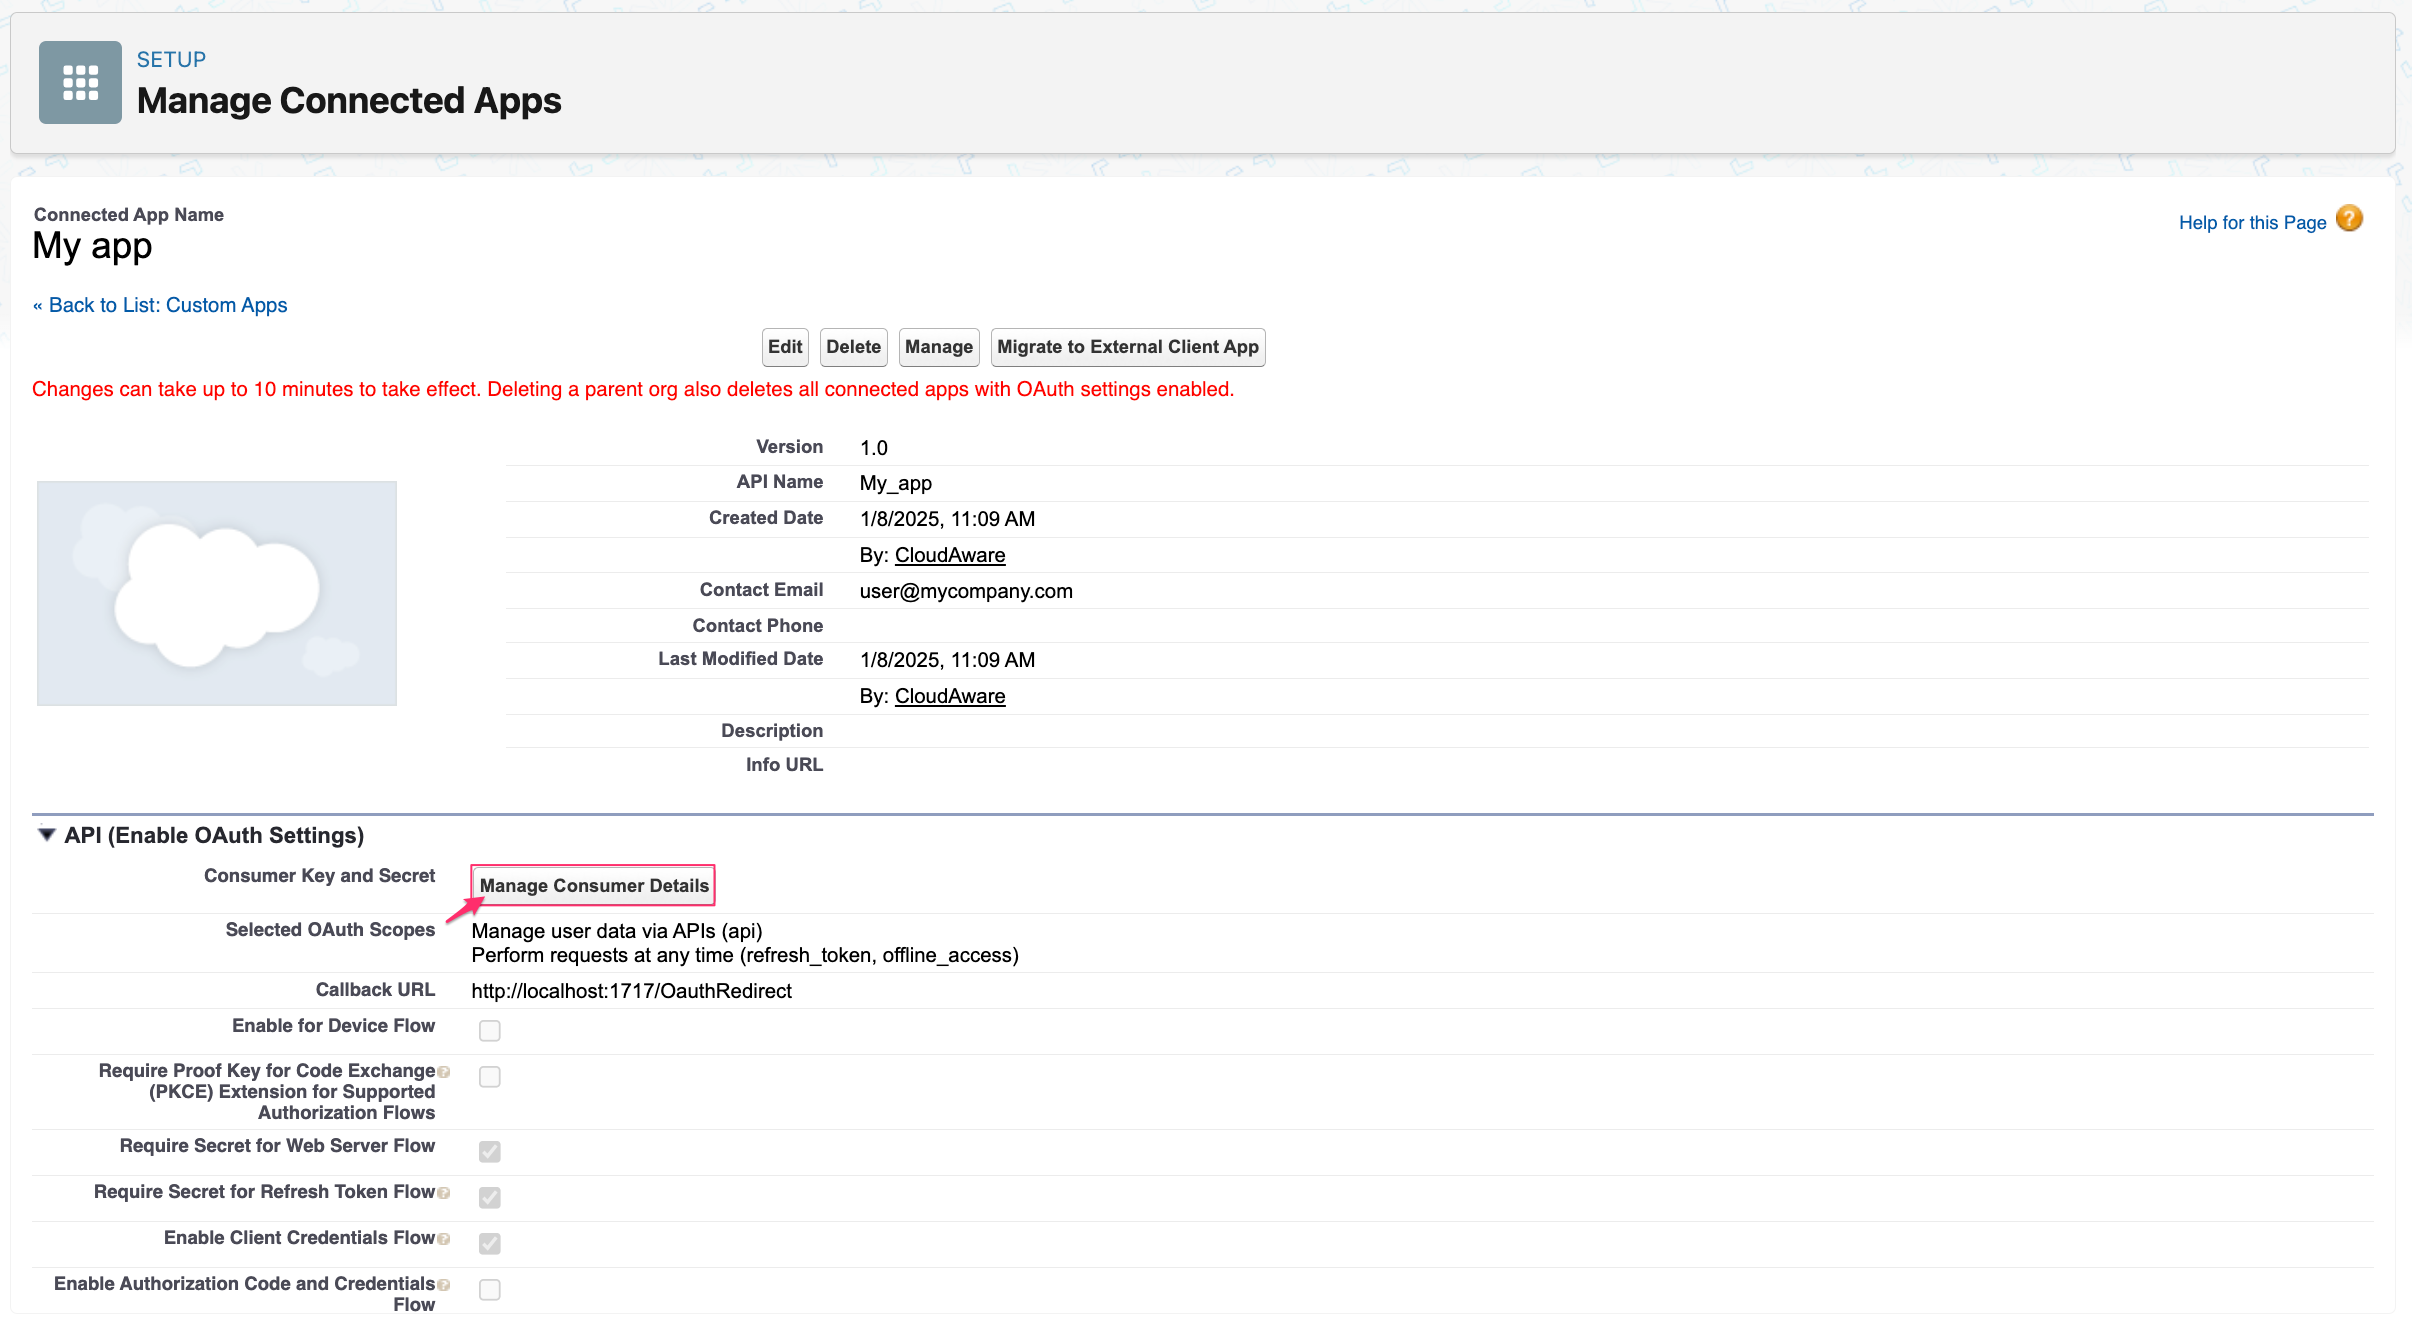
Click Manage Consumer Details.
Check your email to get the code required to verify your identity.
Copy & save Consumer Key and Consumer Secret. These credentials should be used as
client_idandclient_secretin authorization API requests to obtain an access token.
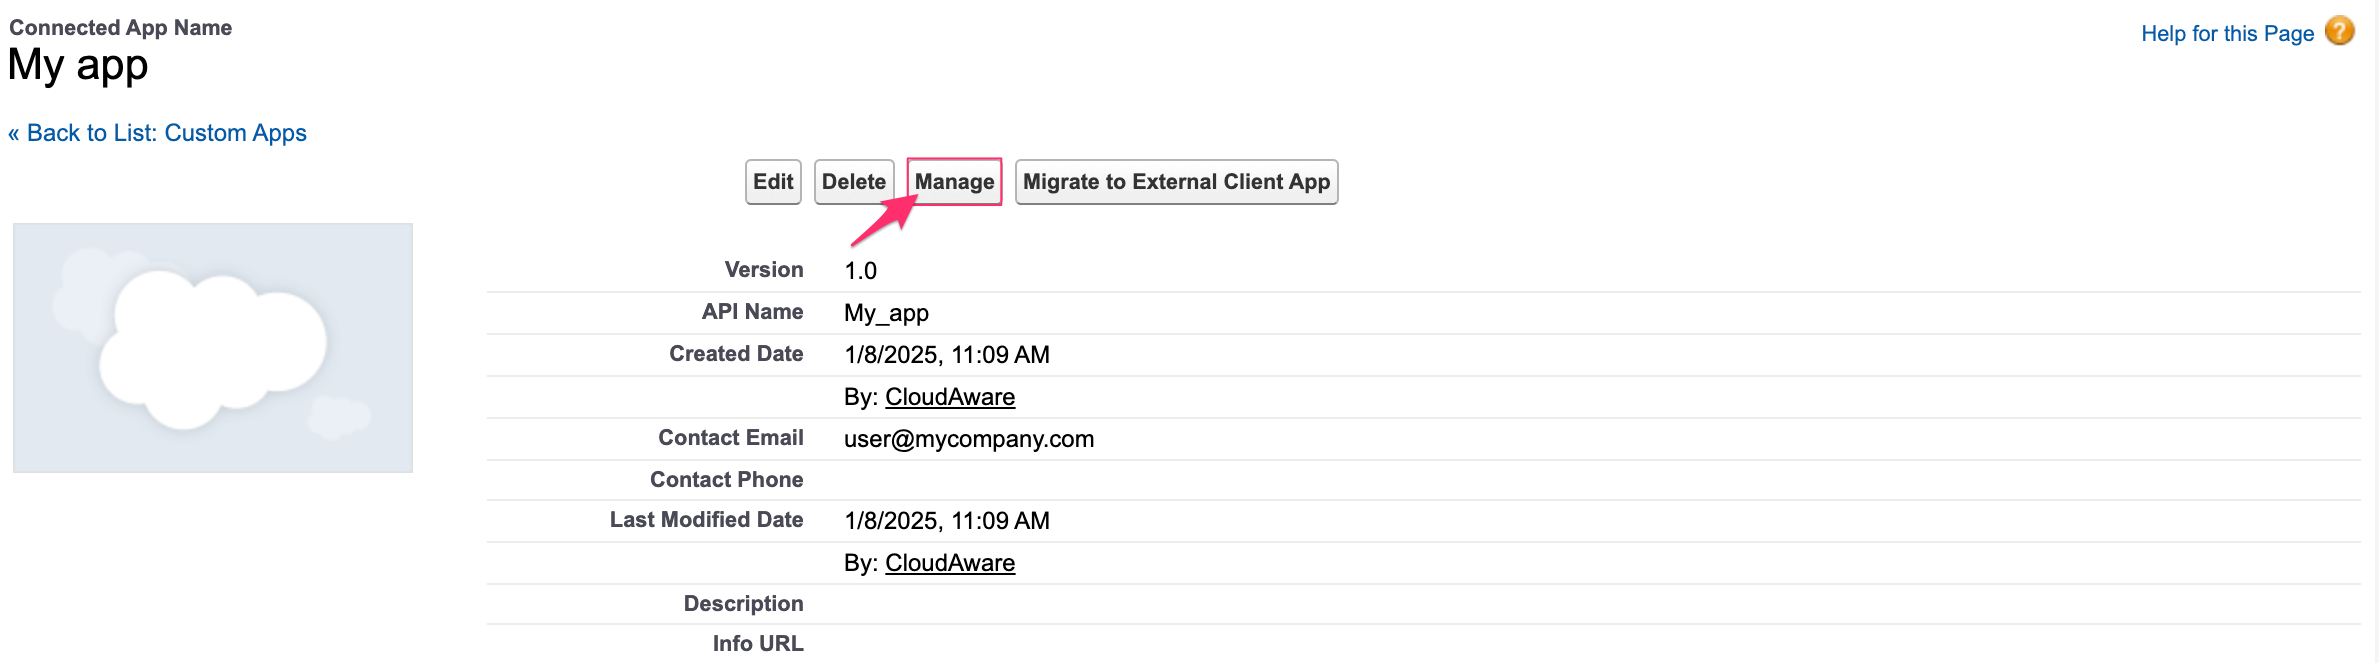
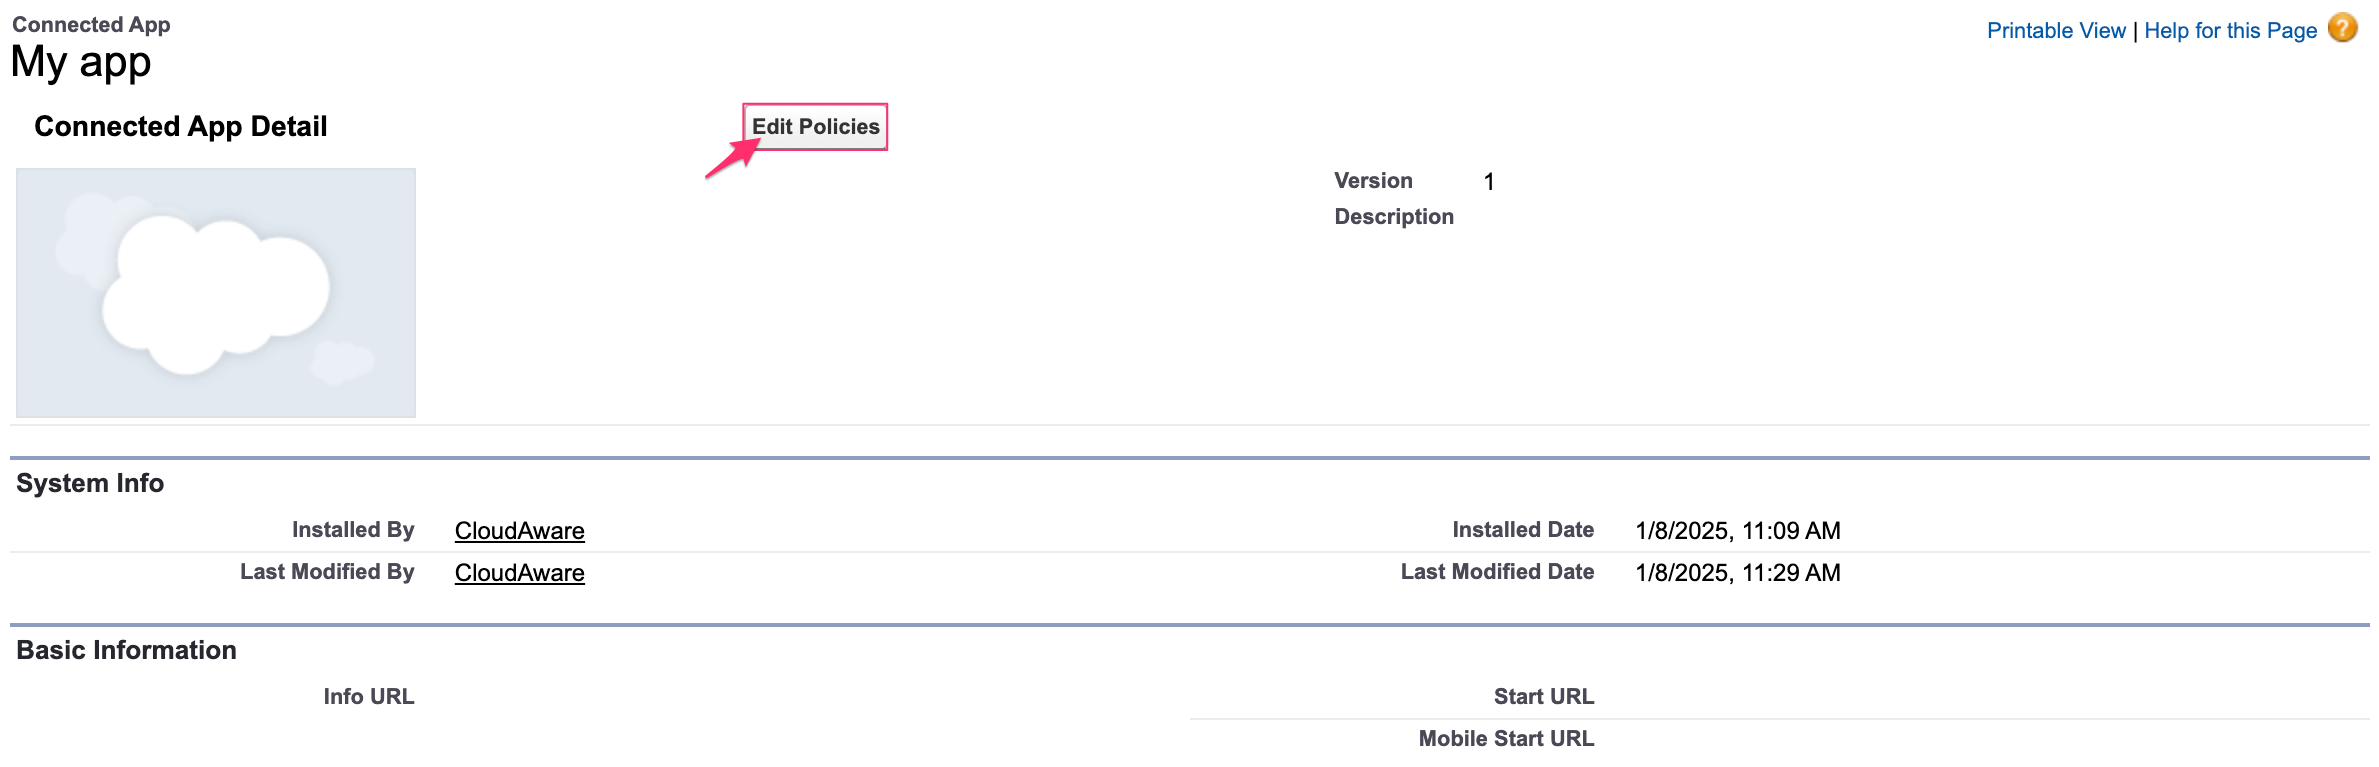
Click the link 'Back to Manage Connected Apps'.Click Manage → Edit Policies:
Under 'Client Credentials Flow' in '(Run As)', click on the magnifying glass icon:

In a popup window, select a preferred user* using the list of users or a search bar: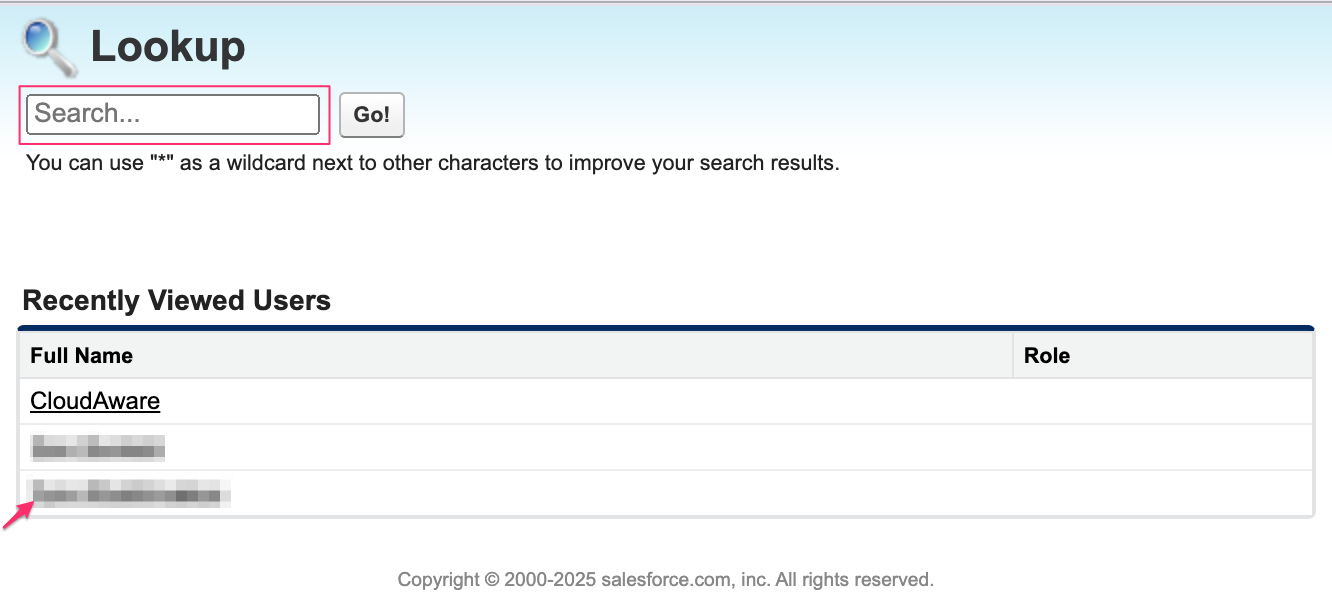

*This user is considered to be a 'running' user of the connected app. The API will respect the permissions of the specified Cloudaware User while processing the requests.
Once the popup window is closed, get back to the Edit Policies page. Scroll down and click Save.