Connector for Salesforce & Jira
This article instructs you on how to configure Atlassian's Connector for Salesforce & Jira app in JIRA in order to associate CIs discovered by Cloudaware and your JIRA tickets. Built on force.com, Cloudaware manages the discovered cloud or on-prem inventory items as Salesforce custom objects and fields that may be used for enriching JIRA tickets with any information from the CIs. This application is for cloud, server and data center JIRA.
Prerequisites
1. Add JIRA Integration to your Cloudaware account.
2. Go to JIRA marketplace to locate the app Connector For Salesforce & Jira. Make sure to have familiarized with the pricing and free trial terms before adding the app to your JIRA instance.
3. Install the app to your JIRA instance.
The App Configuration
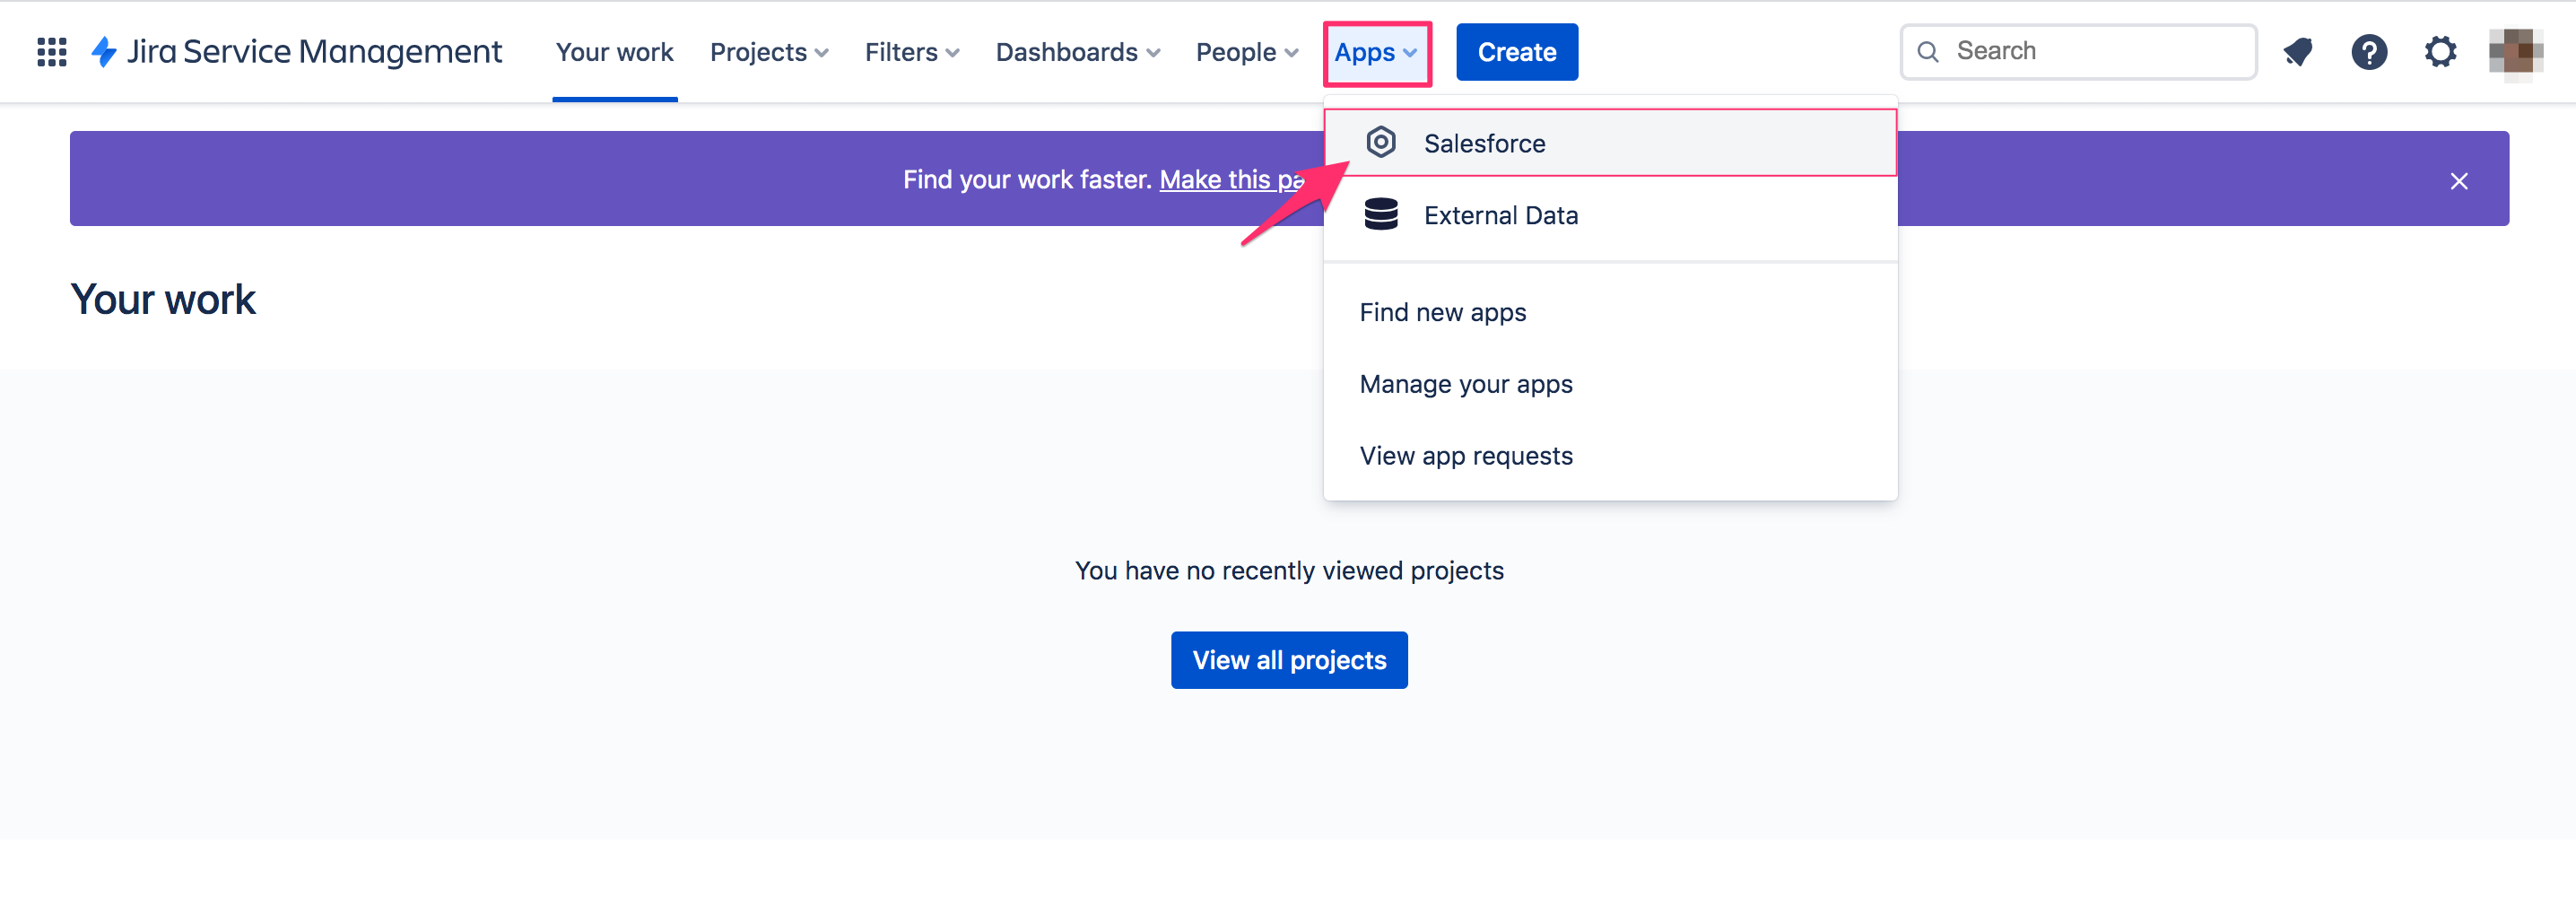
1. In your JIRA go to Apps → Salesforce.
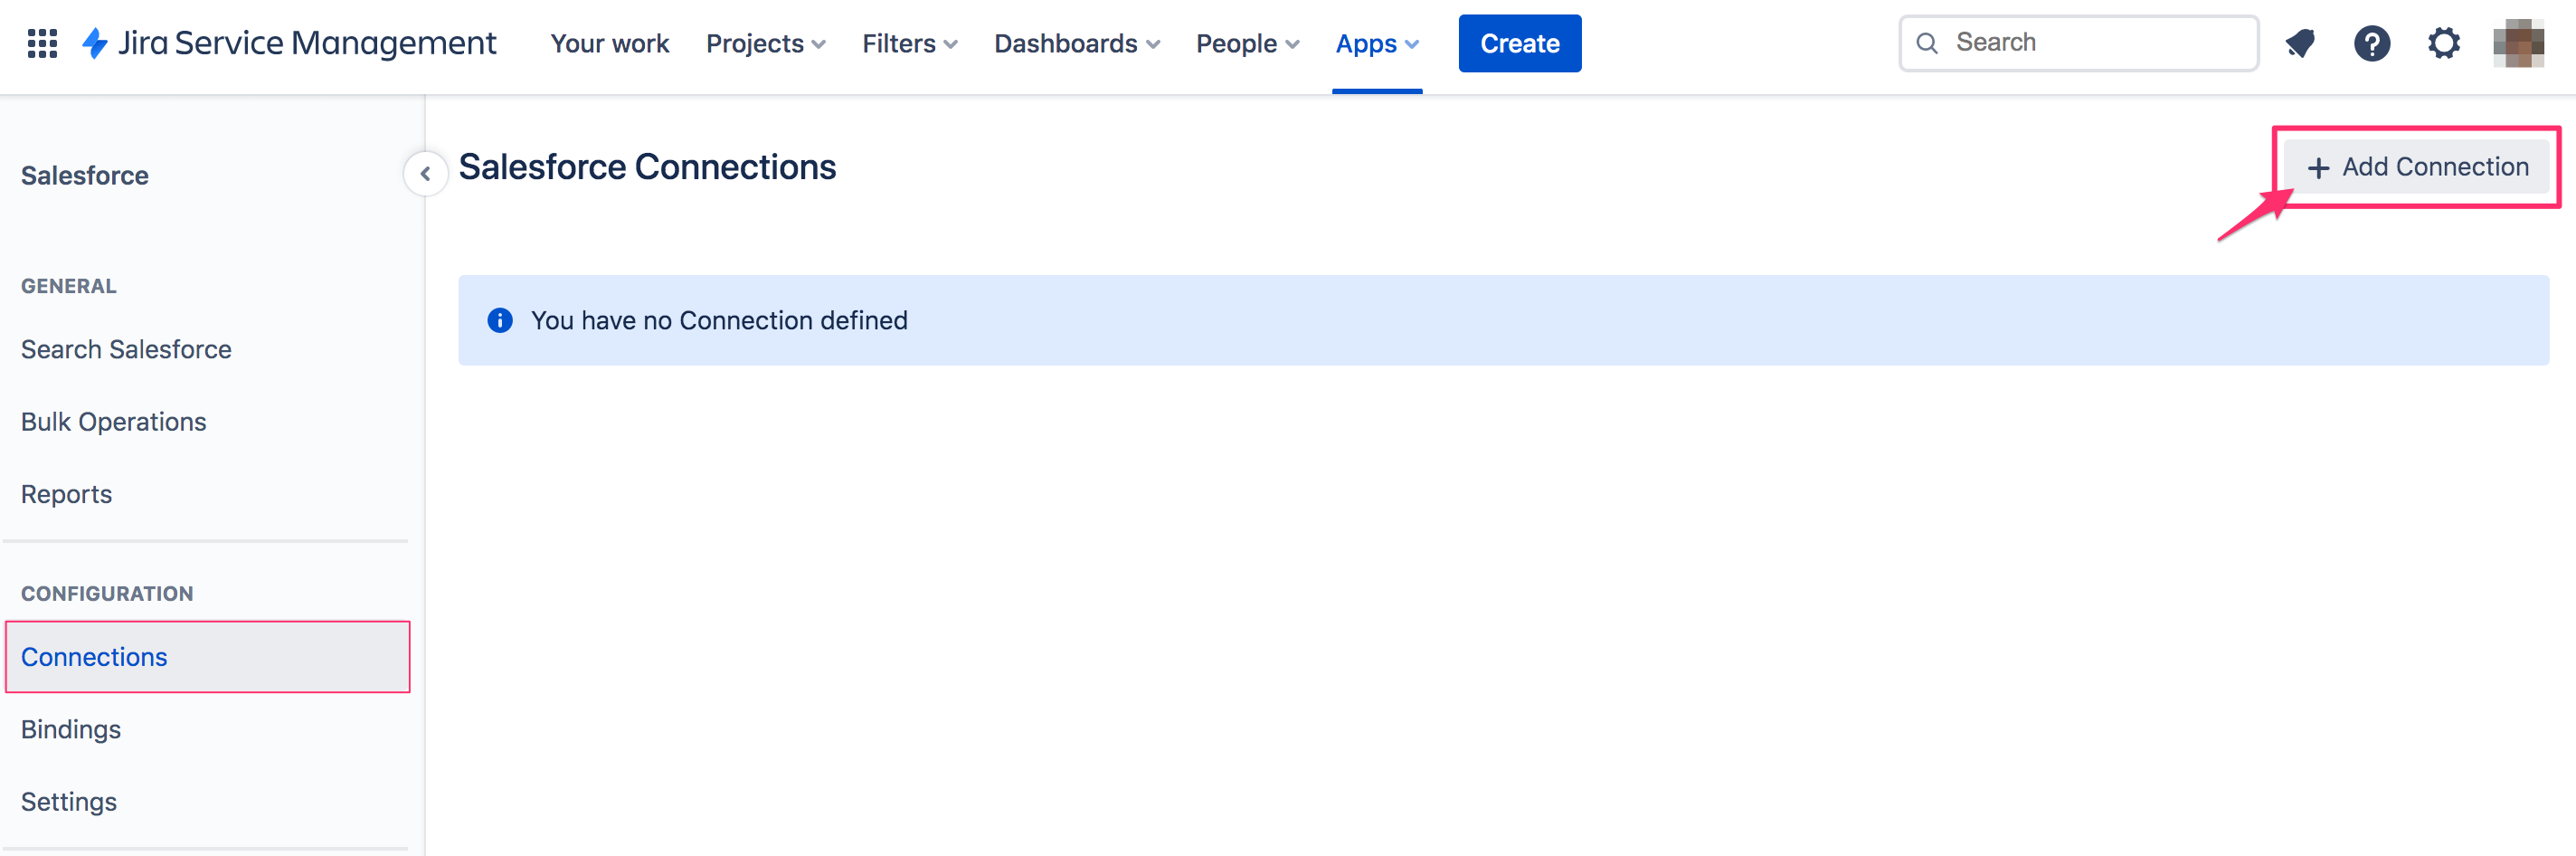
2. Under CONFIGURATION go to Connections. Click +Add Connection.
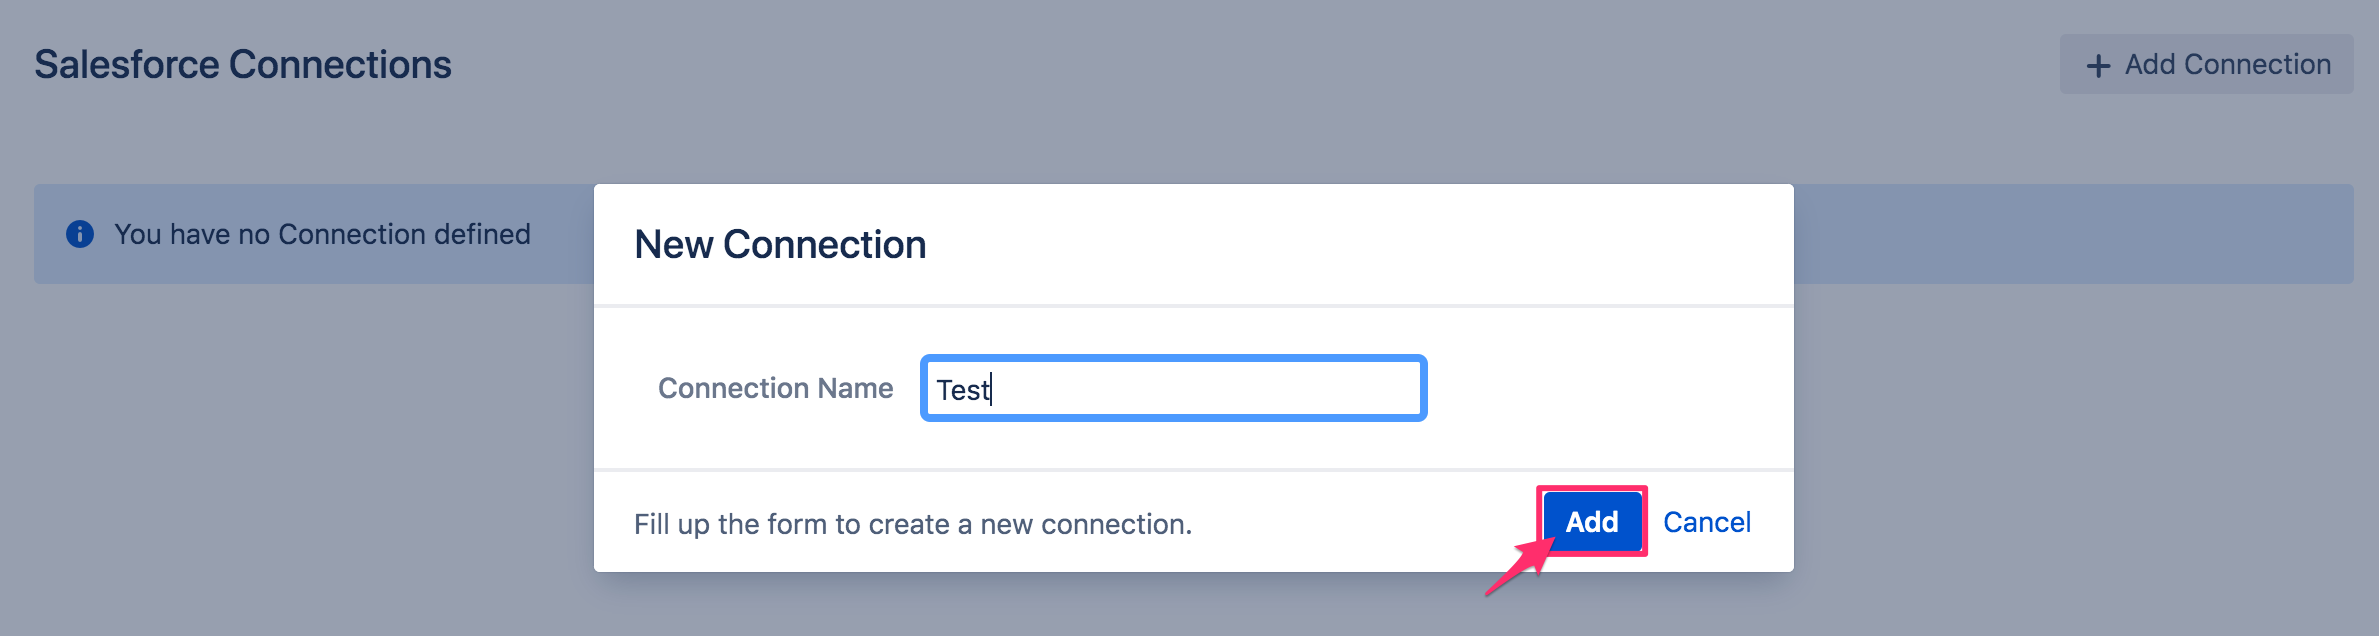
3. Give a name to the connection → Add.
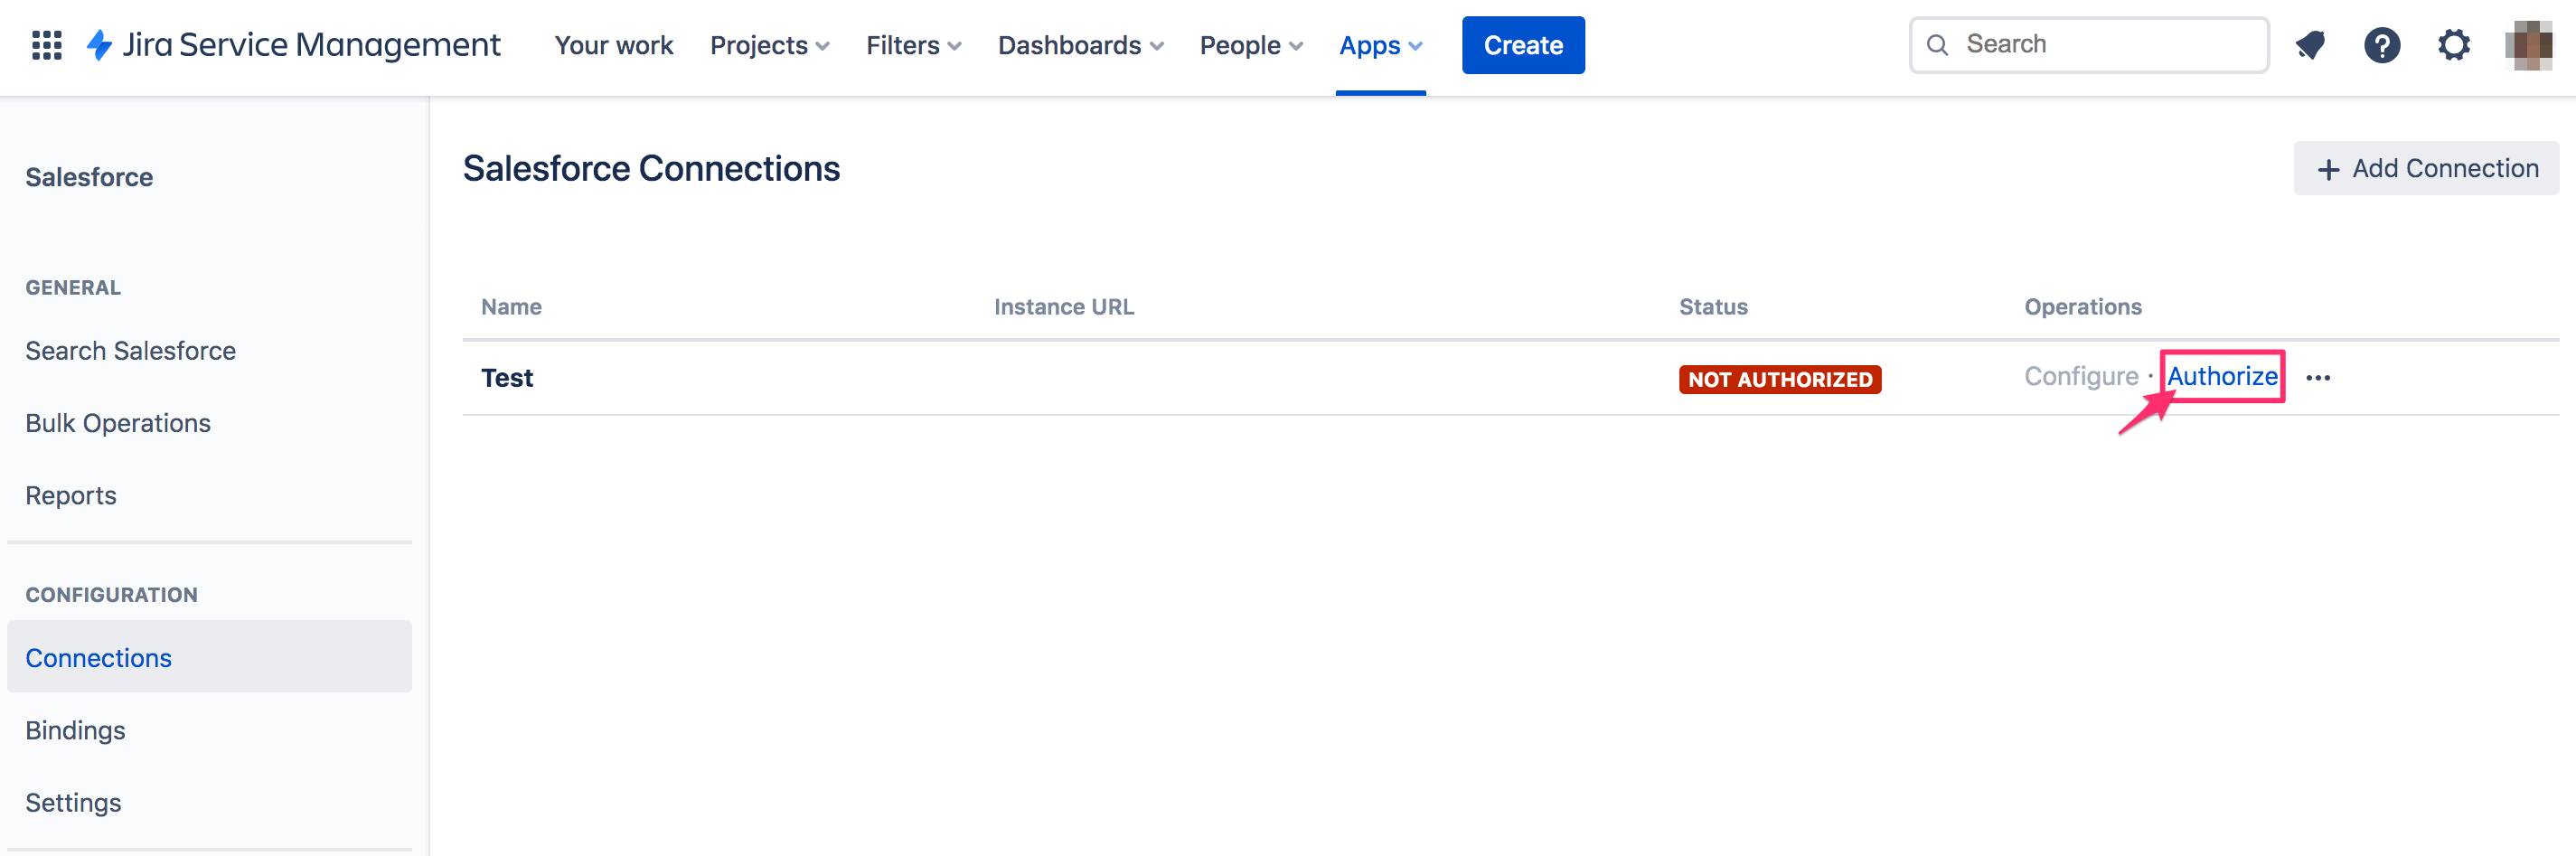
4. Locate the created connection in the list → click Authorize.
5. Select Salesforce environment (Production) → Authorize.
6. Log in to your Salesforce instance using your username and password*.
*If you don't have Salesforce password, log in to your Cloudaware account → Setup → Users → locate your user (check the username) → Edit → check the box 'Generate new password and notify user immediately' → Save → click 'Reset Password' → OK → check your email.
Select Allow.
7. Skip the message 'Import Compact Layouts' by selecting I'll do it later.
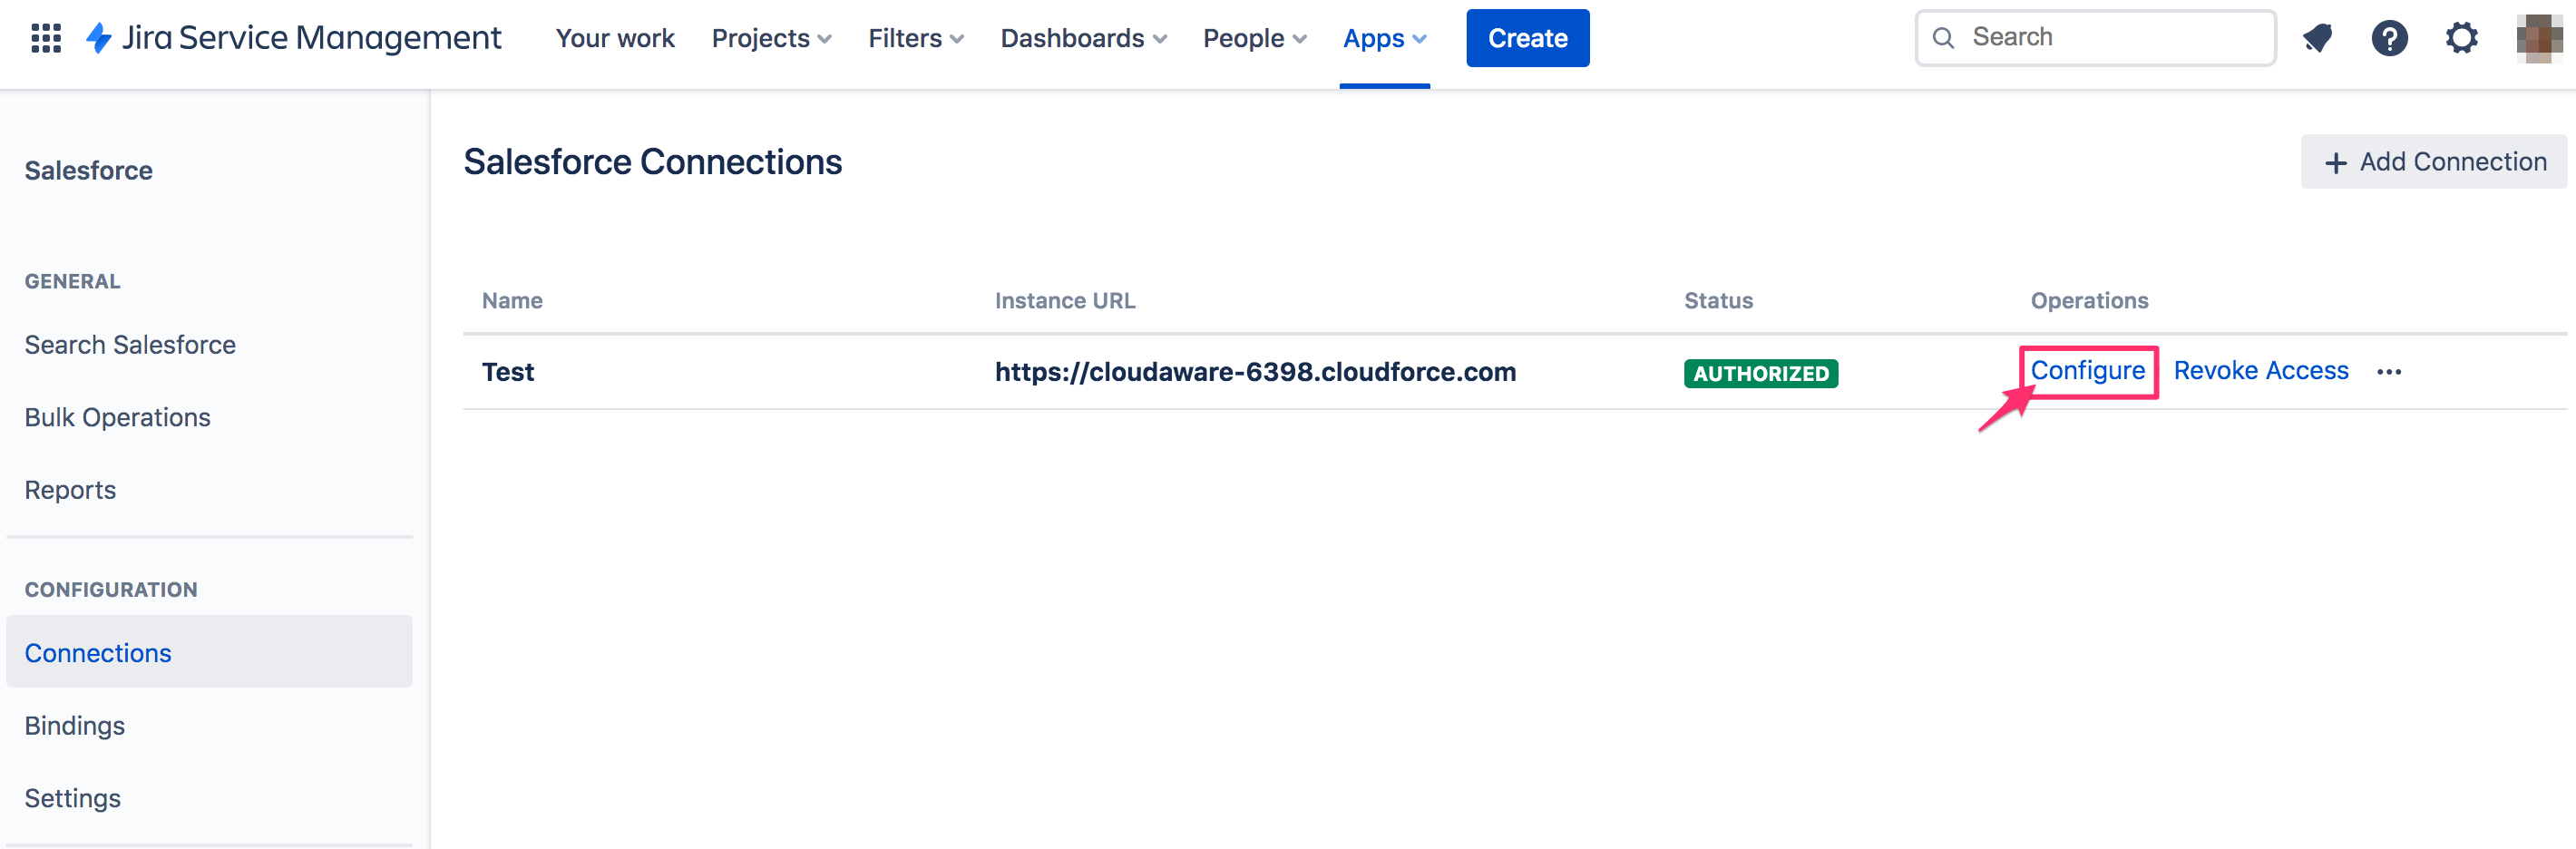
8. Locate the created connection in the list → click Configure.
9. Manage the connection:
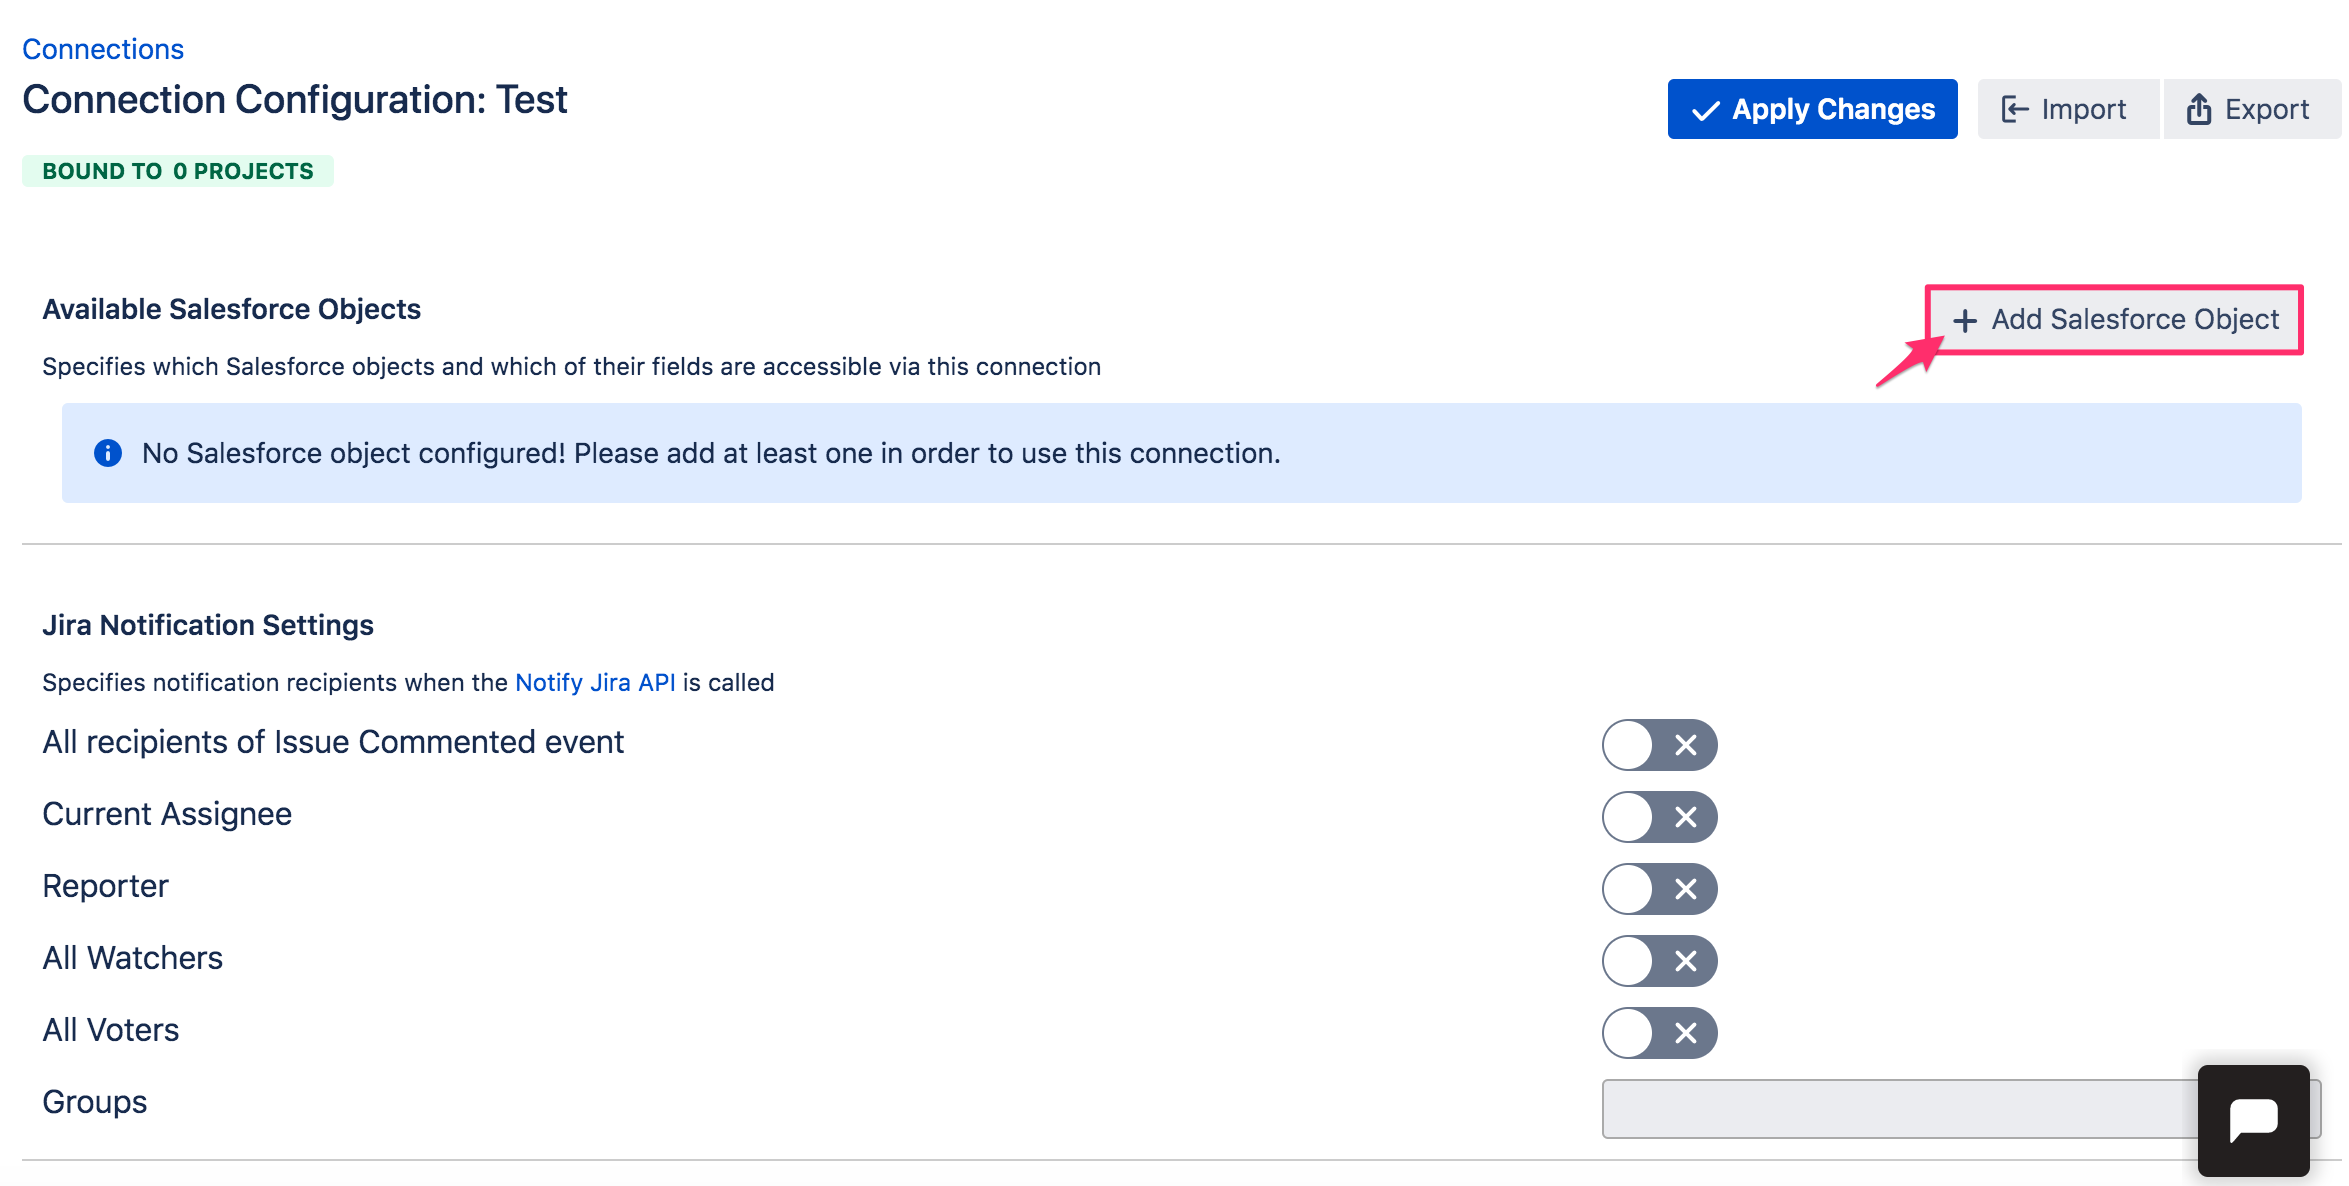
9.1. Set up Available Salesforce Objects. Click +Add Salesforce Object.
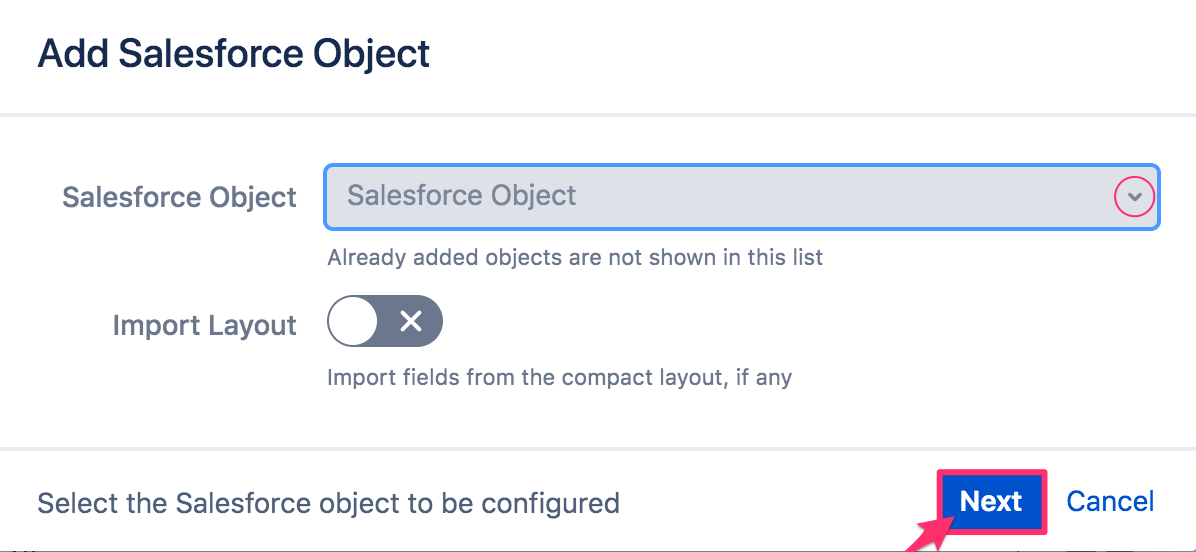
Select the Salesforce object from the list. Click Next.
Select the relevant fields for this Salesforce object clicking +Add to save the previously selected field.
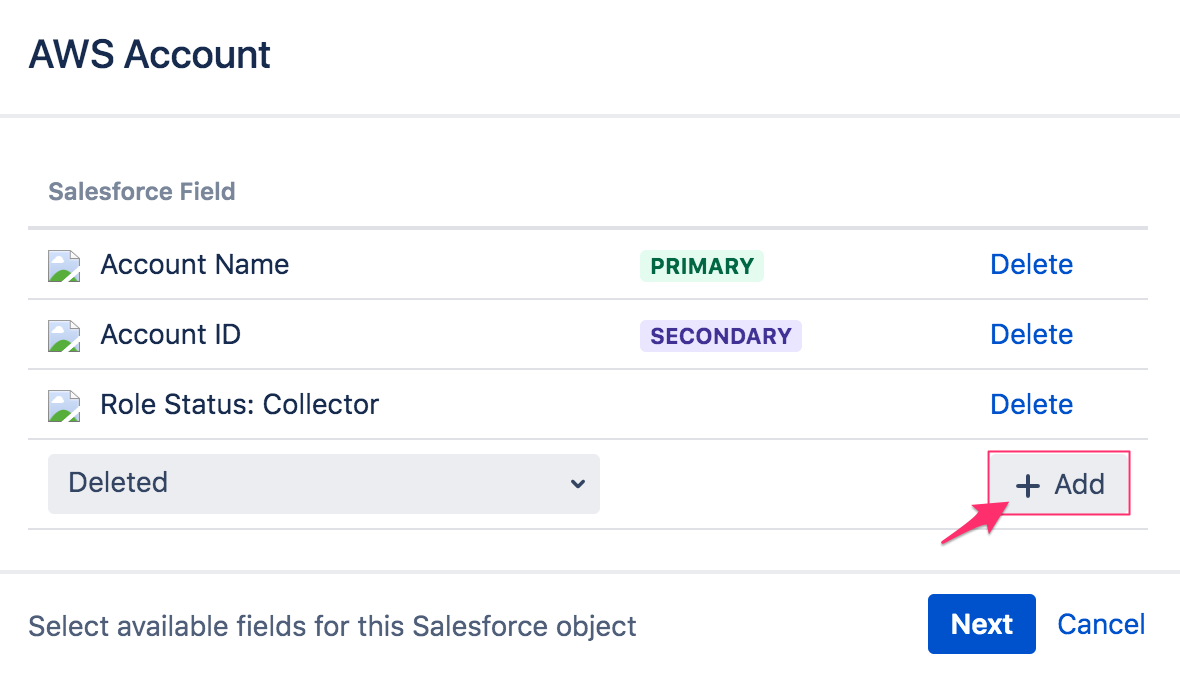
Pay attention to the primary-secondary relation. The primary field will be used for filtering.
Once all fields are added, click Next.
Add more objects if necessary. Examples of objects and fields for different clouds:
Cloud | AWS | Azure | Google Cloud | |||
|---|---|---|---|---|---|---|
Object | AWS Account | AWS EC2 Instance | Azure Subscription | Azure Virtual Machine | Google Project | Google GCE Instance |
Fields | Account Name Account ID Roles Status: Collector Deleted | Instance Name or ID Instance ID State Name Deleted from AWS | Subscription Name Subscription ID Status (Collector) | Azure Virtual Machine Name VM ID Power State Deleted from Azure | Google Project Name Status (Collector) | Google GCE Instance Name Google ID Status Deleted from Google |
Click Apply changes.
9.2. Configure Connection Settings: (set the following options as toggled)
Allow Modification
Allow Automatic Push
Allow Automatic Pull
9.3. Configure Default Presets: (set the following option as toggled)
Automatic Pull
Click Apply changes.
10. Create custom fields 'Object Type' and 'Object Identifier' in your JIRA.
To create a custom fields in JIRA, go to Settings (Gear icon) → Issues → select Custom fields under FIELDS (on the left) → Create custom field:
a. Select 'List (single choice)' as a field type → Next → name the field 'Object Type' → in 'Options' select every field in question (check Connections → Configure → Available Salesforce Objects) from the list → Add → Create → select Screens by the key of your JIRA project checking the corresponding check boxes → Update.
b. select 'Text Field (single line)' as a field type → name the field 'Object Identifier' → select Add → Create → select Screens by the key of your JIRA project checking the corresponding check boxes → Update.
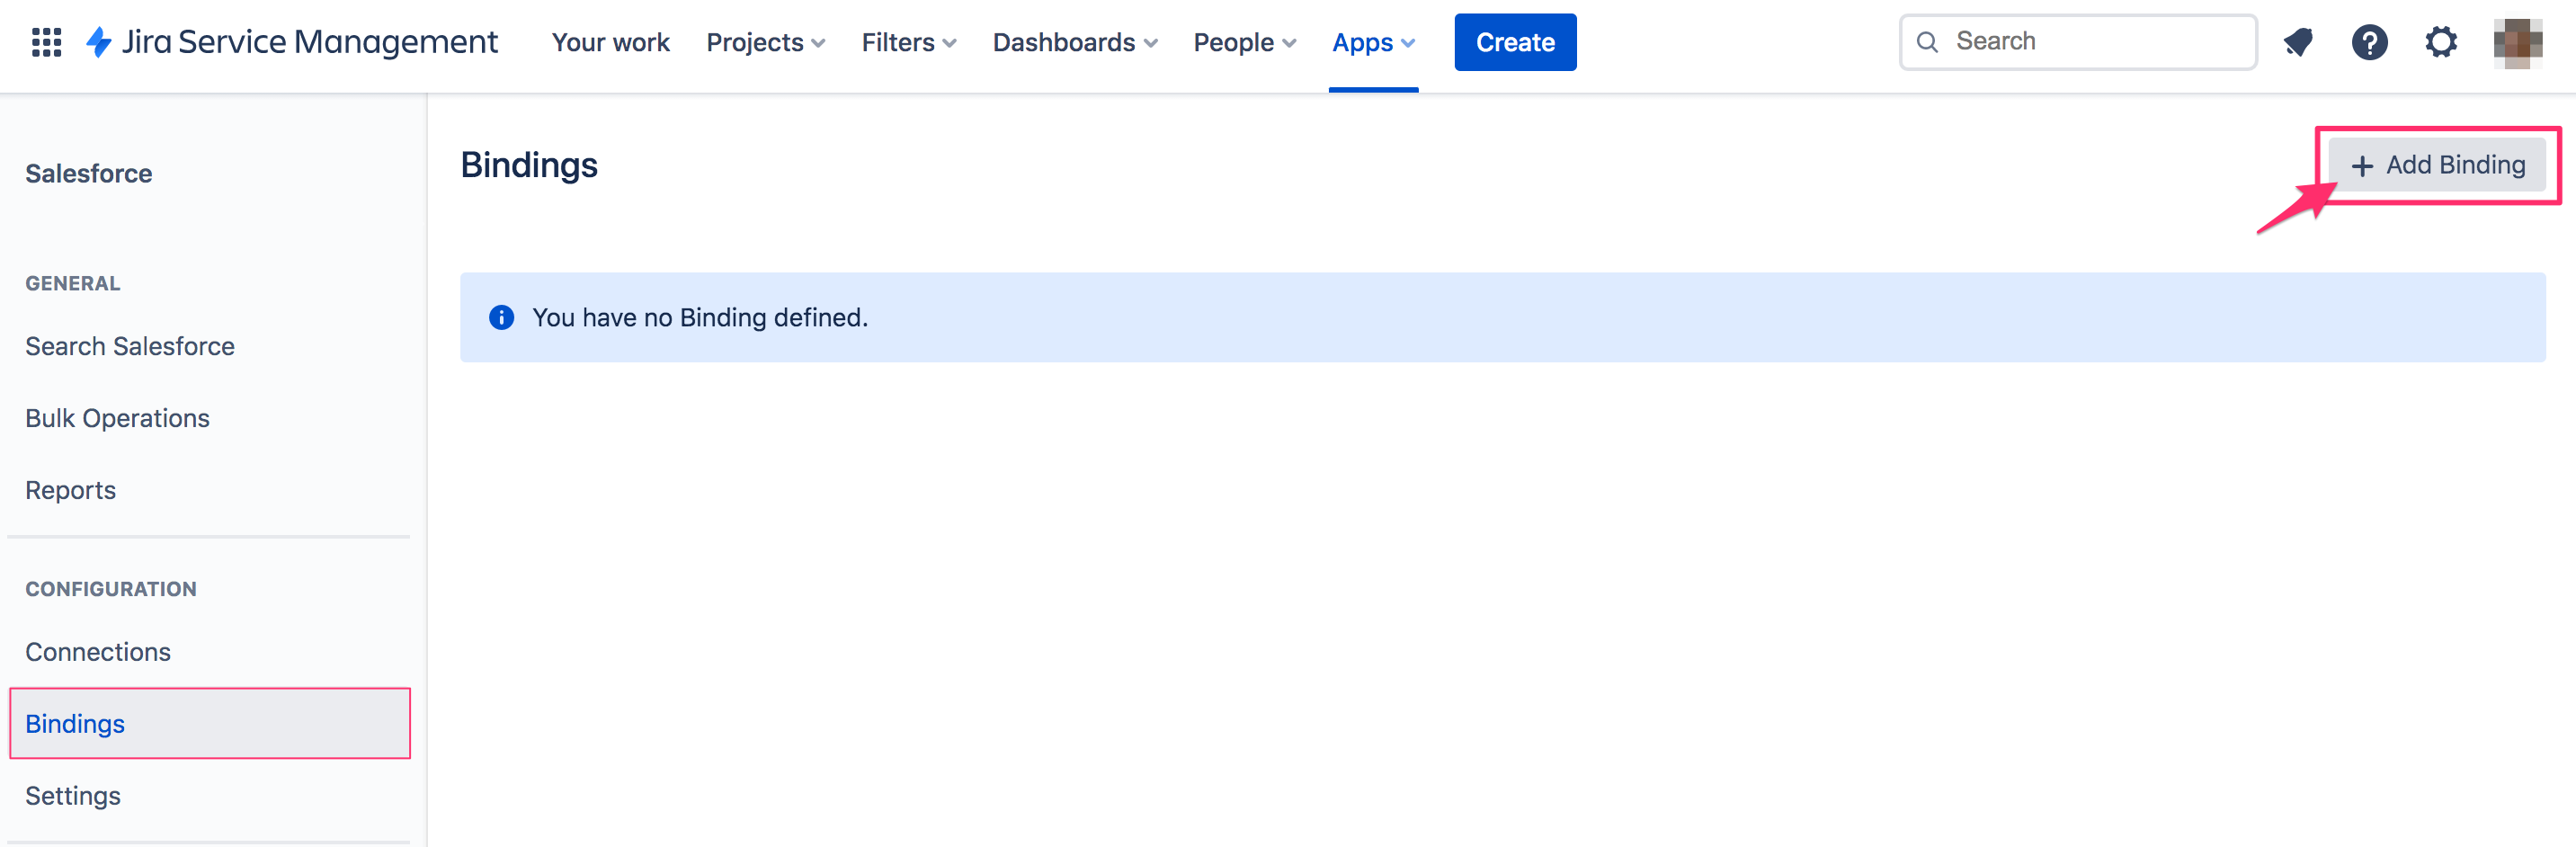
11. Under CONFIGURATION go to Bindings. Click +Add Binding.
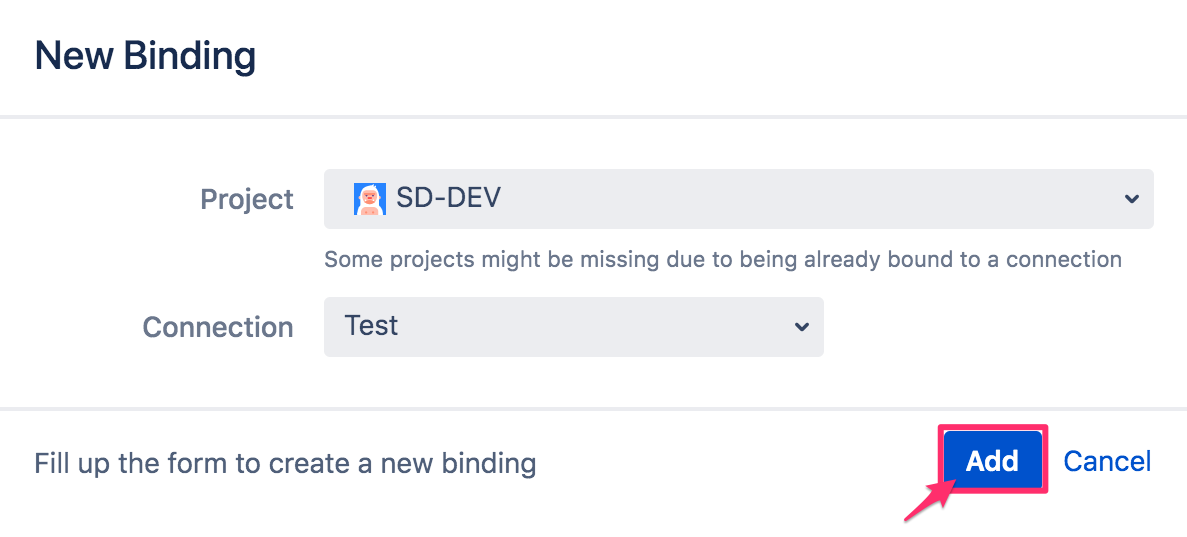
11.1. Select your JIRA Project and the connection created before. Click Add.
11.2. Skip the message 'Create Default Mappings to Salesforce Case' by clicking Cancel.
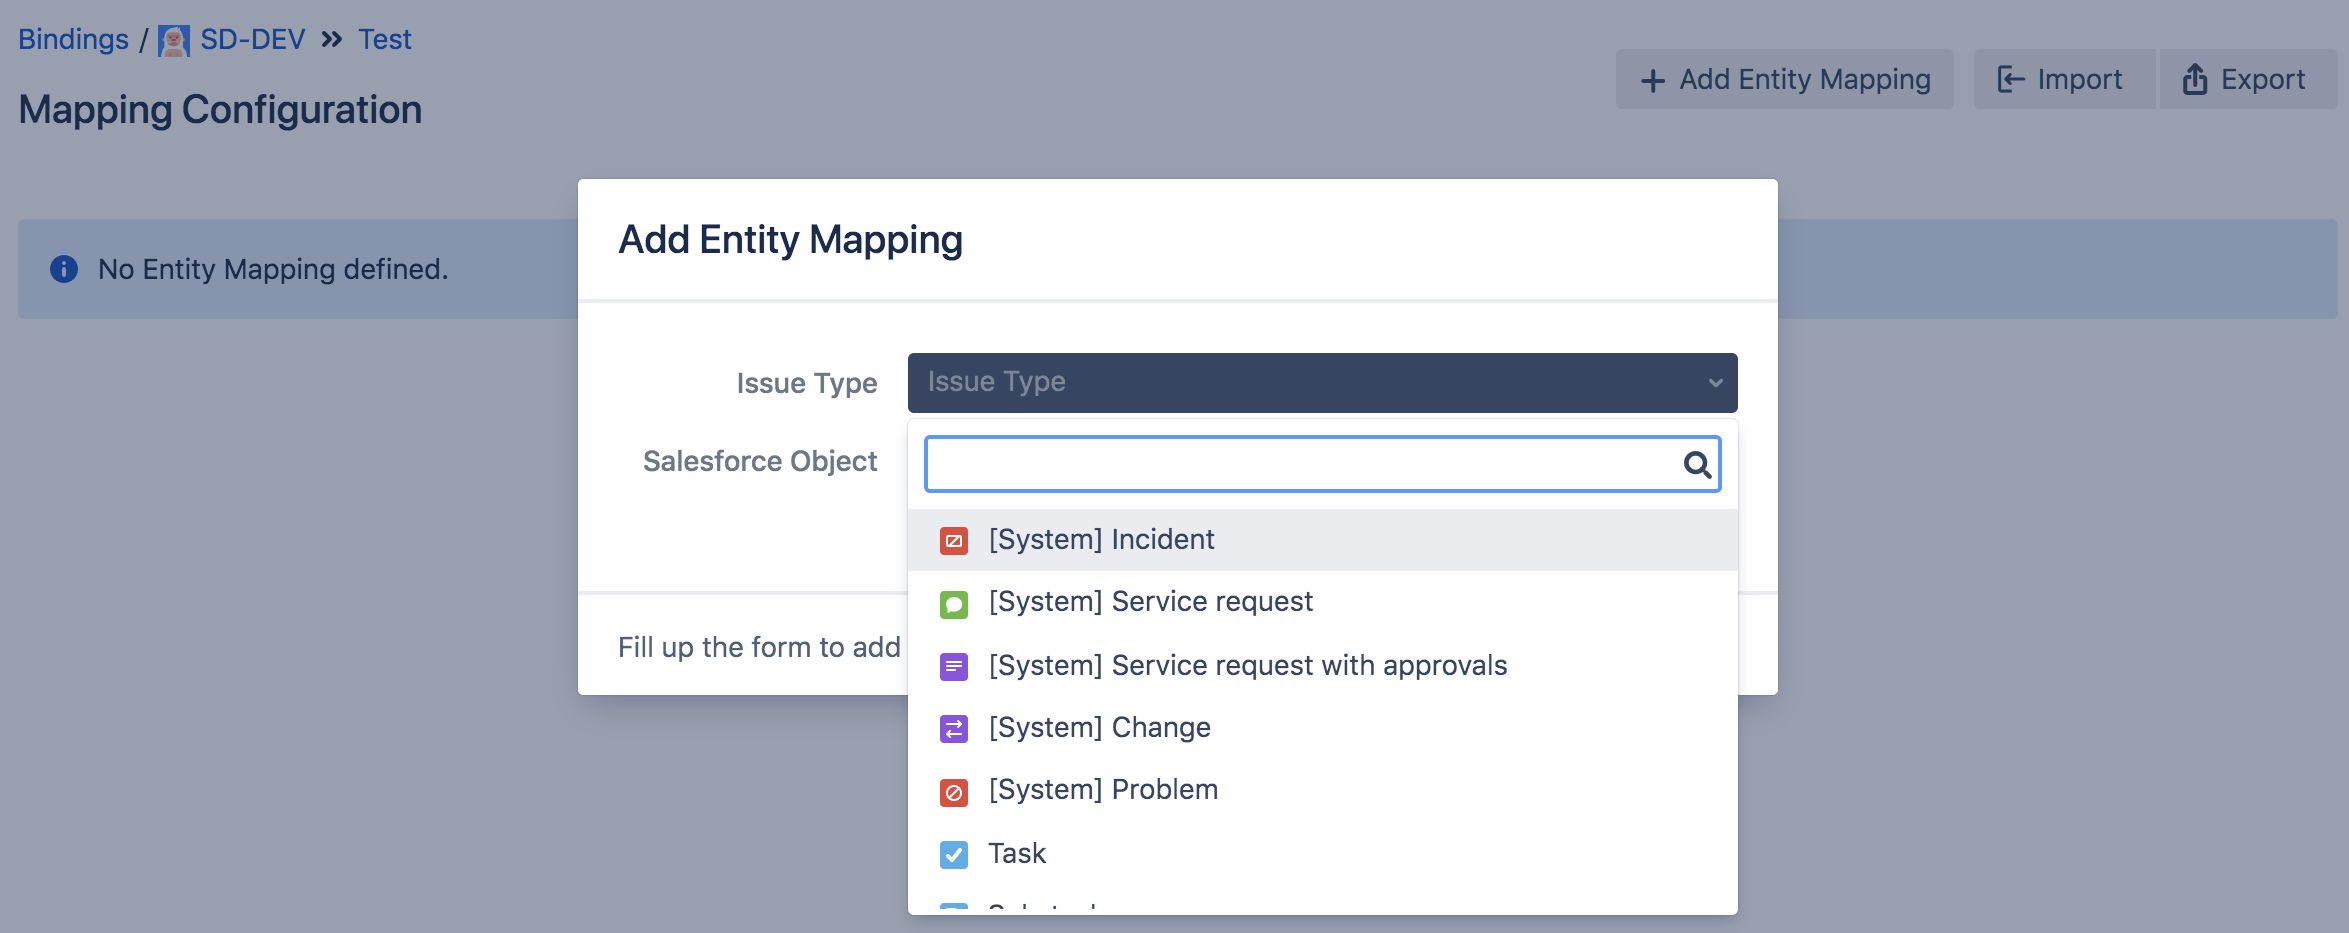
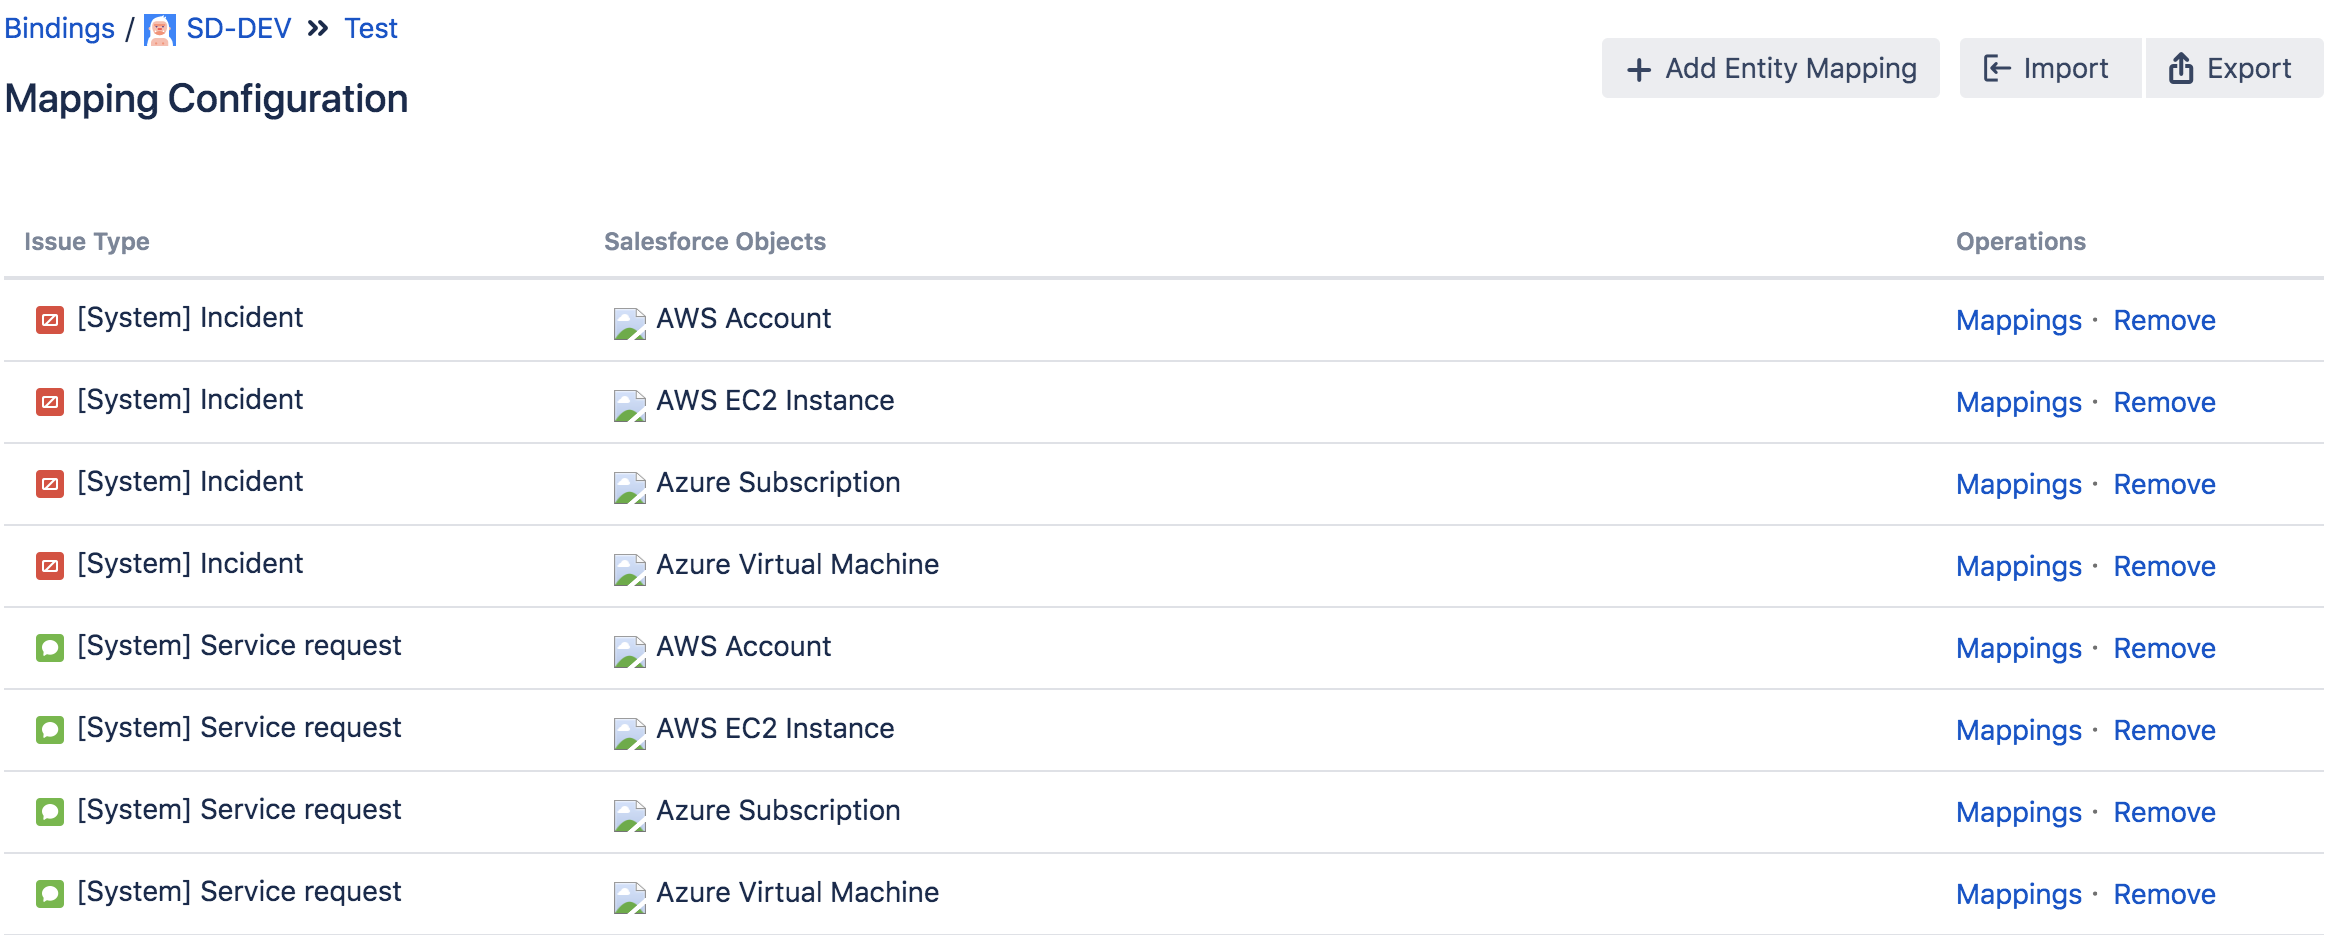
11.3. Locate the created binding in the list → click Mapping. Click +Add Entity Mapping.

Select the issue type that will be used for your JIRA-Salesforce Connector configuration and the Salesforce object. Click Add.
Create a mapping for each issue type/Salesforce object that will be in use for this configuration in your JIRA. For example, if you create 4 Salesforce objects and plan on tracking Service requests and Incidents, create 8 mappings based on JIRA Issue Type-Salesforce Object relation (see below):
11.4. Locate a mapping in question in the list → click Mappings to configure the fields mapping.
Set up mappings between Jira Field and Salesforce Object for every object to create associations.
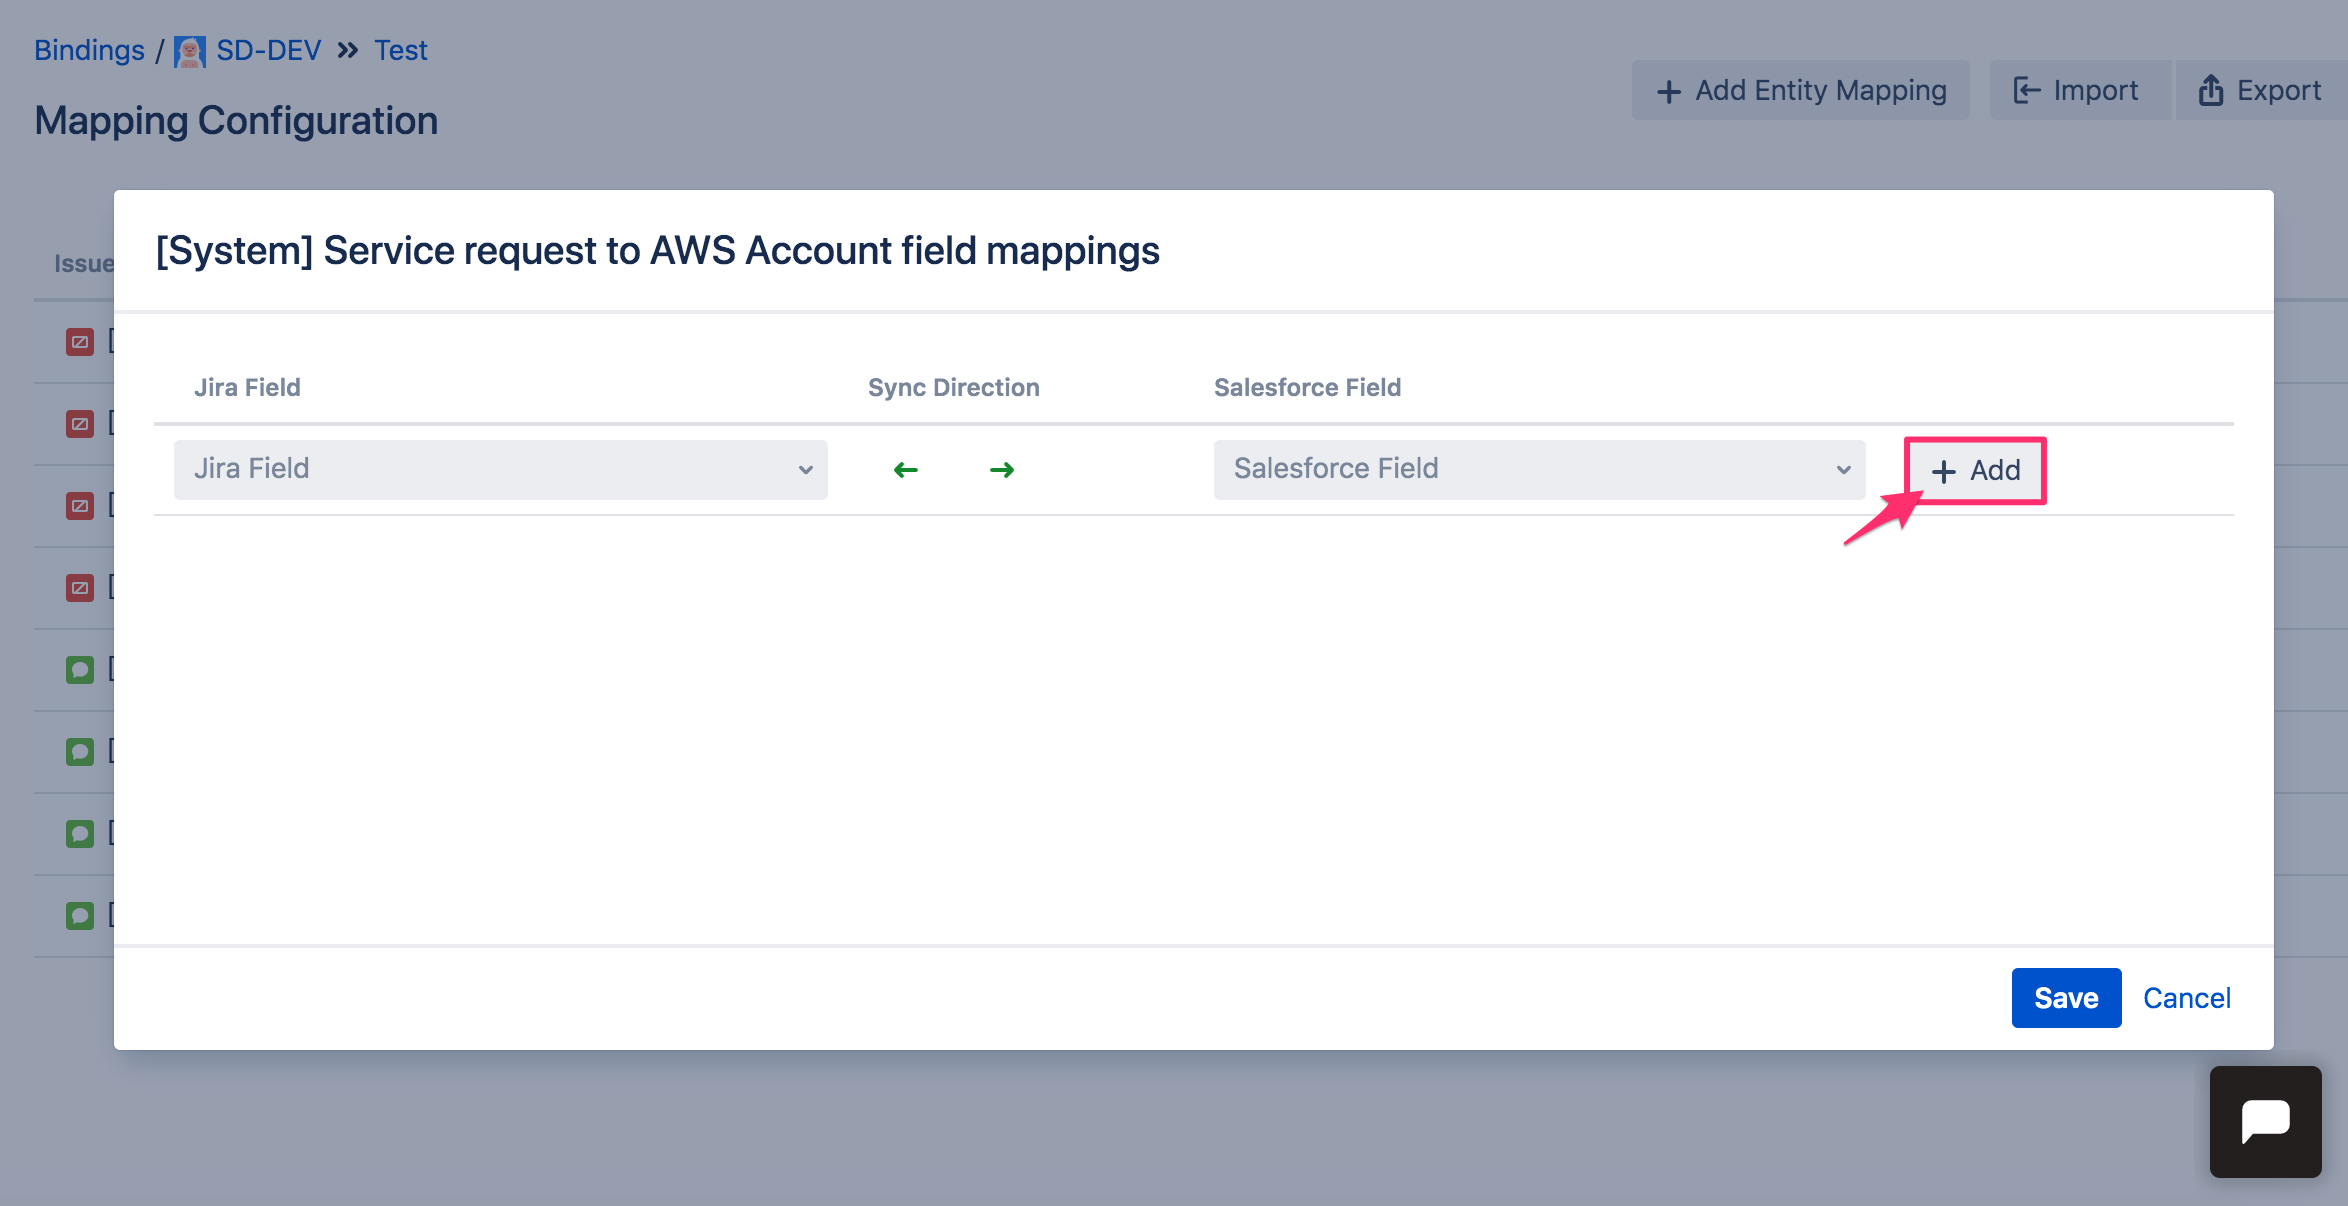
Click +Add to save the mapping pair → click Save.
Samples of Jira Field-Salesforce Object mappings:
AWS | Azure | GCP |
|---|---|---|
AWS Account: Object Identifier - Account ID | Azure Subscription: Object Identifier - Subscription ID | Google Project: Object Identifier - Project Name |
AWS EC2 instance: Object Identifier - Instance ID | Azure Virtual Machine: Object Identifier - VM ID | Google GCE Instance: Object Identifier - Google ID |
Testing
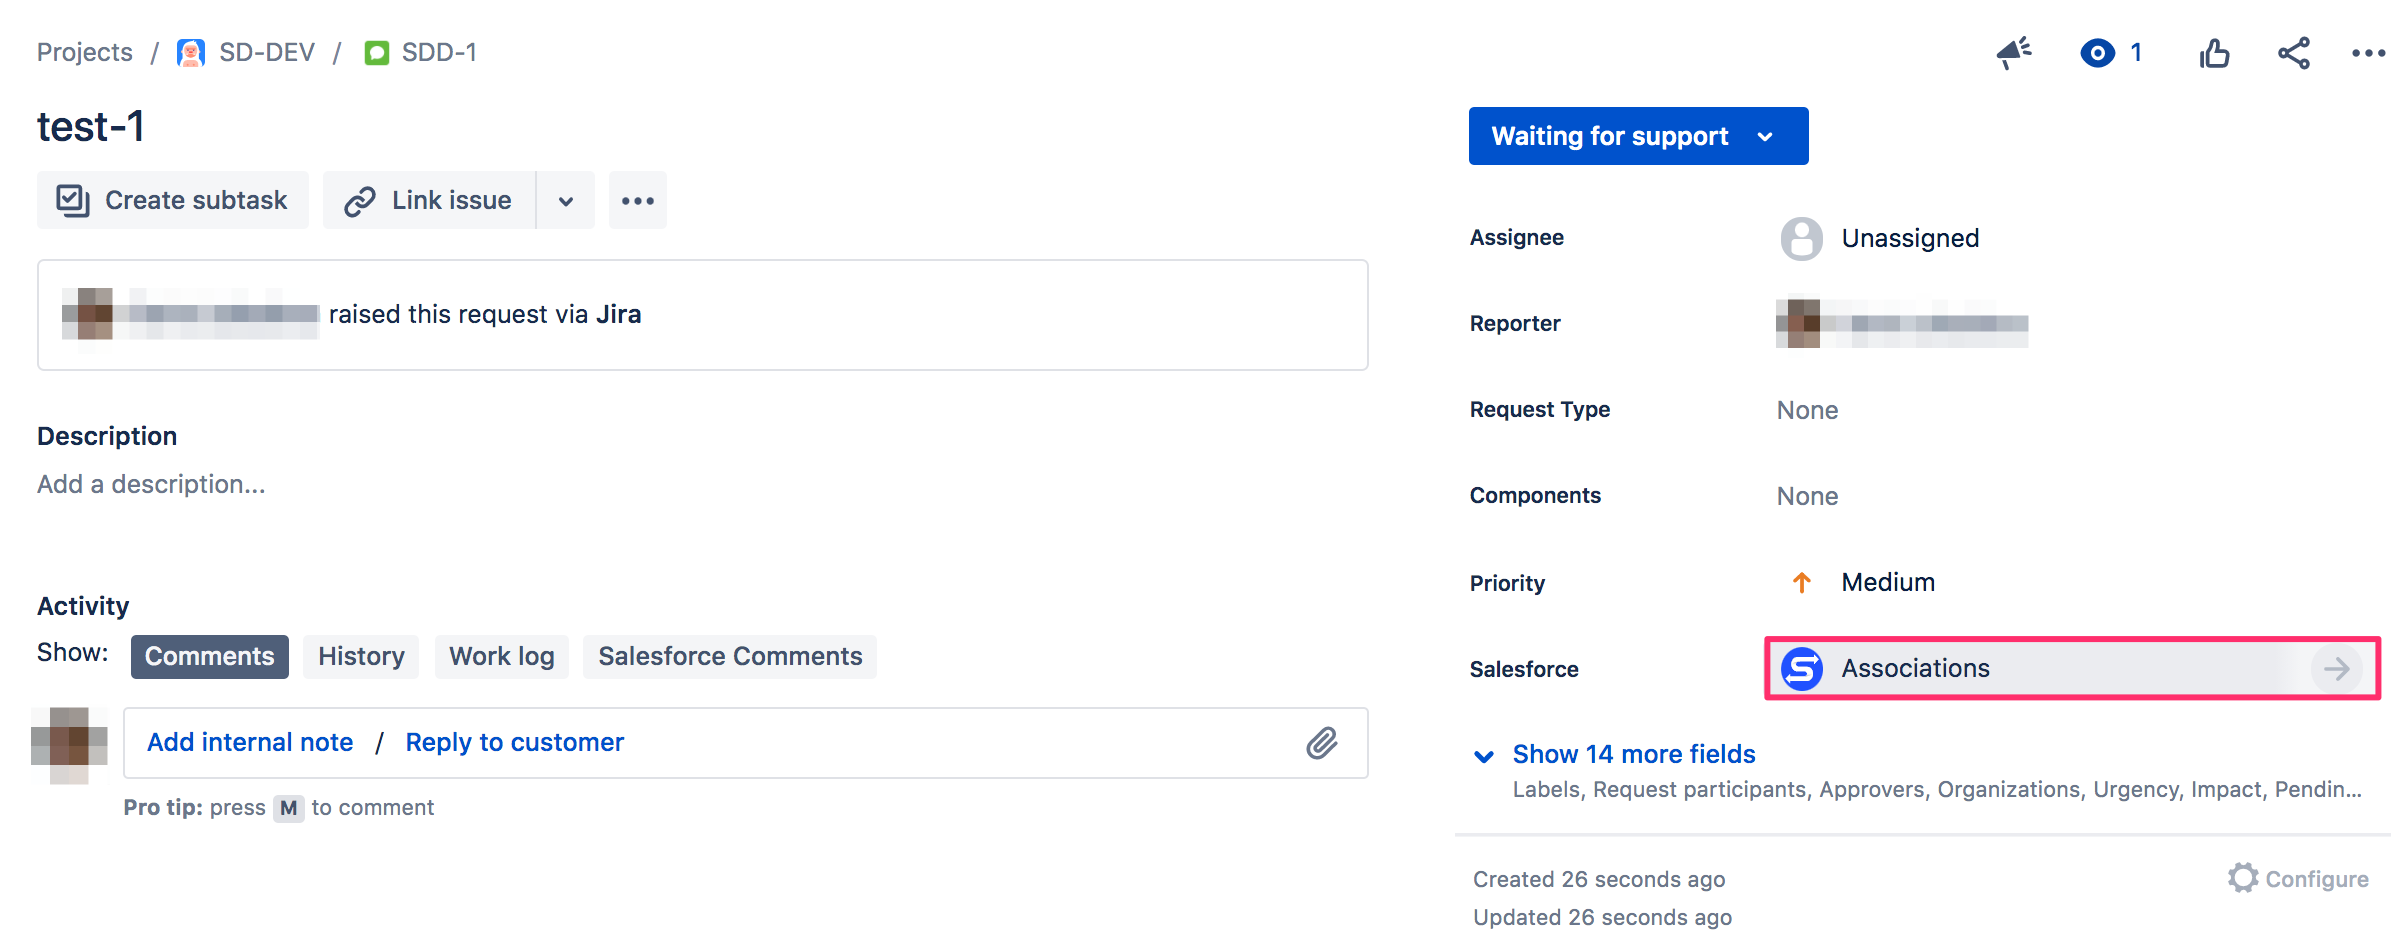
1. Create a test ticket.
2. Open the ticket and check the panel on the right → click Associations.
3. Click Associate.

4. Select the object in 'Object Identifier' field and pick a CI in 'Salesforce Object' field. Click Associate.
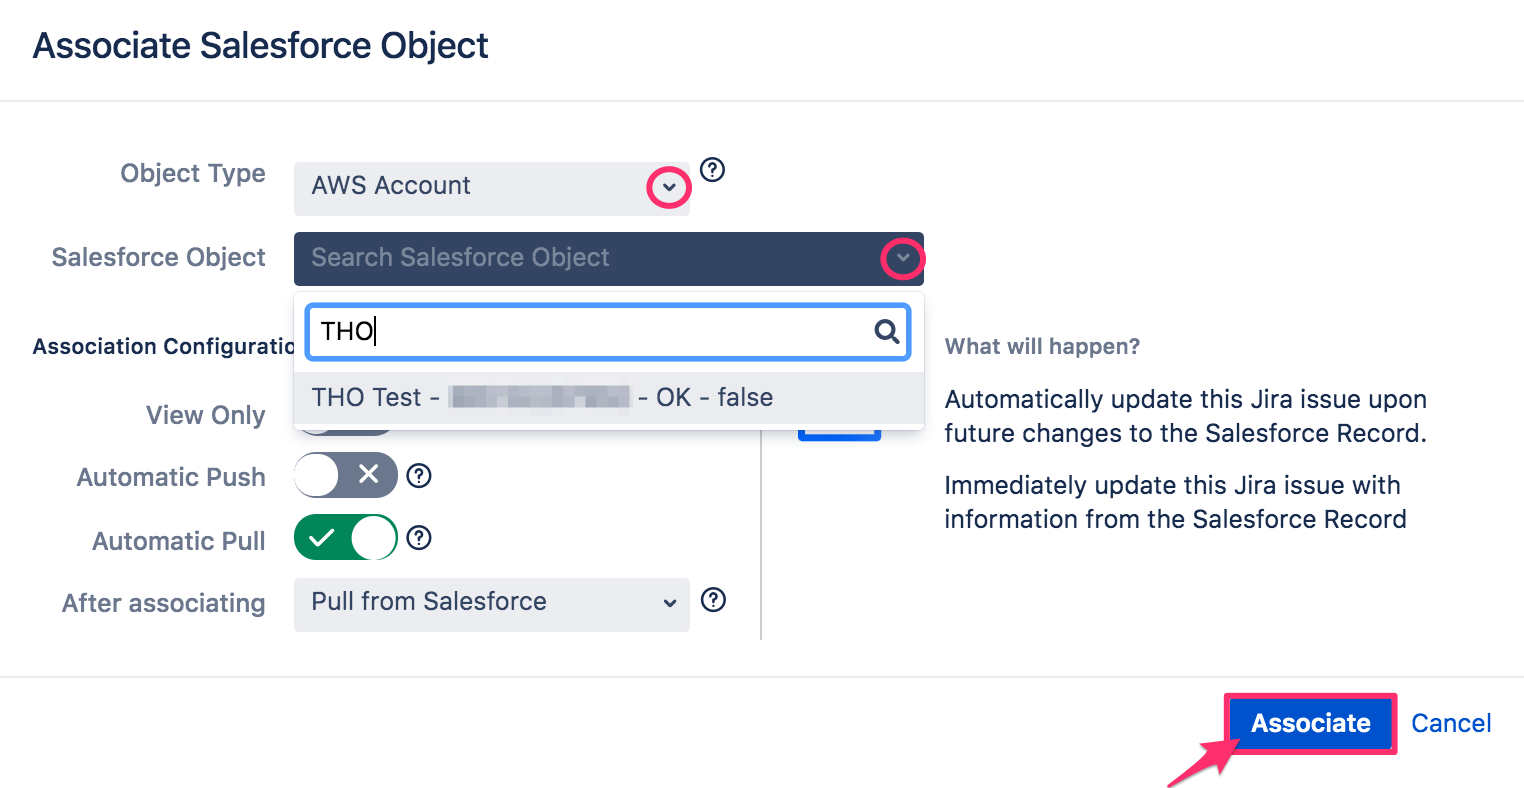
5. The connector will populate the actual asset ID into 'Object Identifier' field in the JIRA ticket.
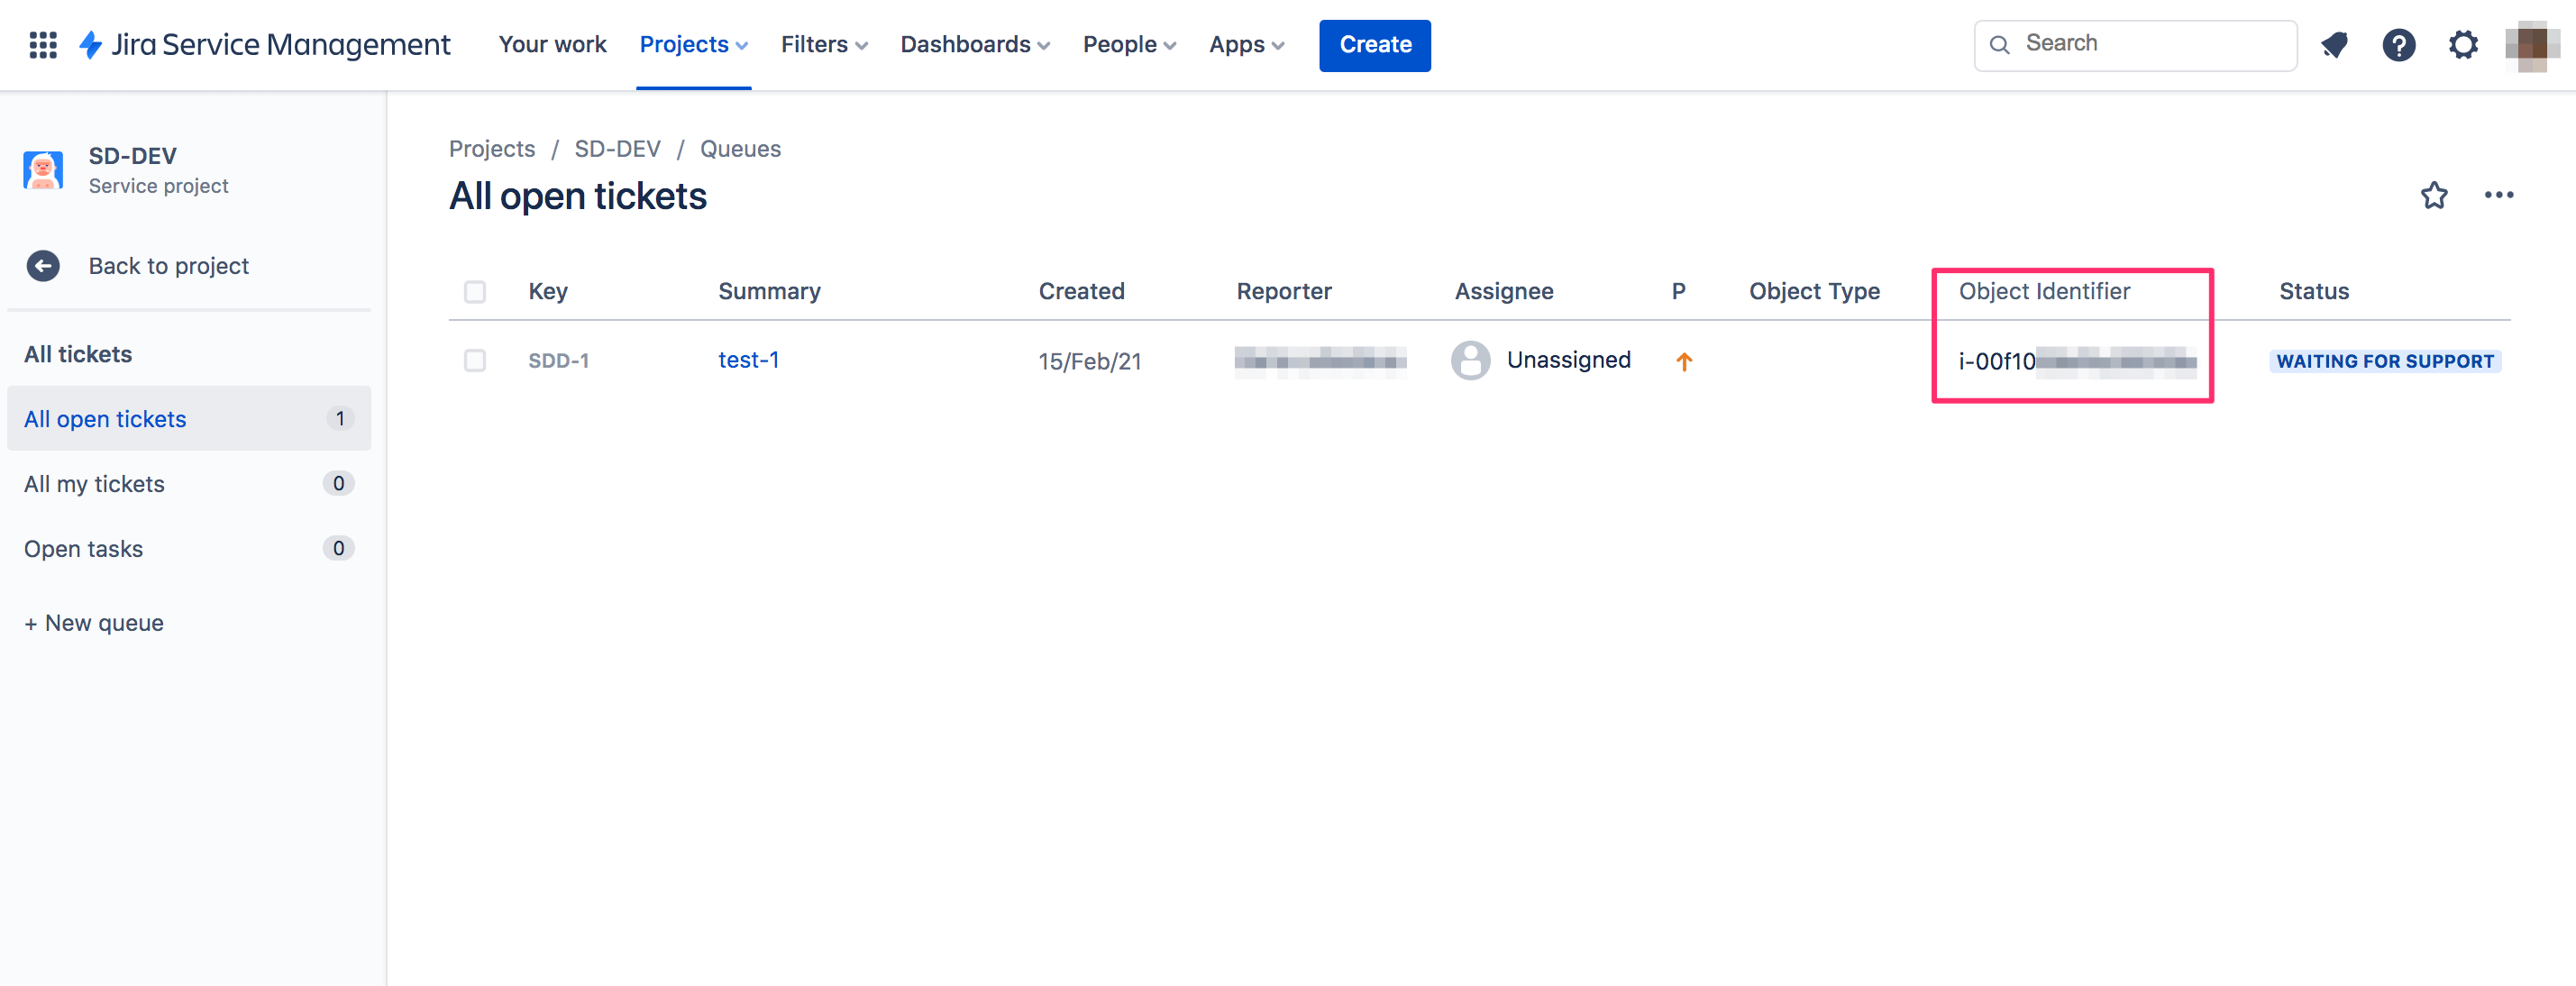
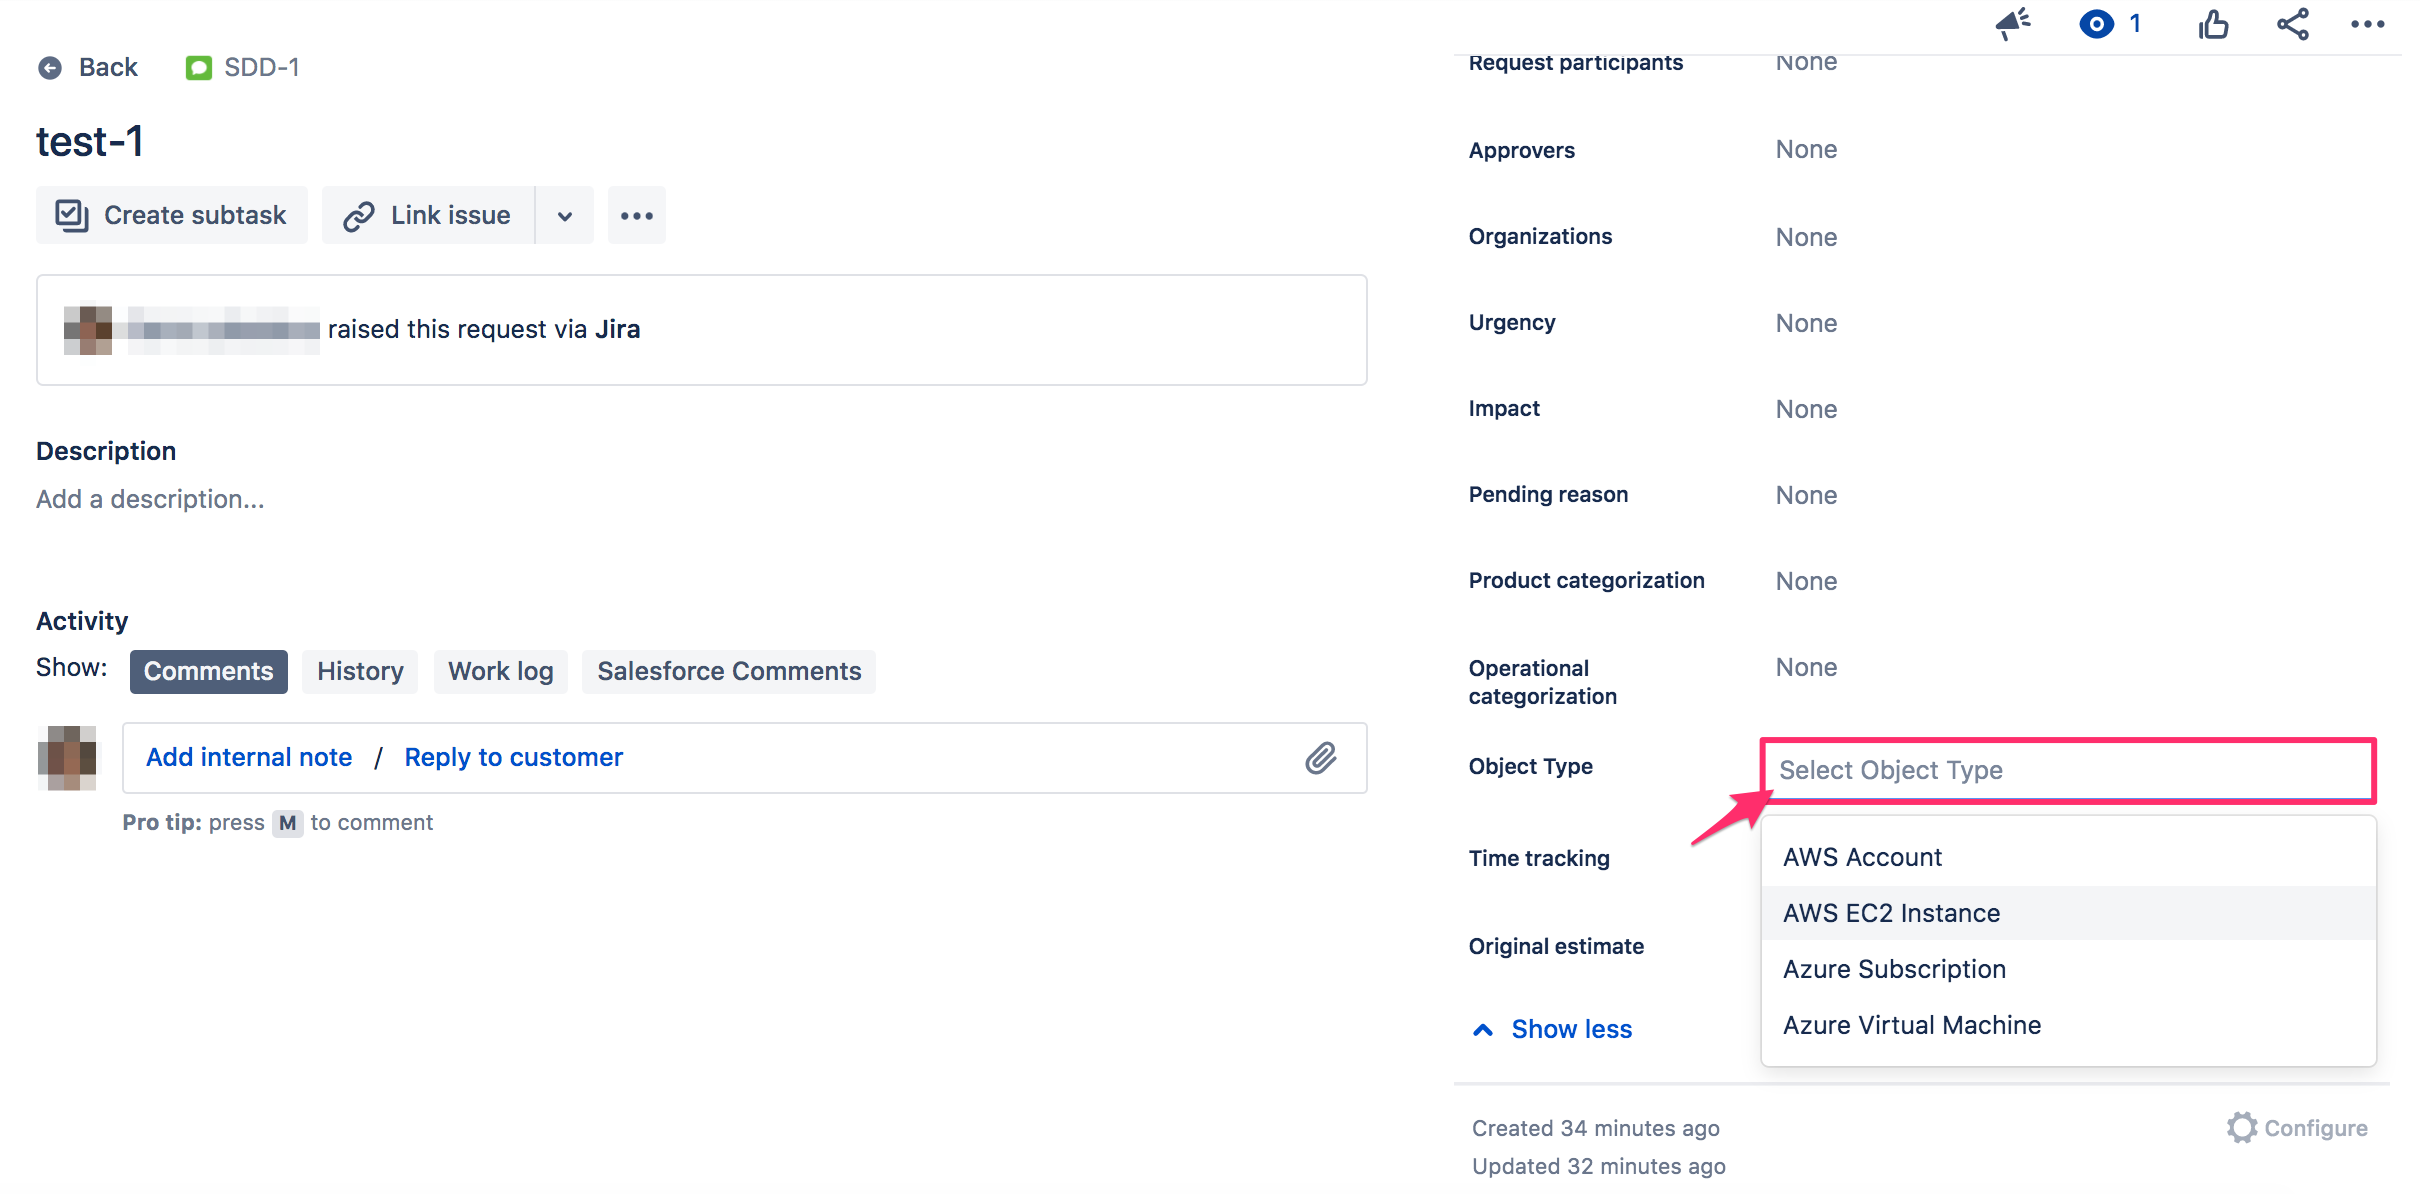
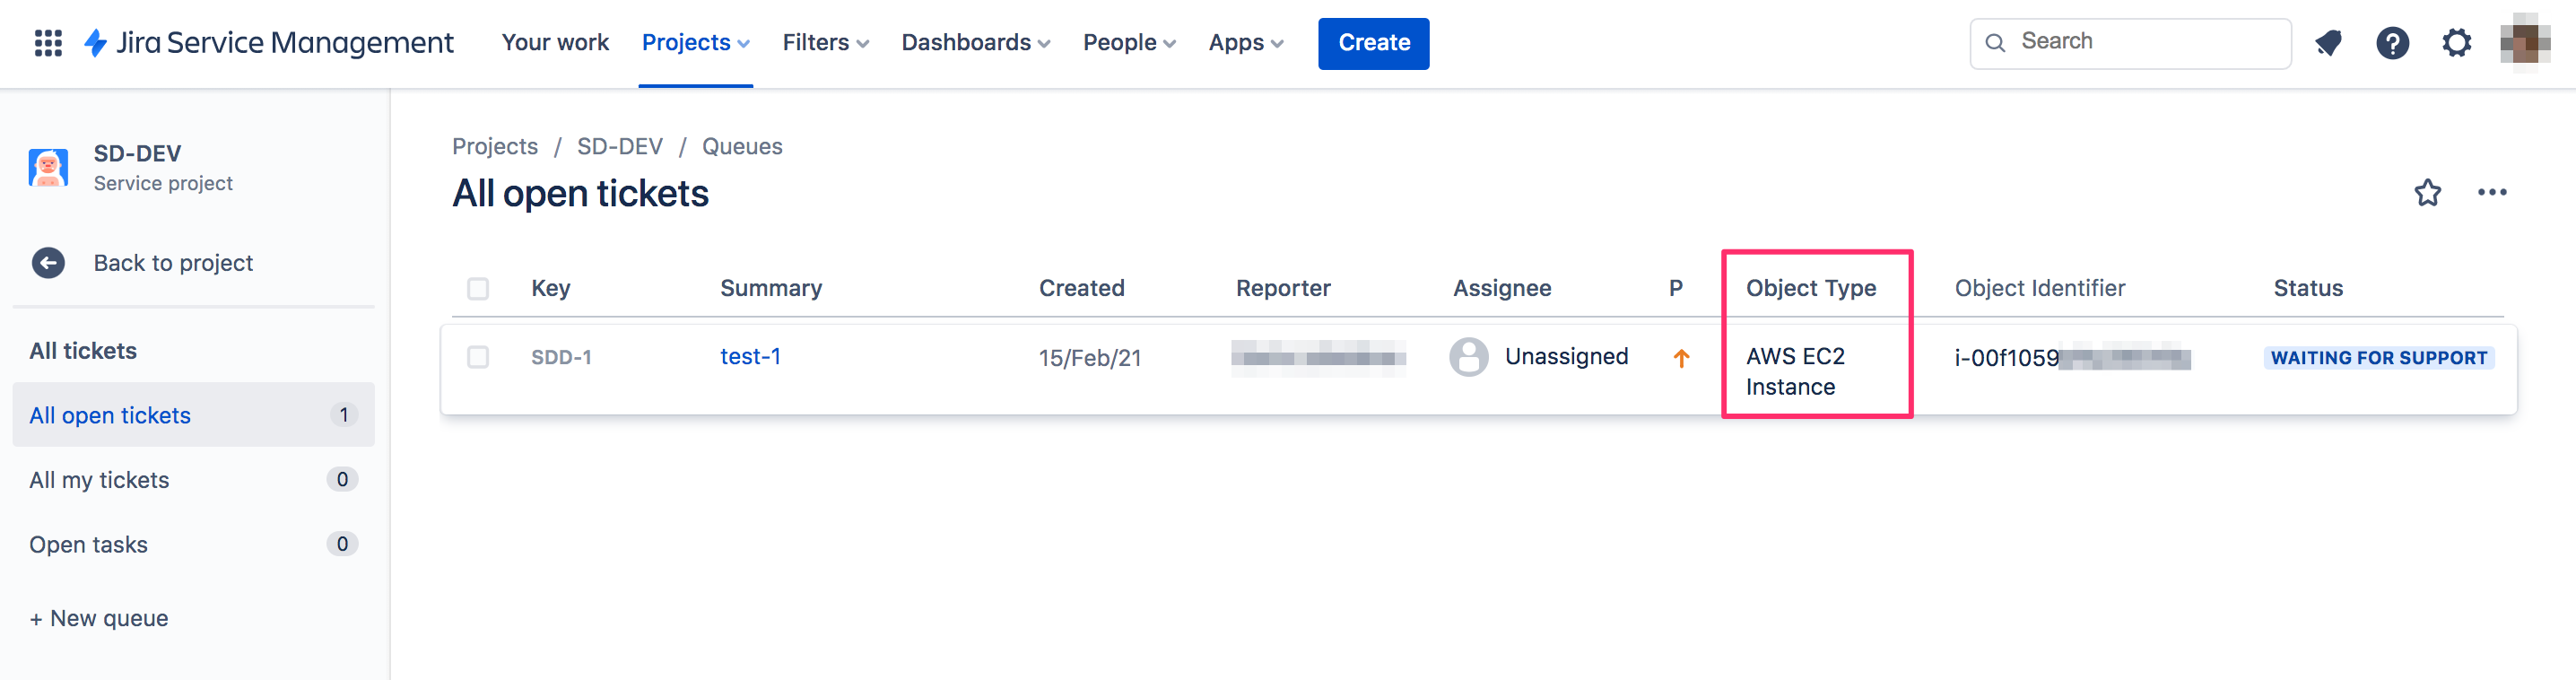
6. 'Object Type' should be selected manually, so that it is populated in tickets.
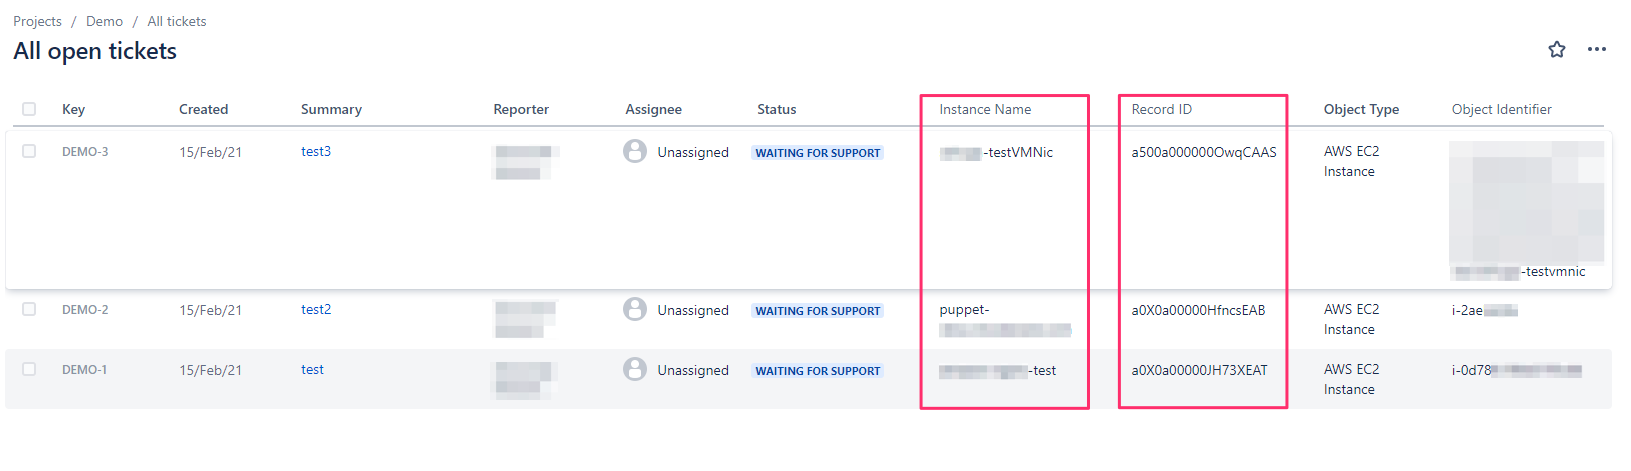
Connector for Salesforce & Jira can enrich your JIRA tickets with any CIs data. If you would like to see more information available in the ticket, create custom fields and appropriate mappings (see step 11) in JIRA to display details of the Salesforce object in question. For example, to add 'Instance Name' and 'Record ID' into JIRA tickets related to AWS EC2 Instances, create so-named custom fields in JIRA and map them in the following pairs: 'Instance Name' (Jira Field) - 'Instance Name or ID' (Salesforce Field) and 'Record ID' (Jira Field) - 'Record ID' (Salesforce Field).