
This guide explains how to enable AWS billing integration in Cloudaware. Ensure you have the necessary permissions for billing reports in Amazon Web Services.
Enabling AWS Cost and Usage Reports (CUR) In Amazon Console
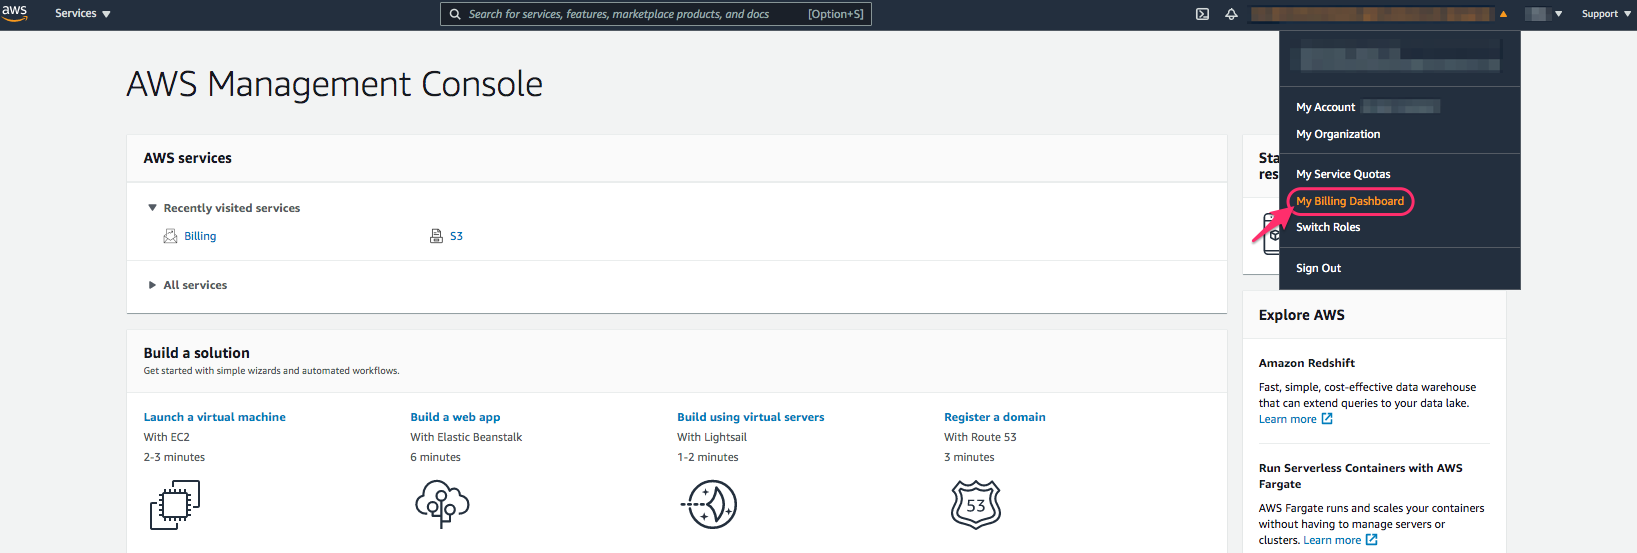
1. Log in to your AWS console. Click My Billing Dashboard under your username to navigate to Billing & Cost Management Dashboard.
2. Select Cost & Usage Reports on the left pane.
a) If you already have a CUR data report in place, click Edit to ensure that the check boxes ‘Include resource IDs' and 'Automatically refresh your Cost & Usage Report when charges are detected for previous months with closed bills’ are checked.

b) If you don’t have a CUR report, click Create and refer to AWS Documentation to create one from scratch.
Setting Up AWS CUR Billing Integration In Cloudaware
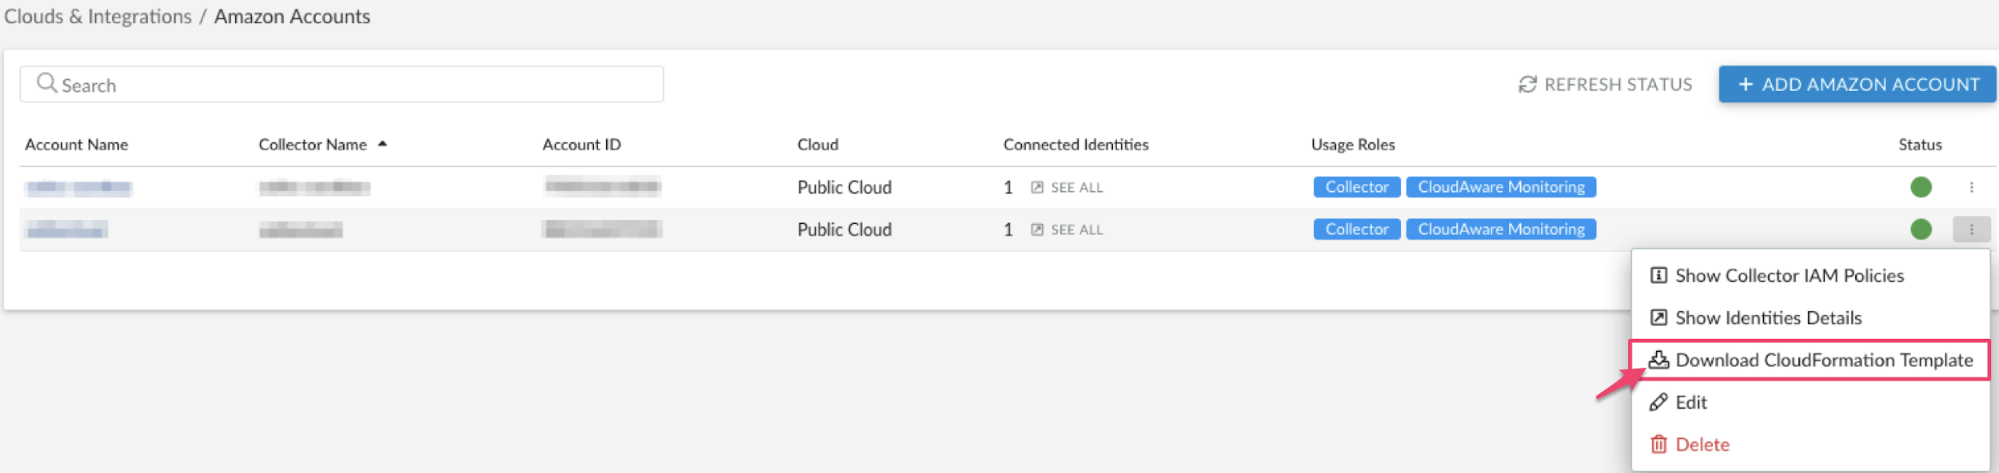
1. Log in to your Cloudaware account. Go to Admin → N Configured in Amazon Organizations & Accounts. Select the account in question → click three dots and select "Download CloudFormation Template" to download the template.
2. Ensure that the downloaded template has the name of the bucket storing CUR files inserted.
3. Select the stack and click Update. Replace the template in your AWS console to provide Cloudaware with read access to your CUR data.
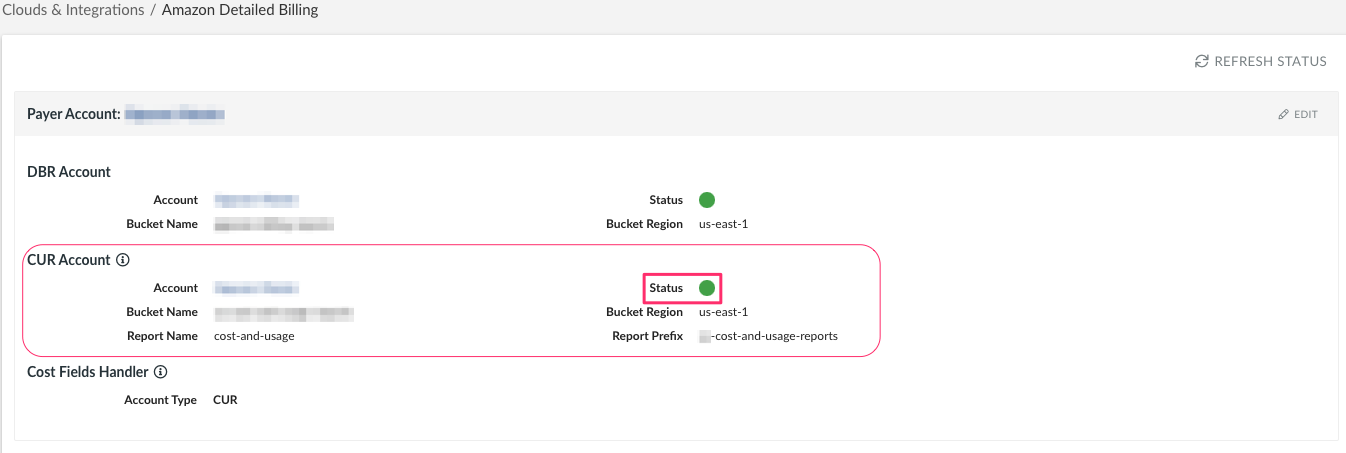
4. Go back to Cloudaware Admin → AWS Billing → review the status of the billing integration under 'CUR Account':
Enabling AWS Detailed Billing Reports (DBR) In Amazon Console
1. Log in to your AWS console. Click My Billing Dashboard under your username to navigate to Billing & Cost Management Dashboard.
2. Go to Preferences → Billing Preferences on the left pane to view Billing Reports options.
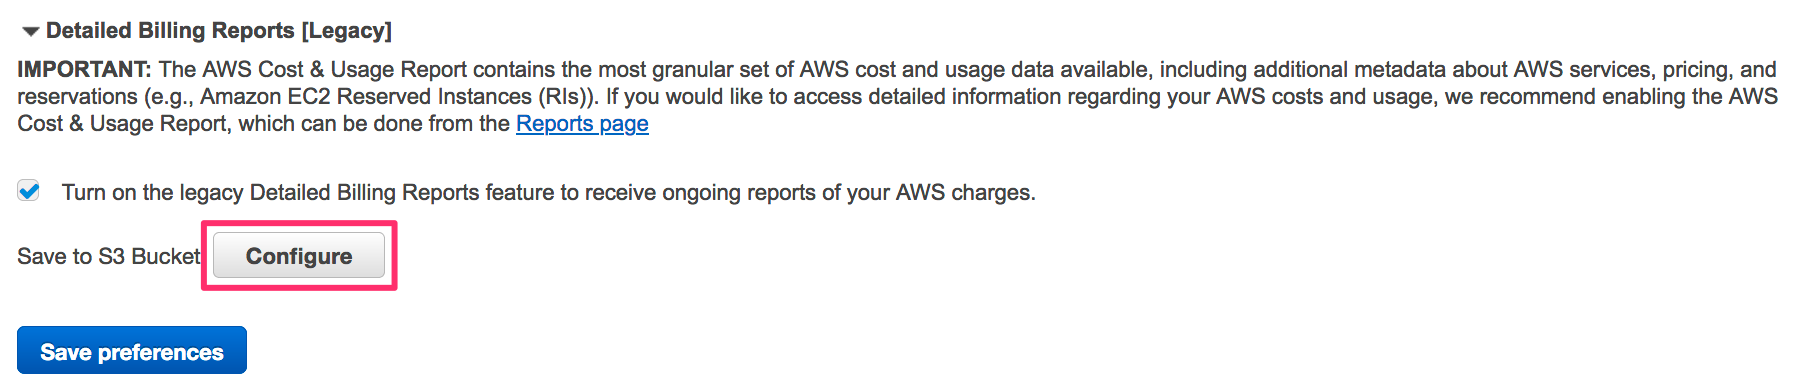
3. In the section 'Detailed Billing Reports [Legacy]' check the box 'Turn on the legacy Detailed Billing Reports feature to receive ongoing reports of your AWS charges’.
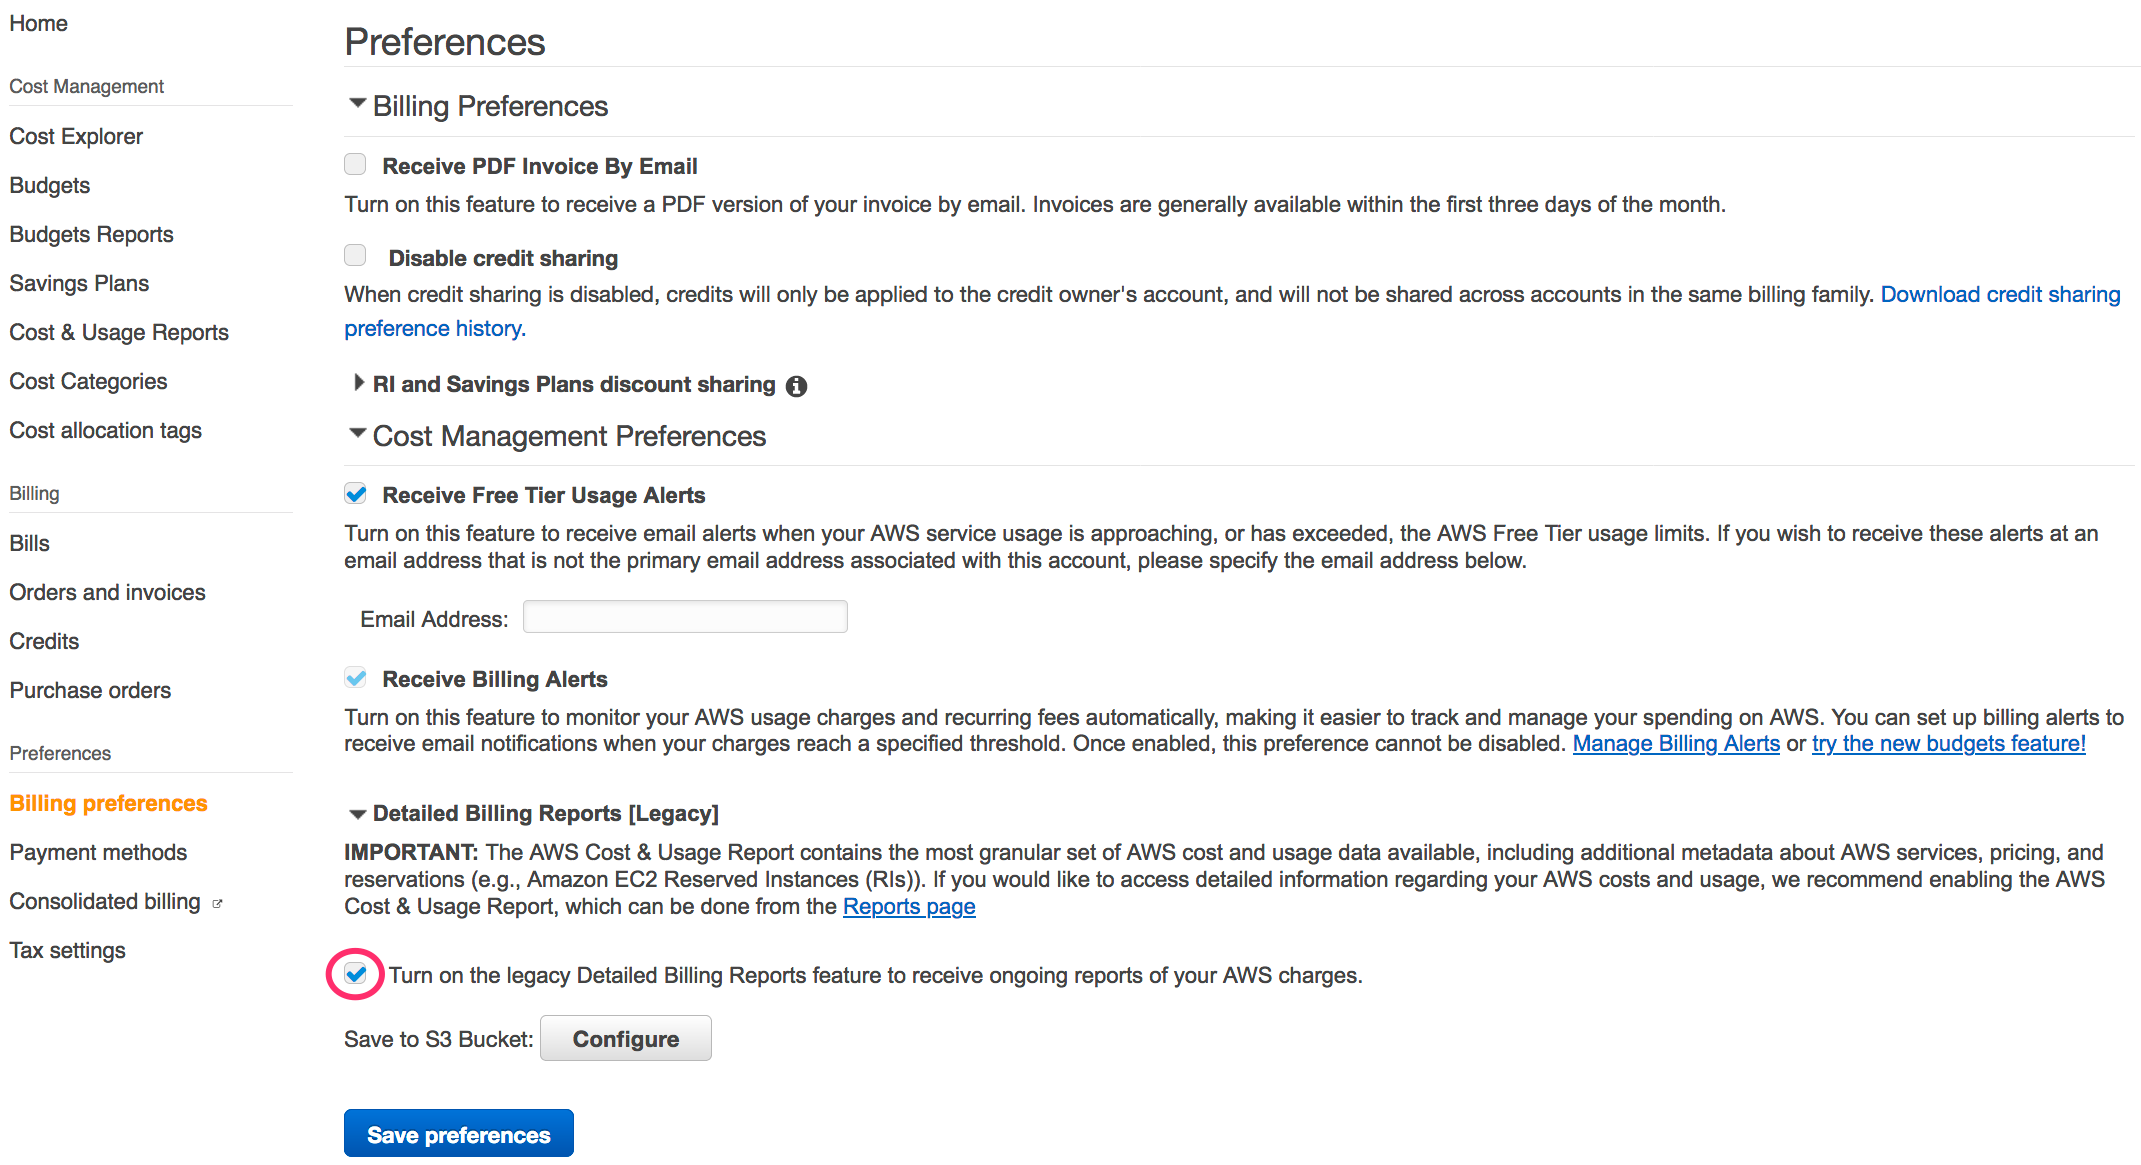
4. In 'Save to S3 Bucket' click Configure to select an S3 bucket to store your detailed billing files in.
Review the bucket policy and check the box 'I have confirmed that this policy is correct'. Click Save.
5. Check the boxes Monthly report, Cost allocation report and Detailed billing report with resources and tags.
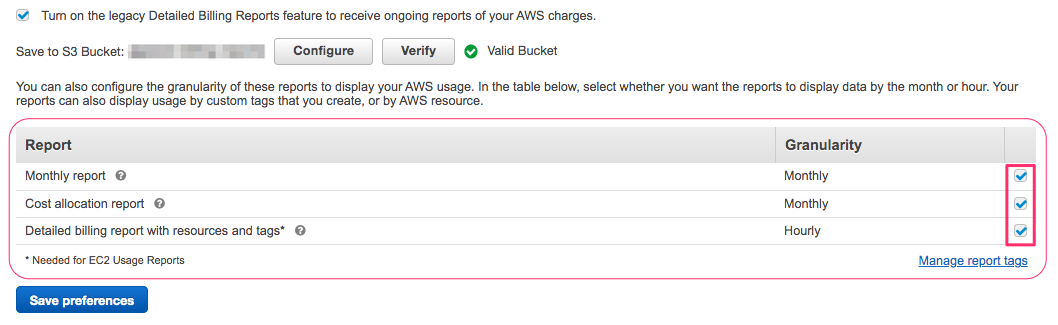
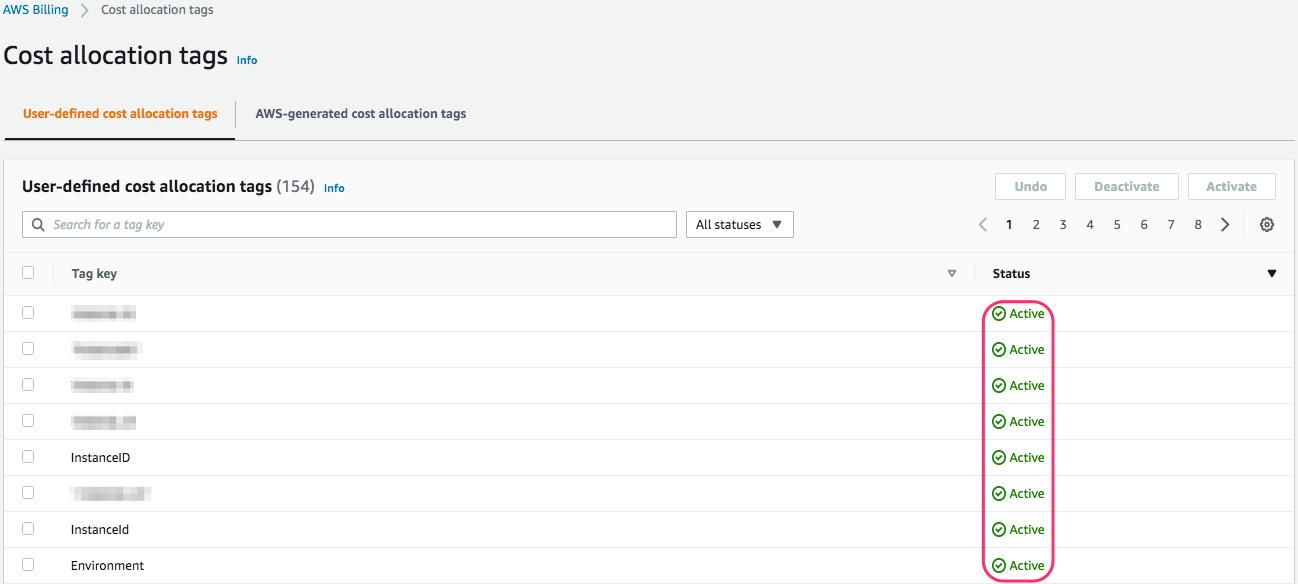
6. Ensure you include tags in your billing reports. Click Manage report tags to review the list of all the tags you have created and activate the ones relevant to your AWS usage.

7. Go back to Billing preferences. Click Save preferences.
8. Ensure that you have Billing policy enabled in CloudFormation Stack settings. See more in p.7 here.
Setting Up AWS DBR Billing Integration In Cloudaware
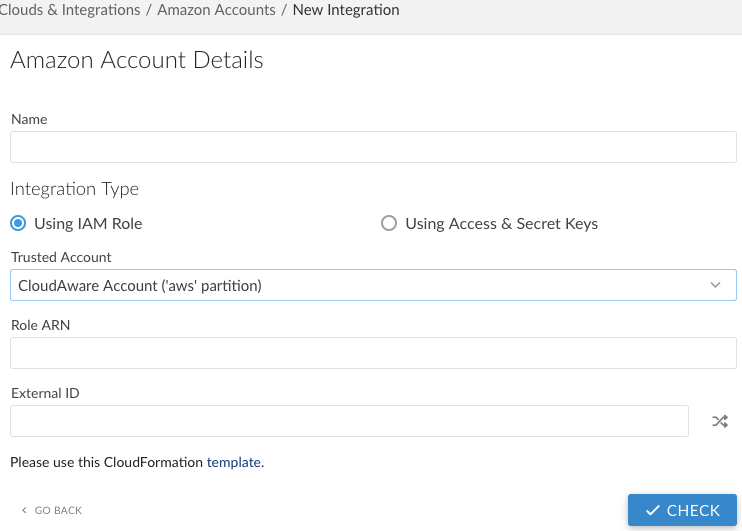
1. Add your Amazon Payer account to Cloudaware. See more here.
2. Cloudaware automatically discovers the bucket your billing data is stored in. Allow some time for the bucket to be listed in CMDB Navigator → S3 to proceed.
3. Go to Admin → N Configured in Amazon Organizations & Accounts. Select the Payer account → click three dots and select "Download CloudFormation Template" to download the template where the billing bucket info is input by Cloudaware.

4. Select the stack and click Update. Replace the template in your AWS console to provide Cloudaware with read access to your billing files.
5. Log in to your Cloudaware account. Go to Admin → AWS Billing → review the status of the billing integration under 'DBR Account':
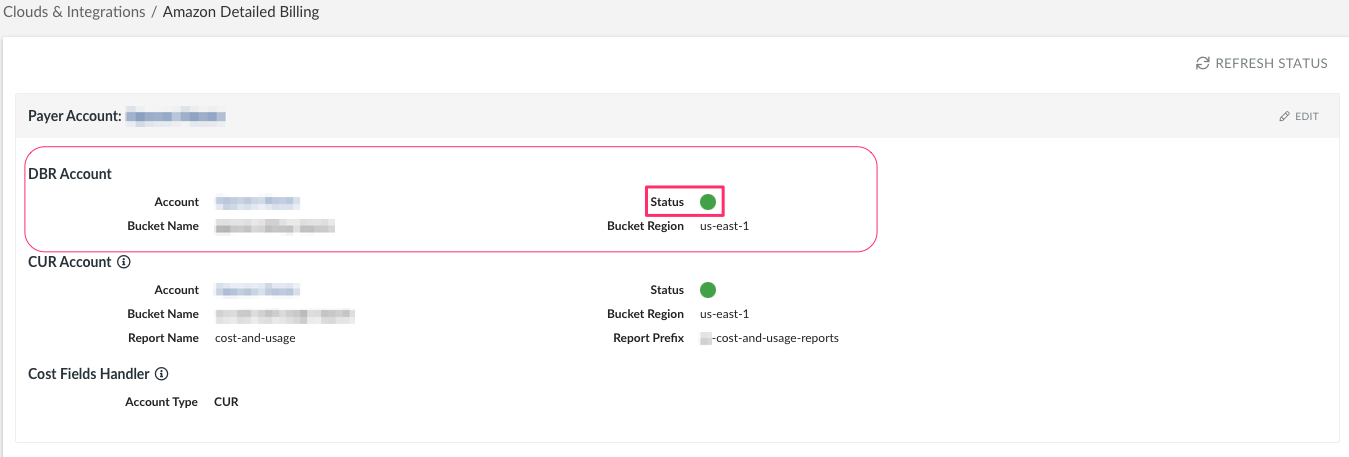
The billing data will be collected by Cloudaware within several hours.